



From Pocket to Picture: How I Learned to Make Cinematic Videos Without Breaking the Bank
Real talk from someone who’s been there, made the mistakes, and finally figured it out
Look, I’m going to be straight with you.
When I first started making videos, I was convinced I needed a cinema camera. I spent hours watching gear reviews, convincing myself that if I just had that one expensive piece of equipment, everything would magically look like a Hollywood film.
Spoiler alert: It didn’t. And it wouldn’t have.
What I didn’t realize back then what nobody told me was that the difference between amateur footage and cinematic footage has almost nothing to do with the price tag on your camera. It’s about how you think about making images. It’s about intention, craft, and knowing a few secrets that cost absolutely nothing to implement.
So let me save you the years of trial and error I went through. Here’s what actually works.
The Day I Stopped Blaming My Gear
I remember watching “Tangerine” for the first time and being absolutely blown away. The colors, the energy, the way it felt so alive and raw. Then I found out Sean Baker shot the entire thing on three iPhone 5s.
Three. iPhone. 5s.
That was my wake-up call. Here was a filmmaker who understood that the camera in your pocket in 2026 is more powerful than professional cameras from just a decade ago. The limitation wasn’t the tool it was my understanding of how to use it.
And honestly? That realization was incredibly freeing. Suddenly, every excuse I had went out the window.
The One Setting That Changed Everything
Here’s the first thing I wish someone had shown me on day one.
There’s something called the 180-degree shutter rule, and it sounds technical and intimidating, but it’s actually dead simple:
Your shutter speed should be double your frame rate.
That’s it. That’s the whole thing.
If you’re shooting at 24 frames per second (which is the cinema standard), set your shutter to 1/50. If you’re at 30fps, use 1/60.
Why does this matter? Because it creates exactly the right amount of motion blur that our brains have come to associate with cinematic storytelling. Break this rule, and your footage immediately looks like a home video or a video game. The movement becomes stuttery and jarring, and viewers might not know why it feels wrong, but they’ll feel it.
This single adjustment took my footage from “someone’s cousin with a camera” to “wait, is this actually a movie?”
Lighting: The Secret Nobody Tells You
Okay, here’s where I really messed up in the beginning.
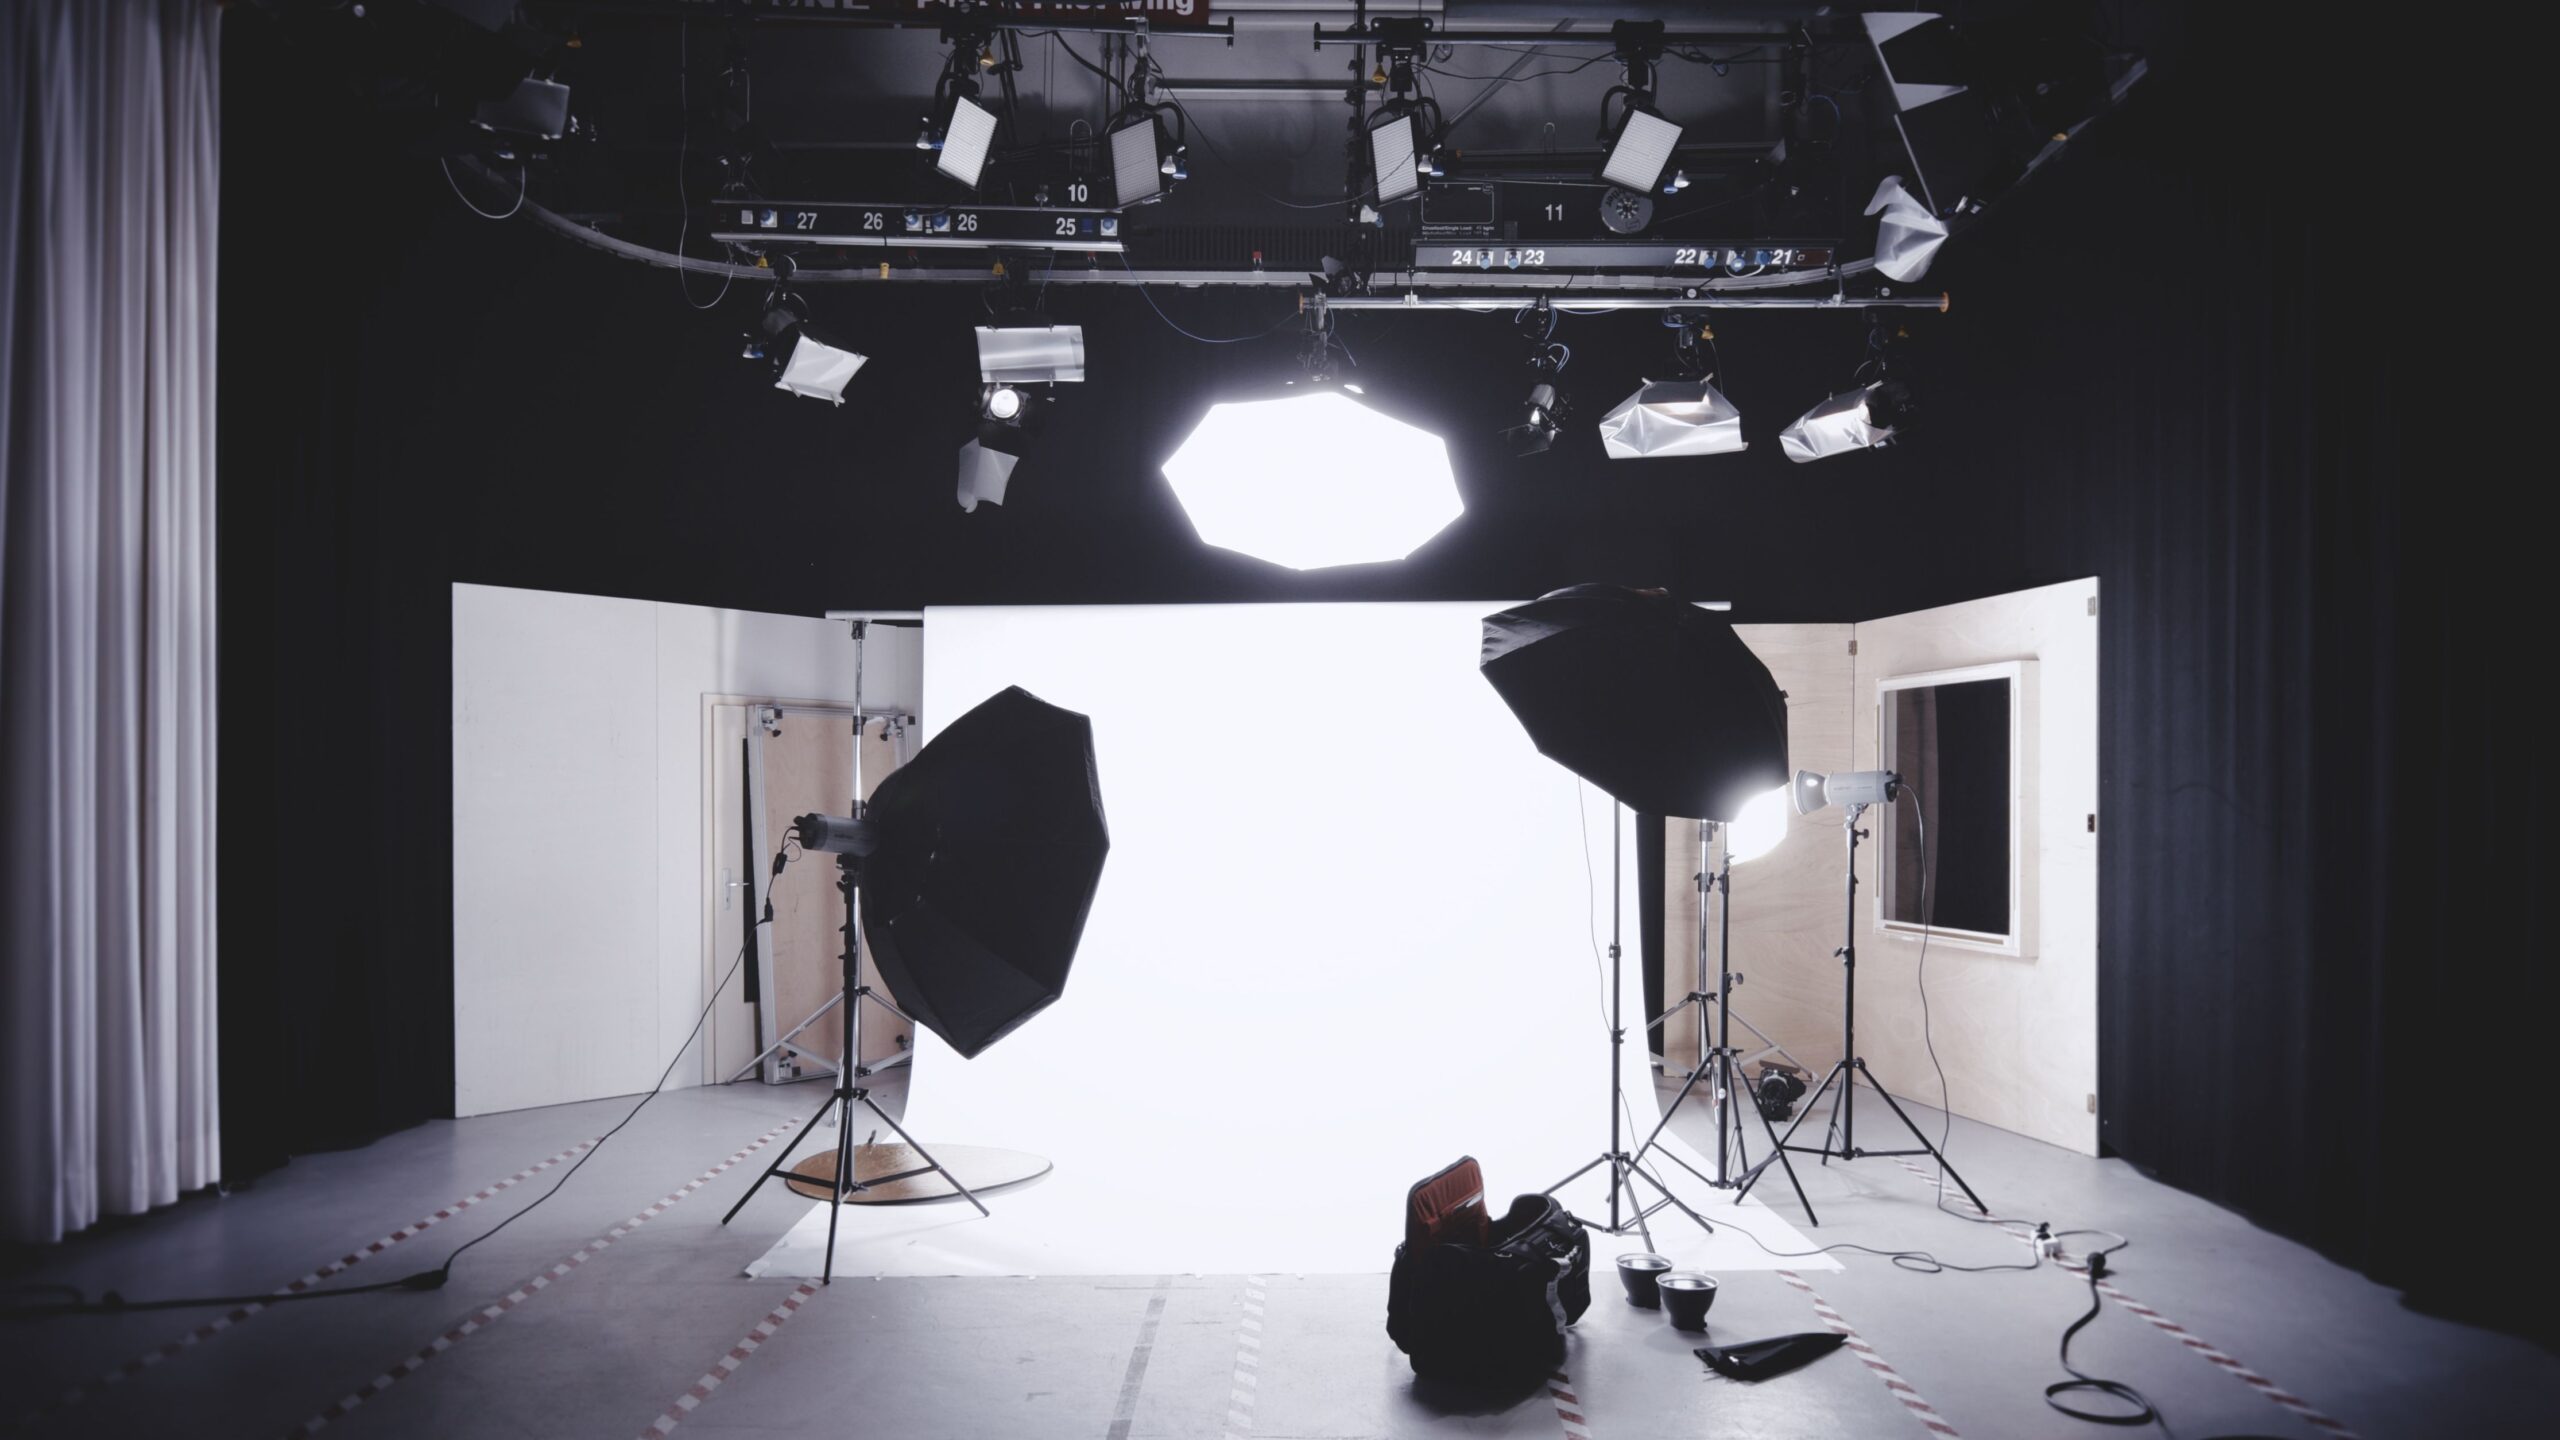
I thought cinematic lighting meant having a bunch of expensive lights. I’d look at behind-the-scenes photos of movie sets with all these massive rigs and think, “Well, I’ll never afford that.”
But here’s what I learned: it’s not about how much light you have. It’s about how you use it.
The window trick: On an overcast day, a north-facing window becomes the most beautiful softbox you’ll ever own. Position your subject near it, and the light wraps around them in this gorgeous, flattering way. Then grab a white bedsheet or a piece of foam board from the dollar store, bounce some light back into the shadows, and suddenly you’ve got a professional lighting setup that cost you zero dollars.
The practical light move: Desk lamps. String lights. Those cheap LED panels from Amazon. They’re all fair game. The key is placement put a light behind your subject to create separation from the background. It makes them pop, adds depth, and instantly elevates the whole image.
One warning though: please, please don’t use your phone’s flashlight. It’s harsh, unflattering, and makes everyone look terrible. Just trust me on this.
The Background Blur Obsession (And Why It’s Overrated)
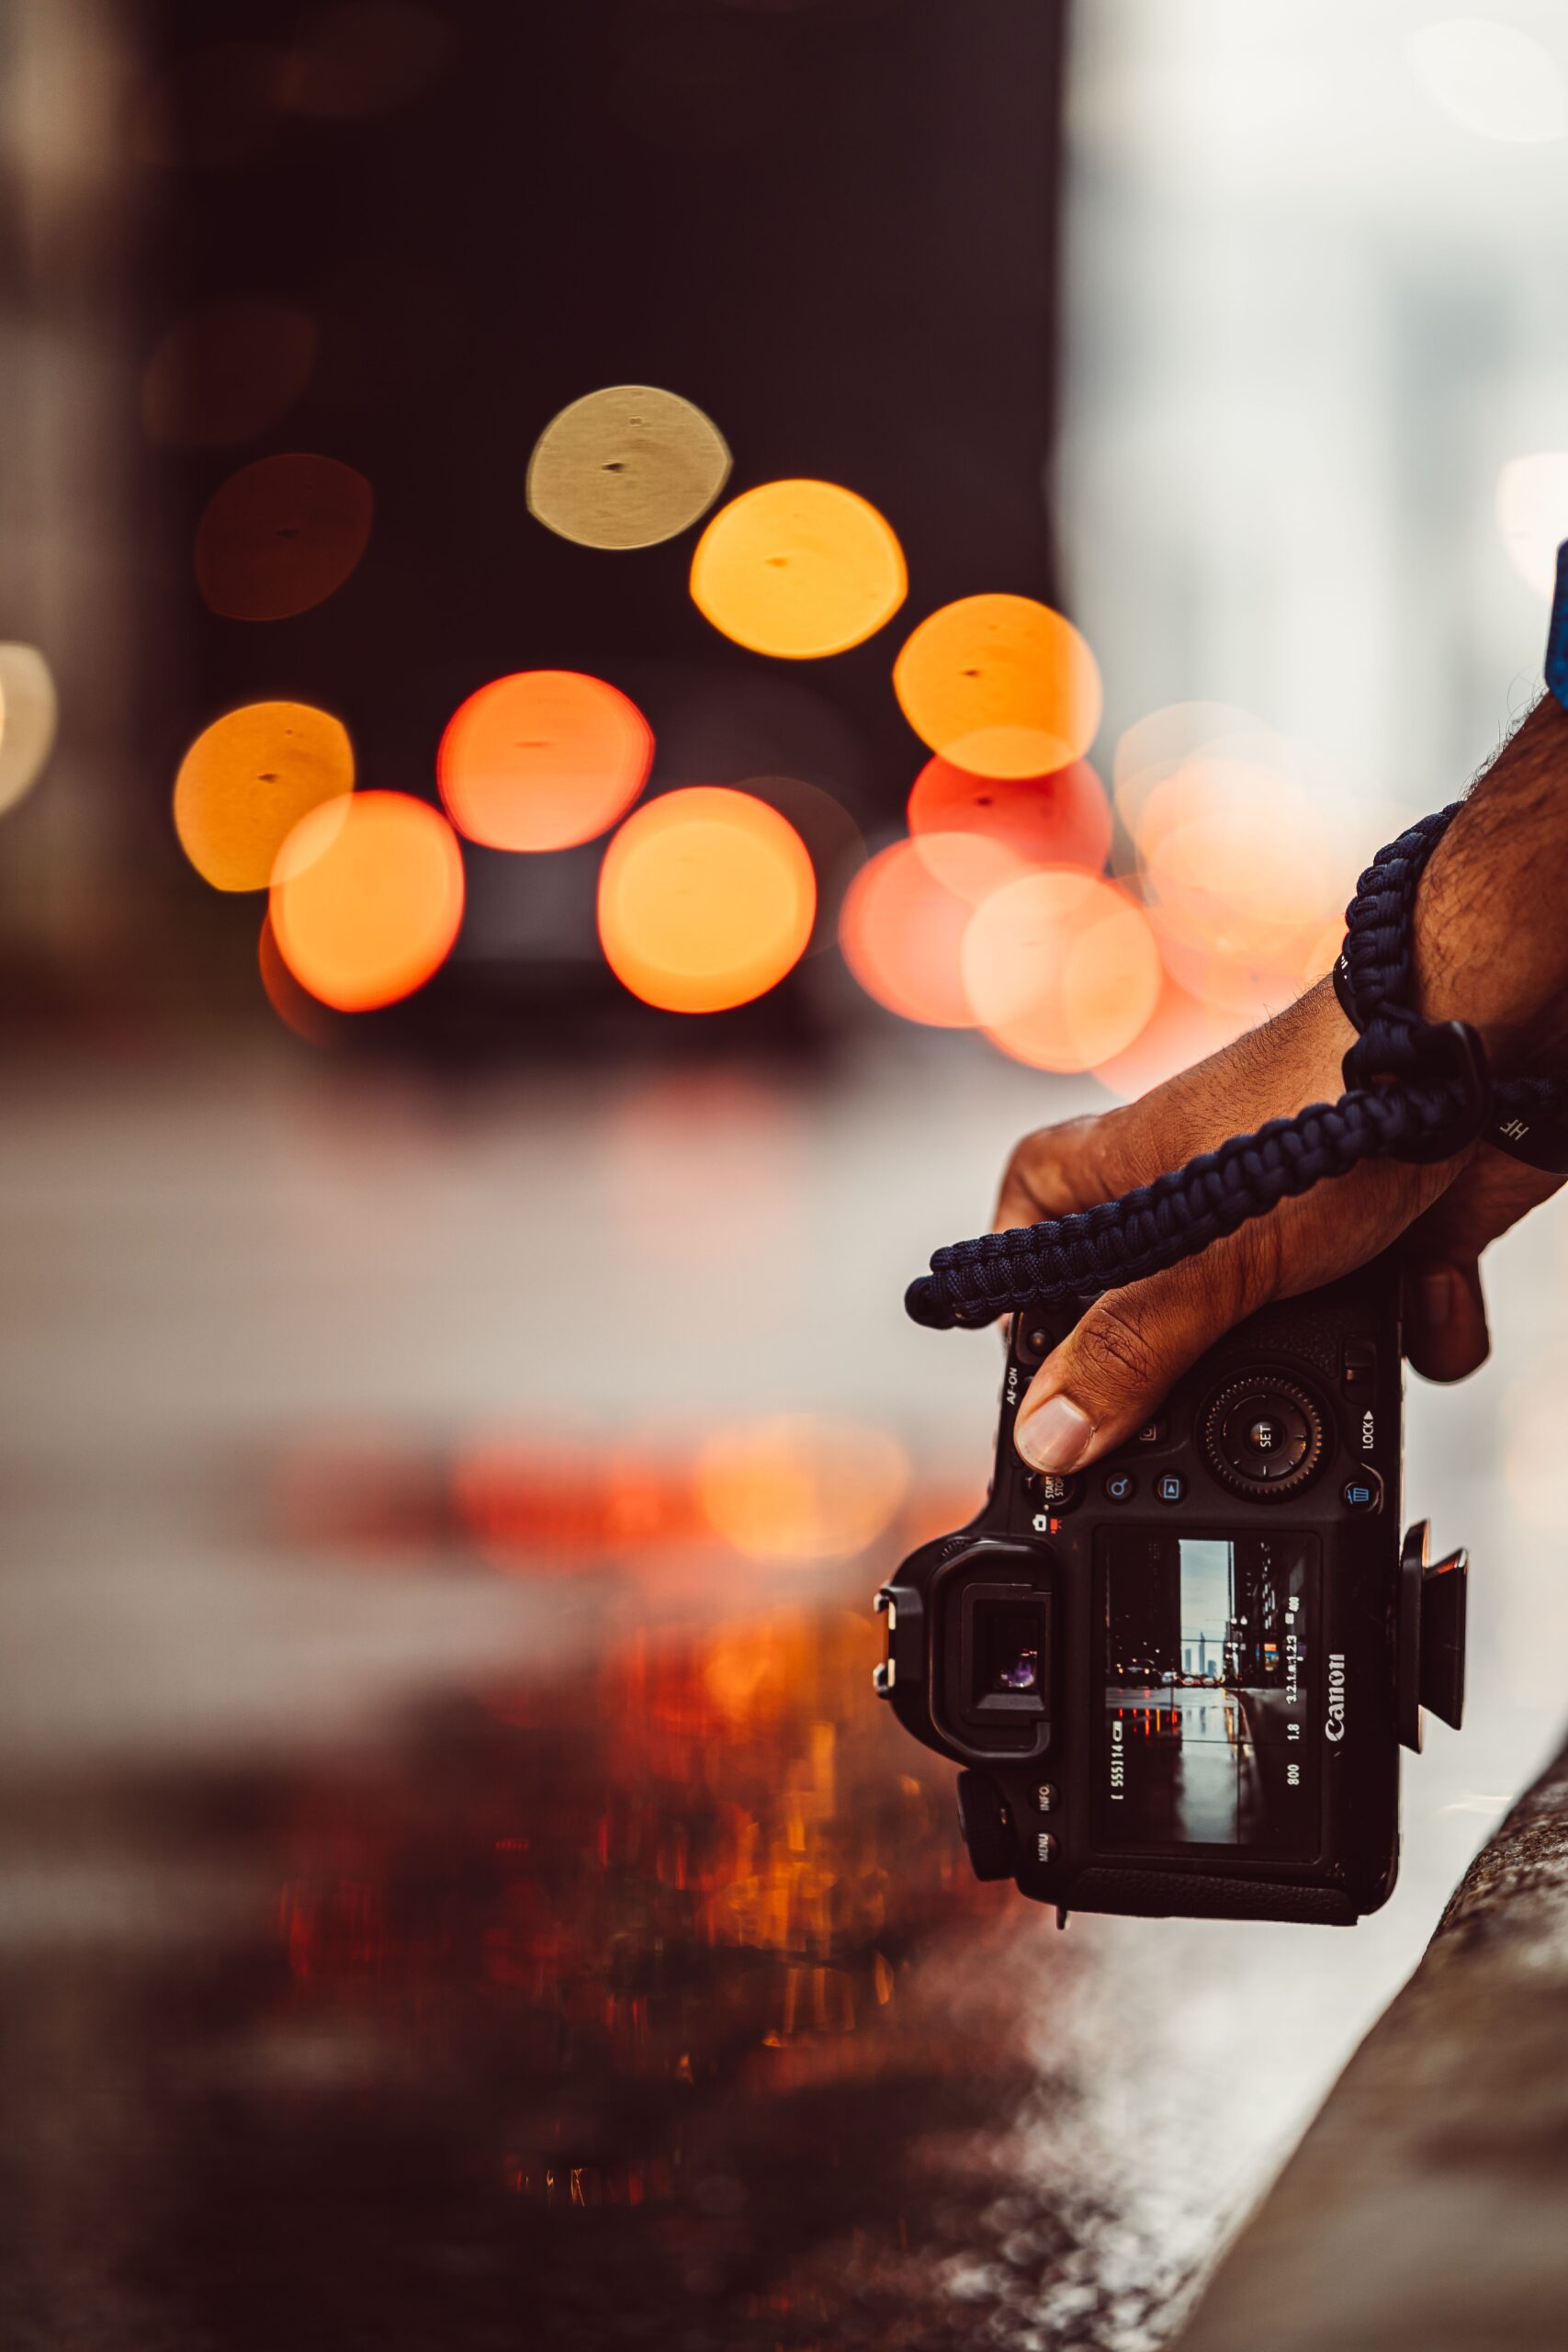
When I was starting out, I thought blurry backgrounds were the entire secret to looking cinematic. I’d shoot everything at the widest aperture possible, desperate for that creamy bokeh.
And I missed focus. A lot.
Here’s what I eventually figured out: shallow depth of field is a tool, not the entire toolbox. Its real purpose is to direct the viewer’s eye and hide distracting backgrounds. But if you’re shooting at f/1.8 and your subject’s nose is in focus but their eyes aren’t, nobody’s going to be impressed by the blur.
If you have a camera with interchangeable lenses, grab a 50mm f/1.8 lens. It’s the cheapest cinematic lens you’ll find, and it’s incredibly versatile. But don’t be afraid to stop down to f/2.8 or f/4. You’ll still get background separation, but you’ll actually keep your subject’s face in focus which is kind of important.
On a smartphone, the telephoto lens is your friend for this effect. And if you can’t get a shallow depth of field, don’t panic. Some of the most stunning films ever made were shot at deep focus. You just need to compose your frame intentionally.
Audio: The Thing I Ignored (And Deeply Regretted)
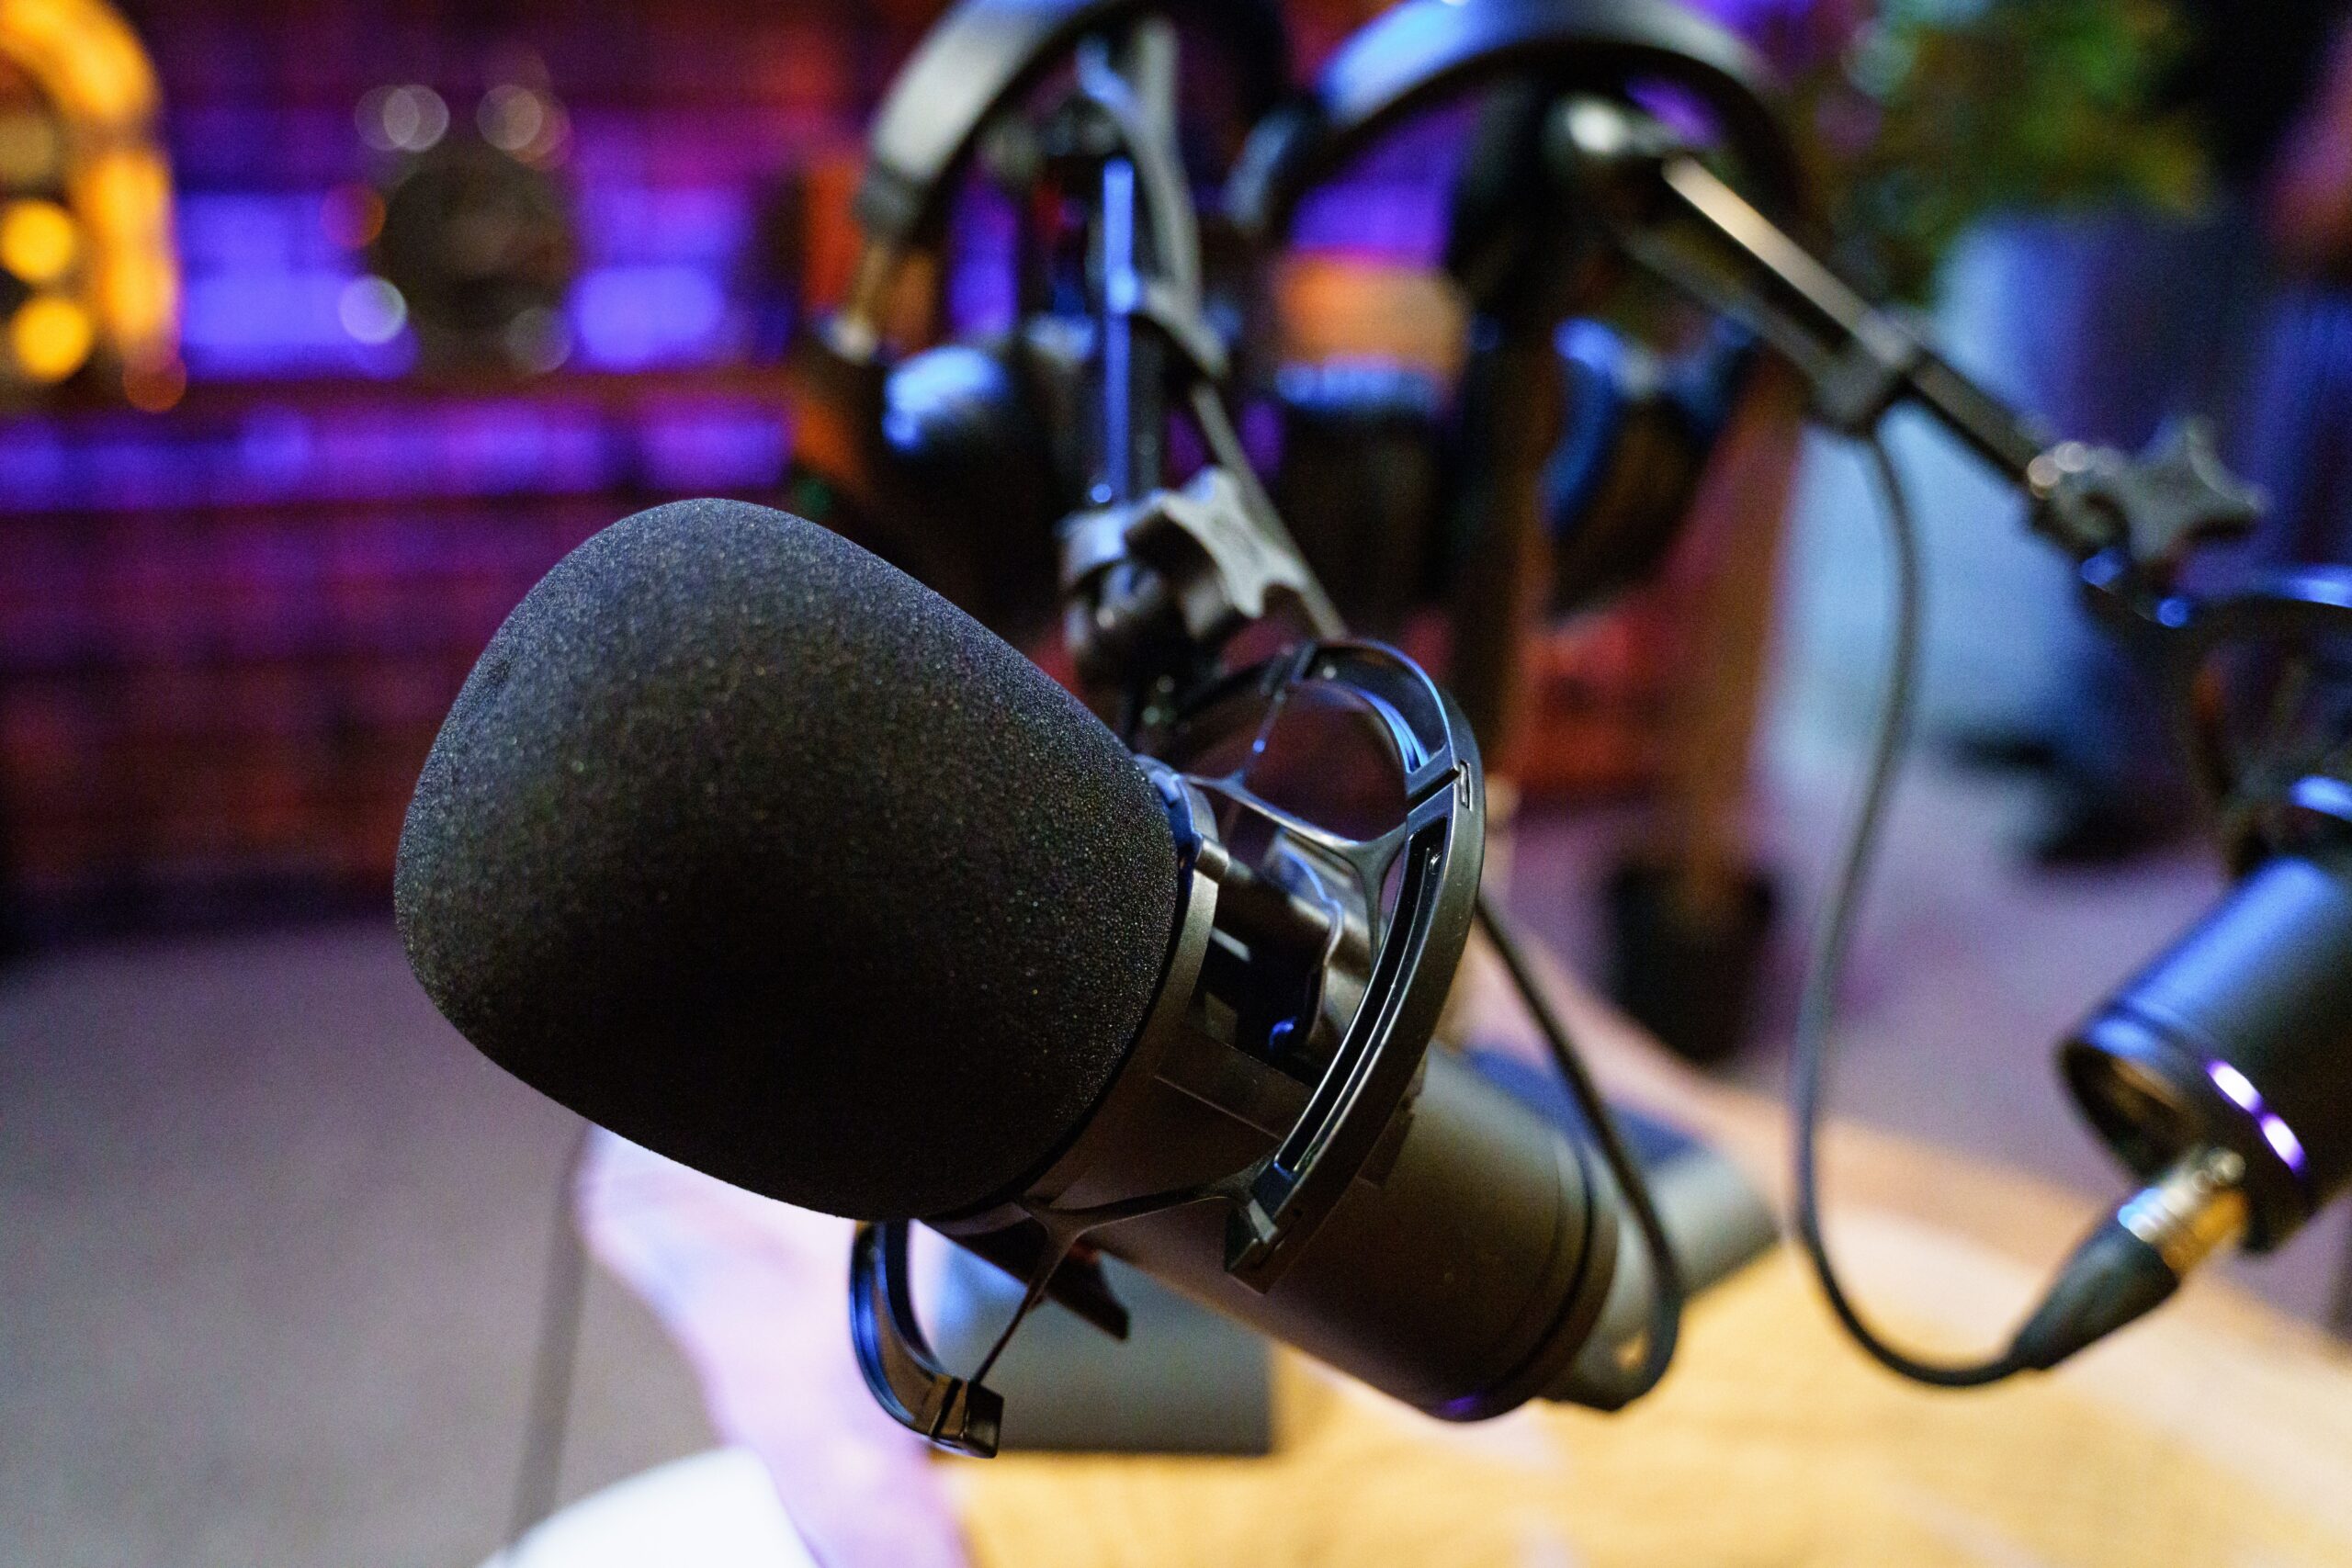
Here’s a hard truth I learned the embarrassing way:
Audiences will watch grainy, noisy footage and forgive it. They will not watch anything with bad audio.
I shot this beautiful little scene once. The lighting was perfect, the composition was thoughtful, I was so proud of myself. Then I played it back and realized the air conditioning was humming the entire time. The audio was unusable. I had to reshoot everything.
The built-in microphone on any camera or phone is terrible for anything serious. It just is. But you don’t need expensive audio gear to fix this.
A cheap lavalier mic that plugs directly into your phone costs maybe twenty bucks and makes a massive difference. Get the microphone close to your subject proximity matters more than price. And before you start rolling, turn off everything that makes noise. Fans, AC units, the fridge if it’s loud. Record a quick test and listen through headphones.
If it sounds bad, fix it before you shoot. Trust me, you don’t want to discover the issue in the editing room.
Composition: The Art of Making Things Look Intentional
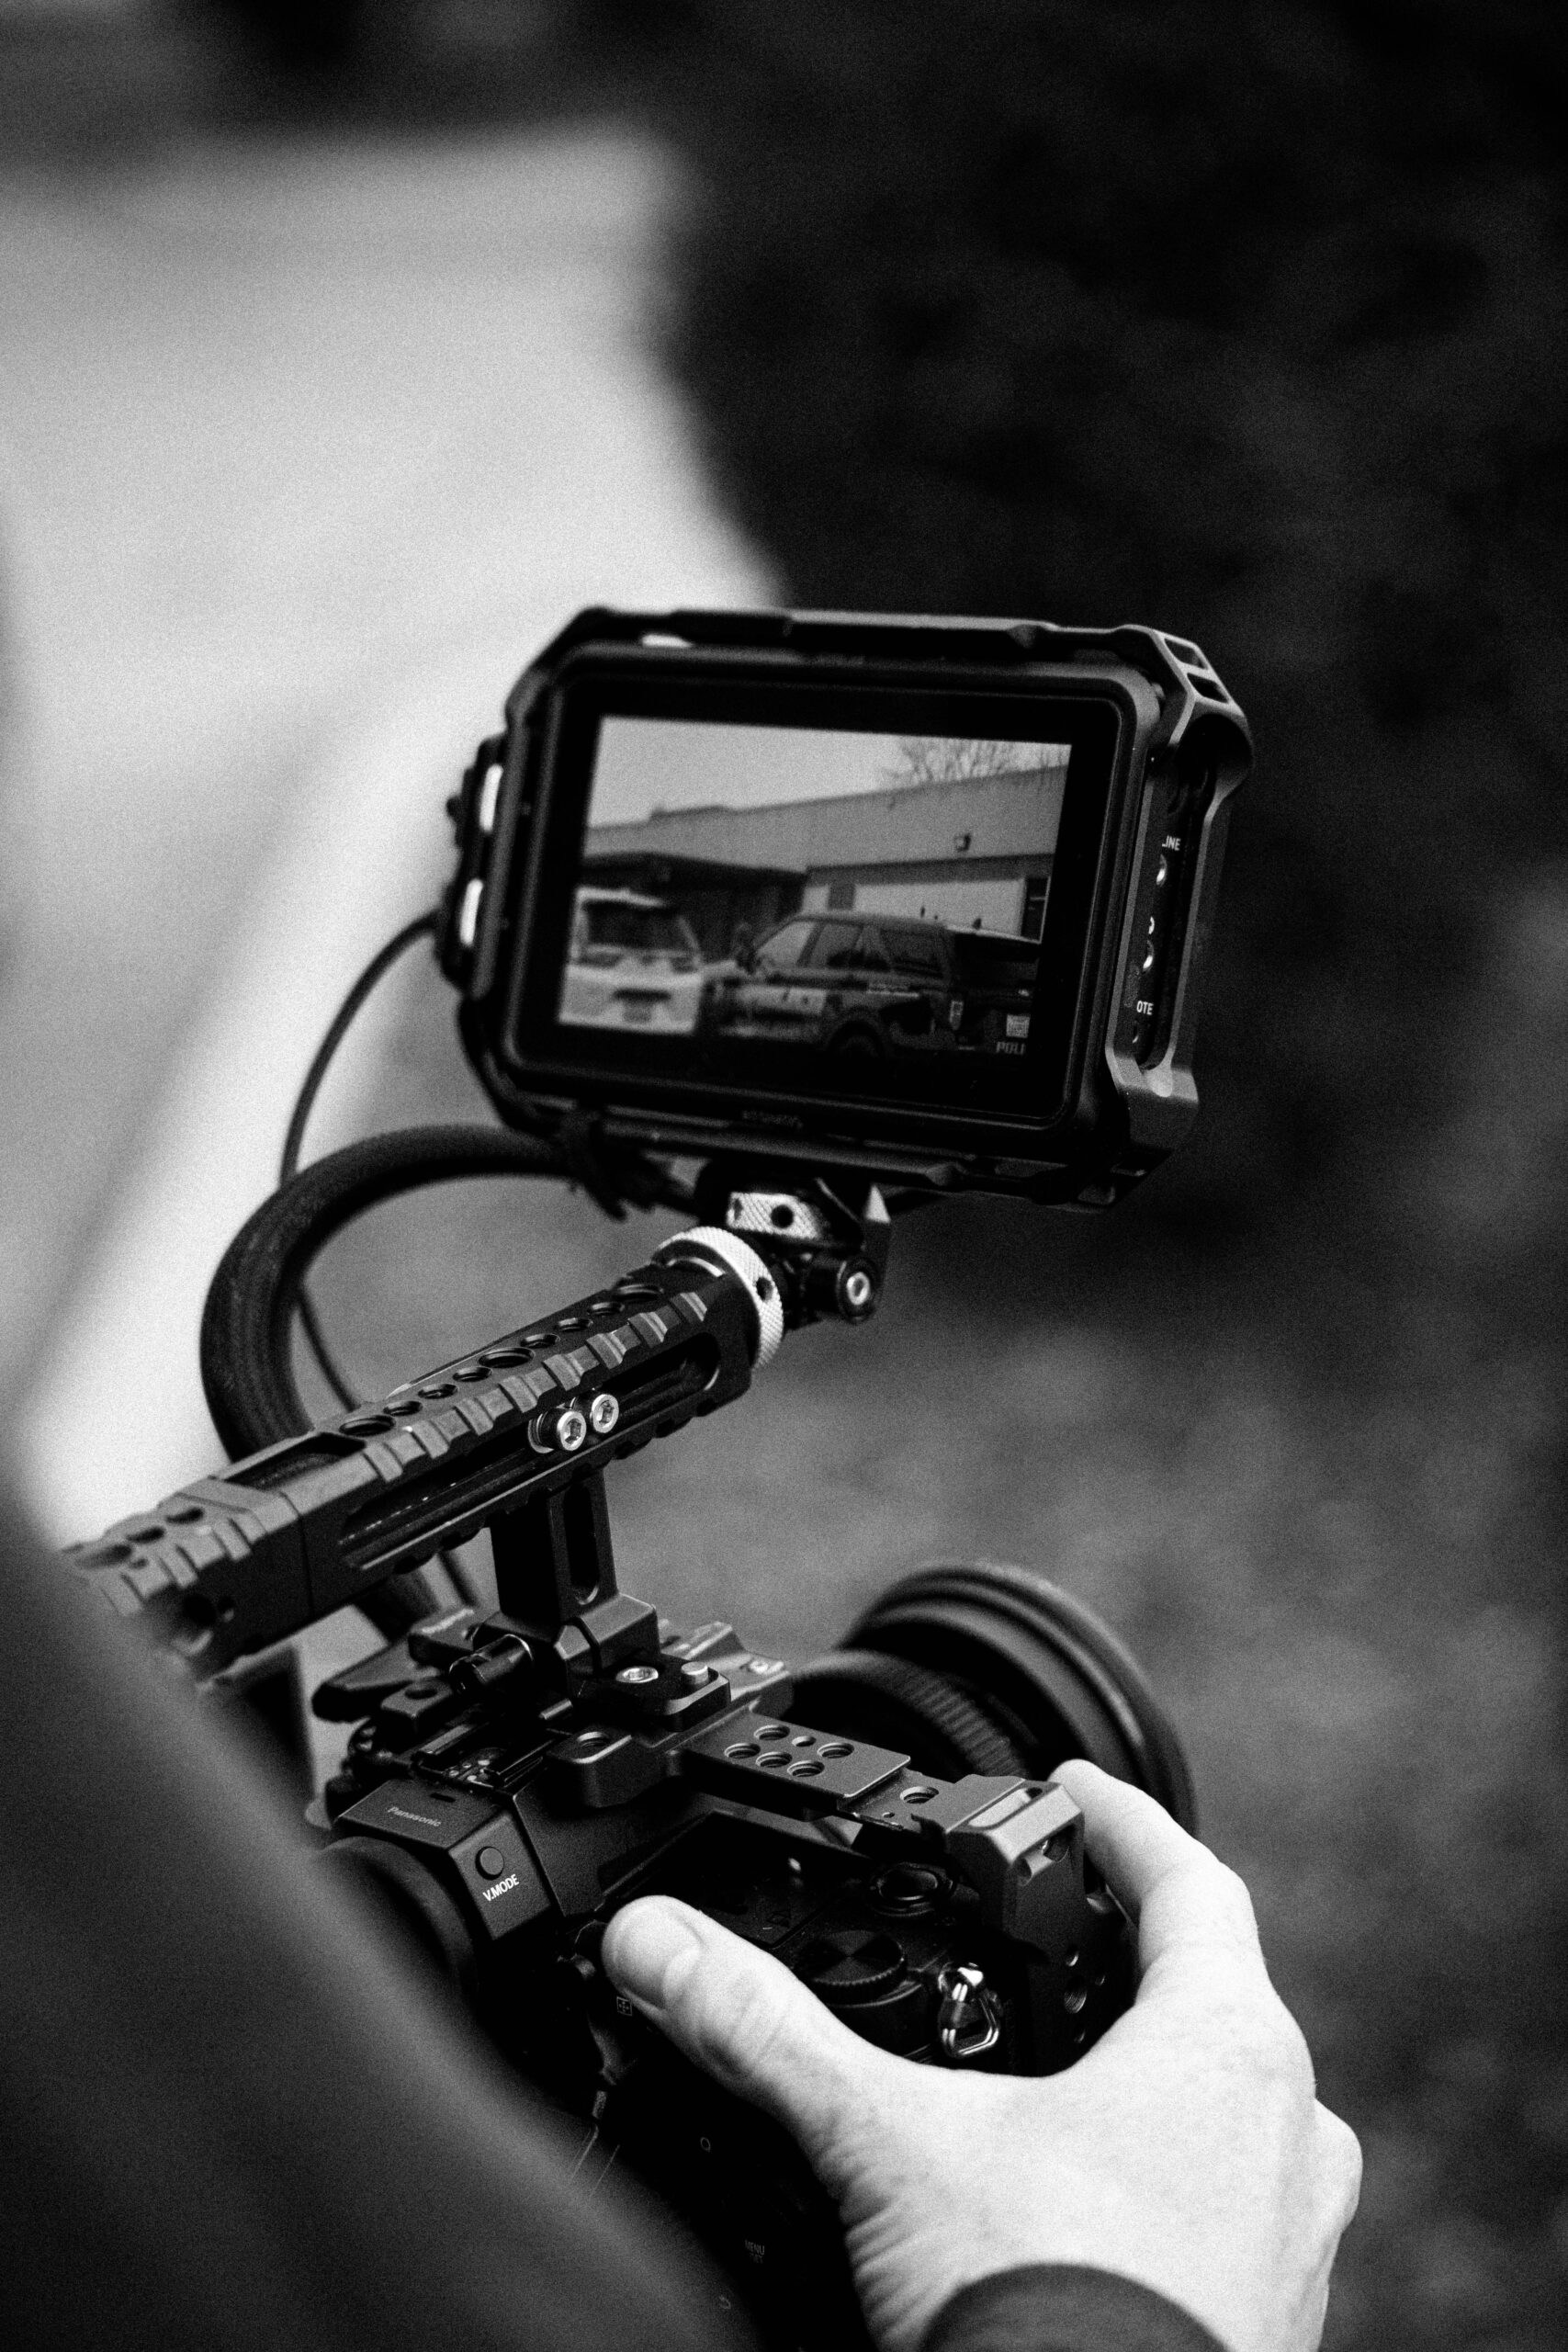
This one’s completely free and makes an enormous difference.
Don’t just point your camera at your subject and press record. Think about what you’re framing.
The rule of thirds: Put your subject off-center. It’s more dynamic, more interesting. Turn on your camera’s grid lines if you have them they’re there for a reason.
Leading lines: Use the lines in your environment to guide the viewer’s eye. Roads, railings, the edge of a building they all work.
Create depth: Put something in the foreground, something in the background, and your subject in the middle. It creates a three-dimensional feel in a two-dimensional image.
Lens choice: The ultra-wide lens on your phone is tempting, especially because everything looks so dramatic. But it distorts faces in unflattering ways. Stick with the standard lens for most shots.
Camera Movement: When to Hold Still
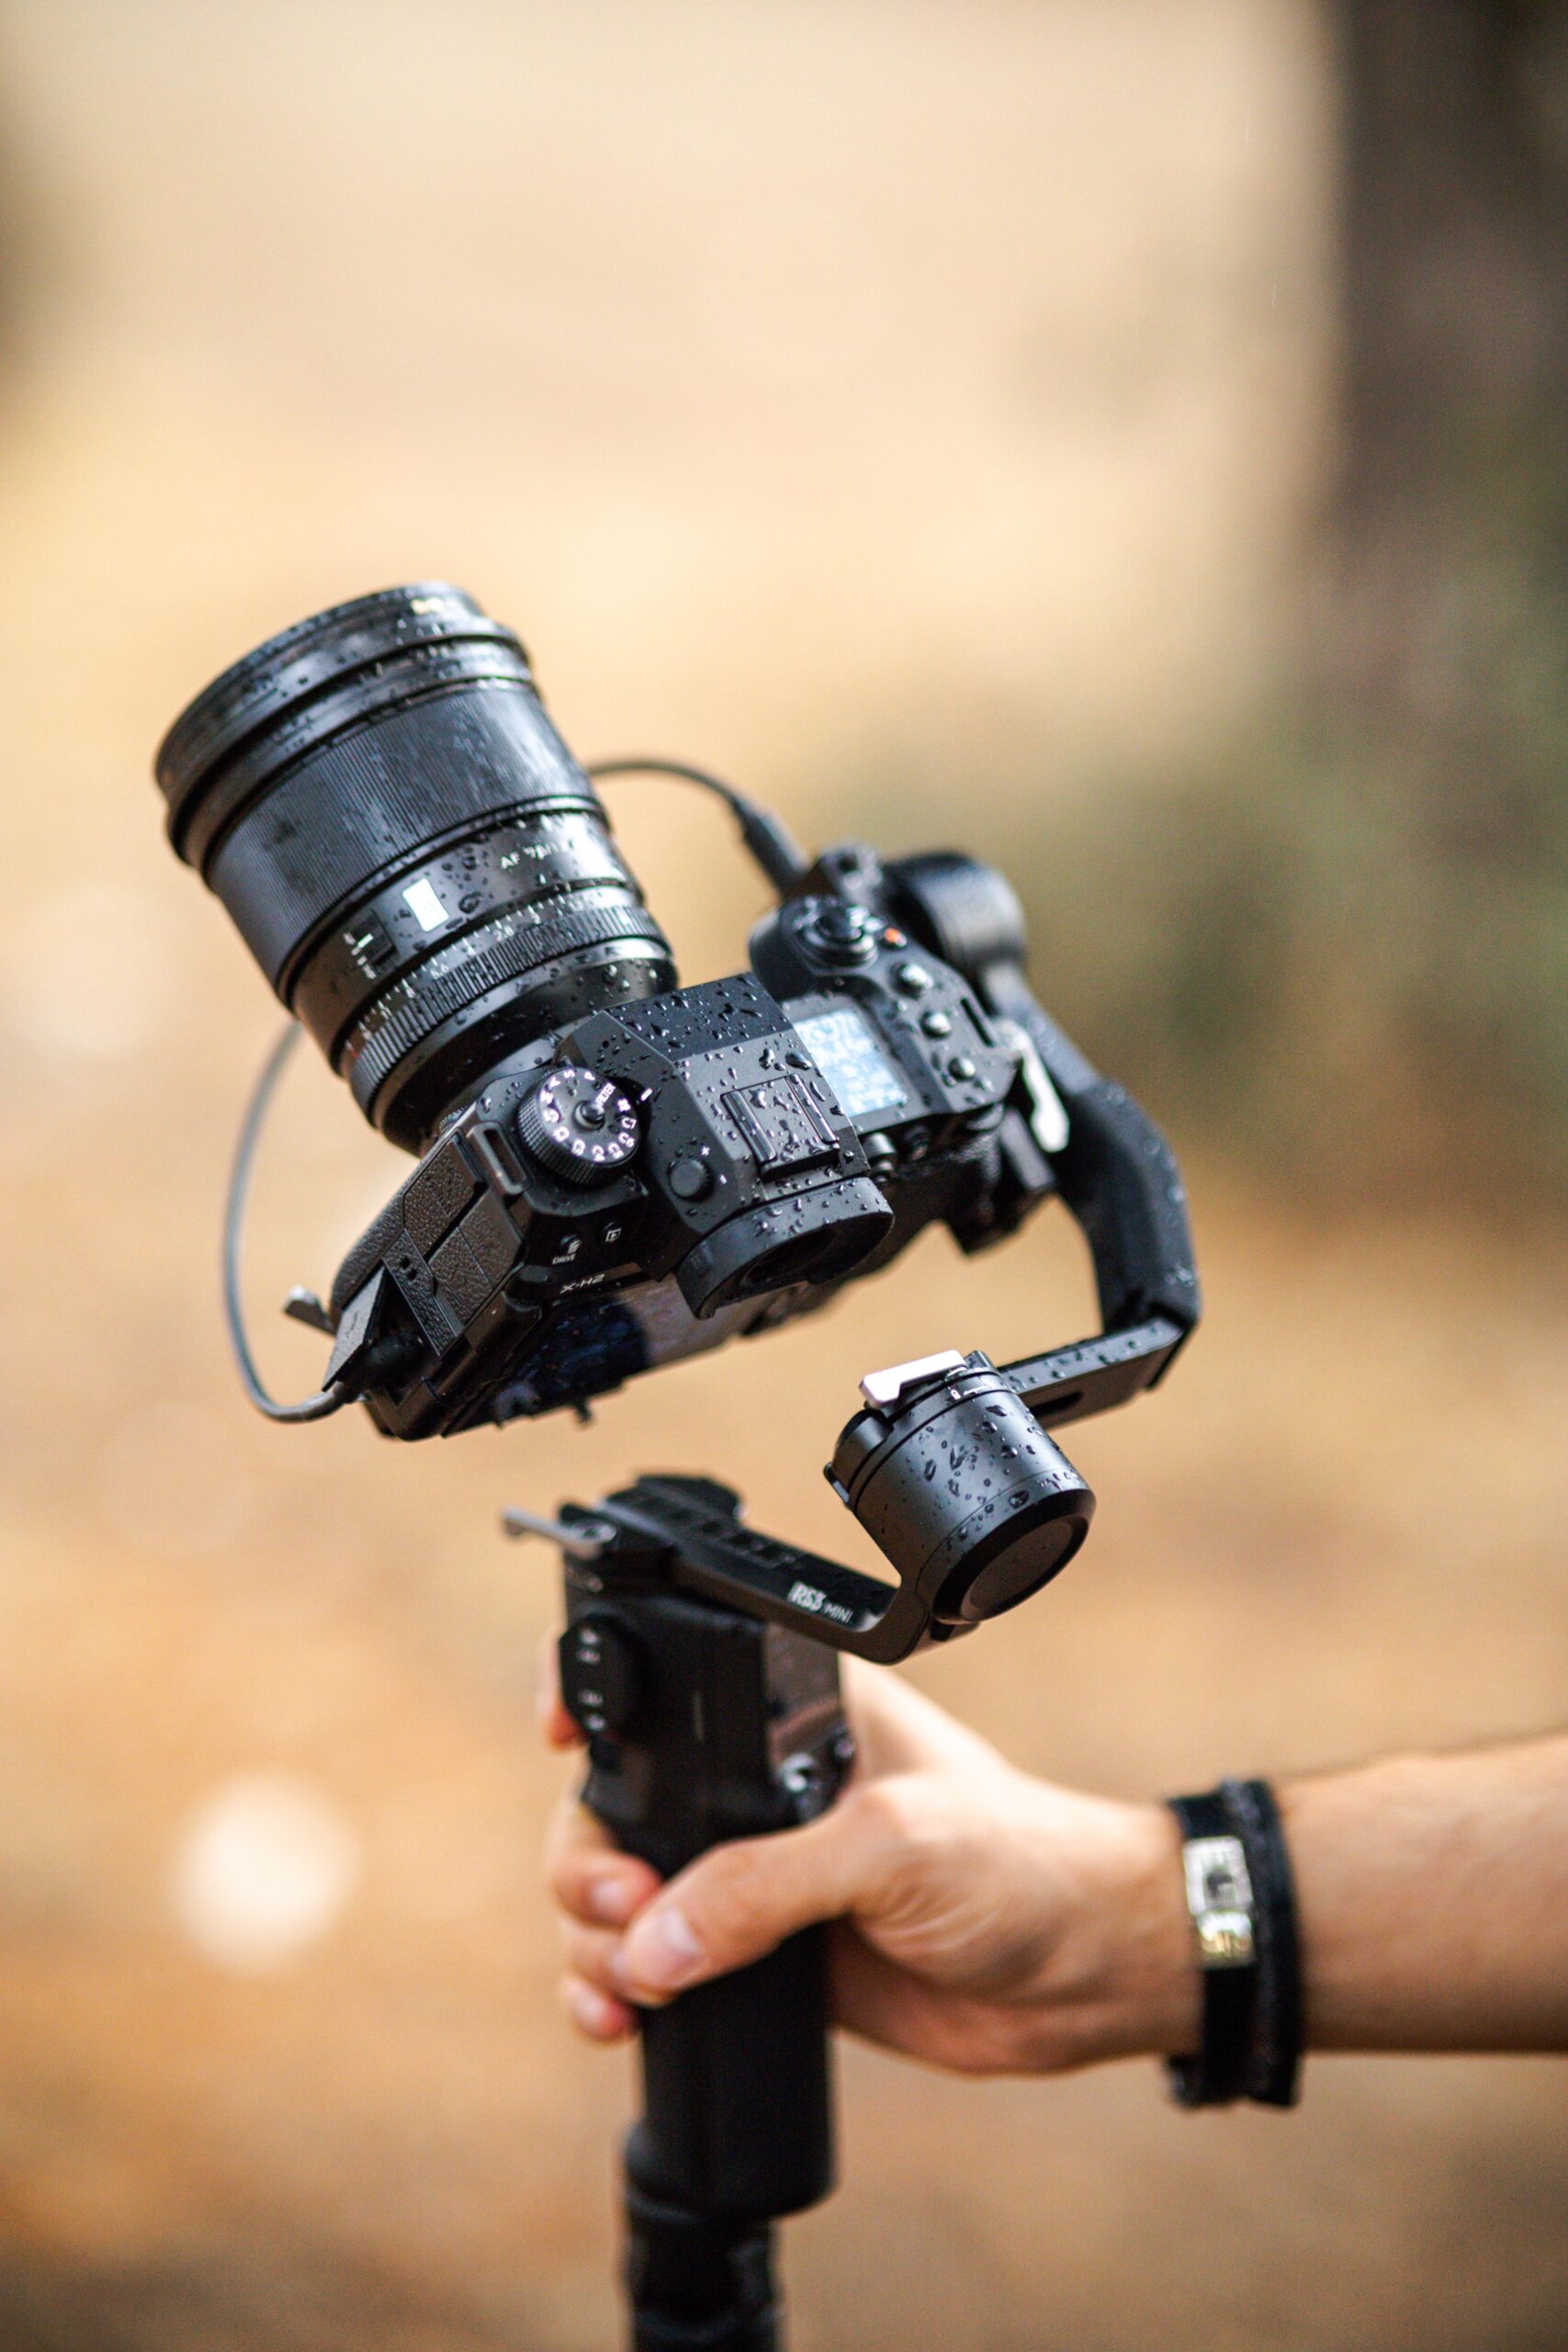
Here’s something that took me embarrassingly long to understand: static shots are often more professional than shaky handheld ones.
A cheap tripod for your phone costs very little and immediately makes your footage look more controlled and intentional. If you’re shooting handheld, stabilize yourself tuck your elbows into your body, walk slowly, bend your knees a little. Practice it.
And when you do move the camera, have a reason. Movement communicates energy, tension, momentum. But it should serve the story, not just be there because you think it looks cool.
Gimbals are great, and phone gimbals are incredibly affordable now. But even without one, you can get usable handheld footage if you’re deliberate about it.
The Honest Truth Nobody Wants to Hear
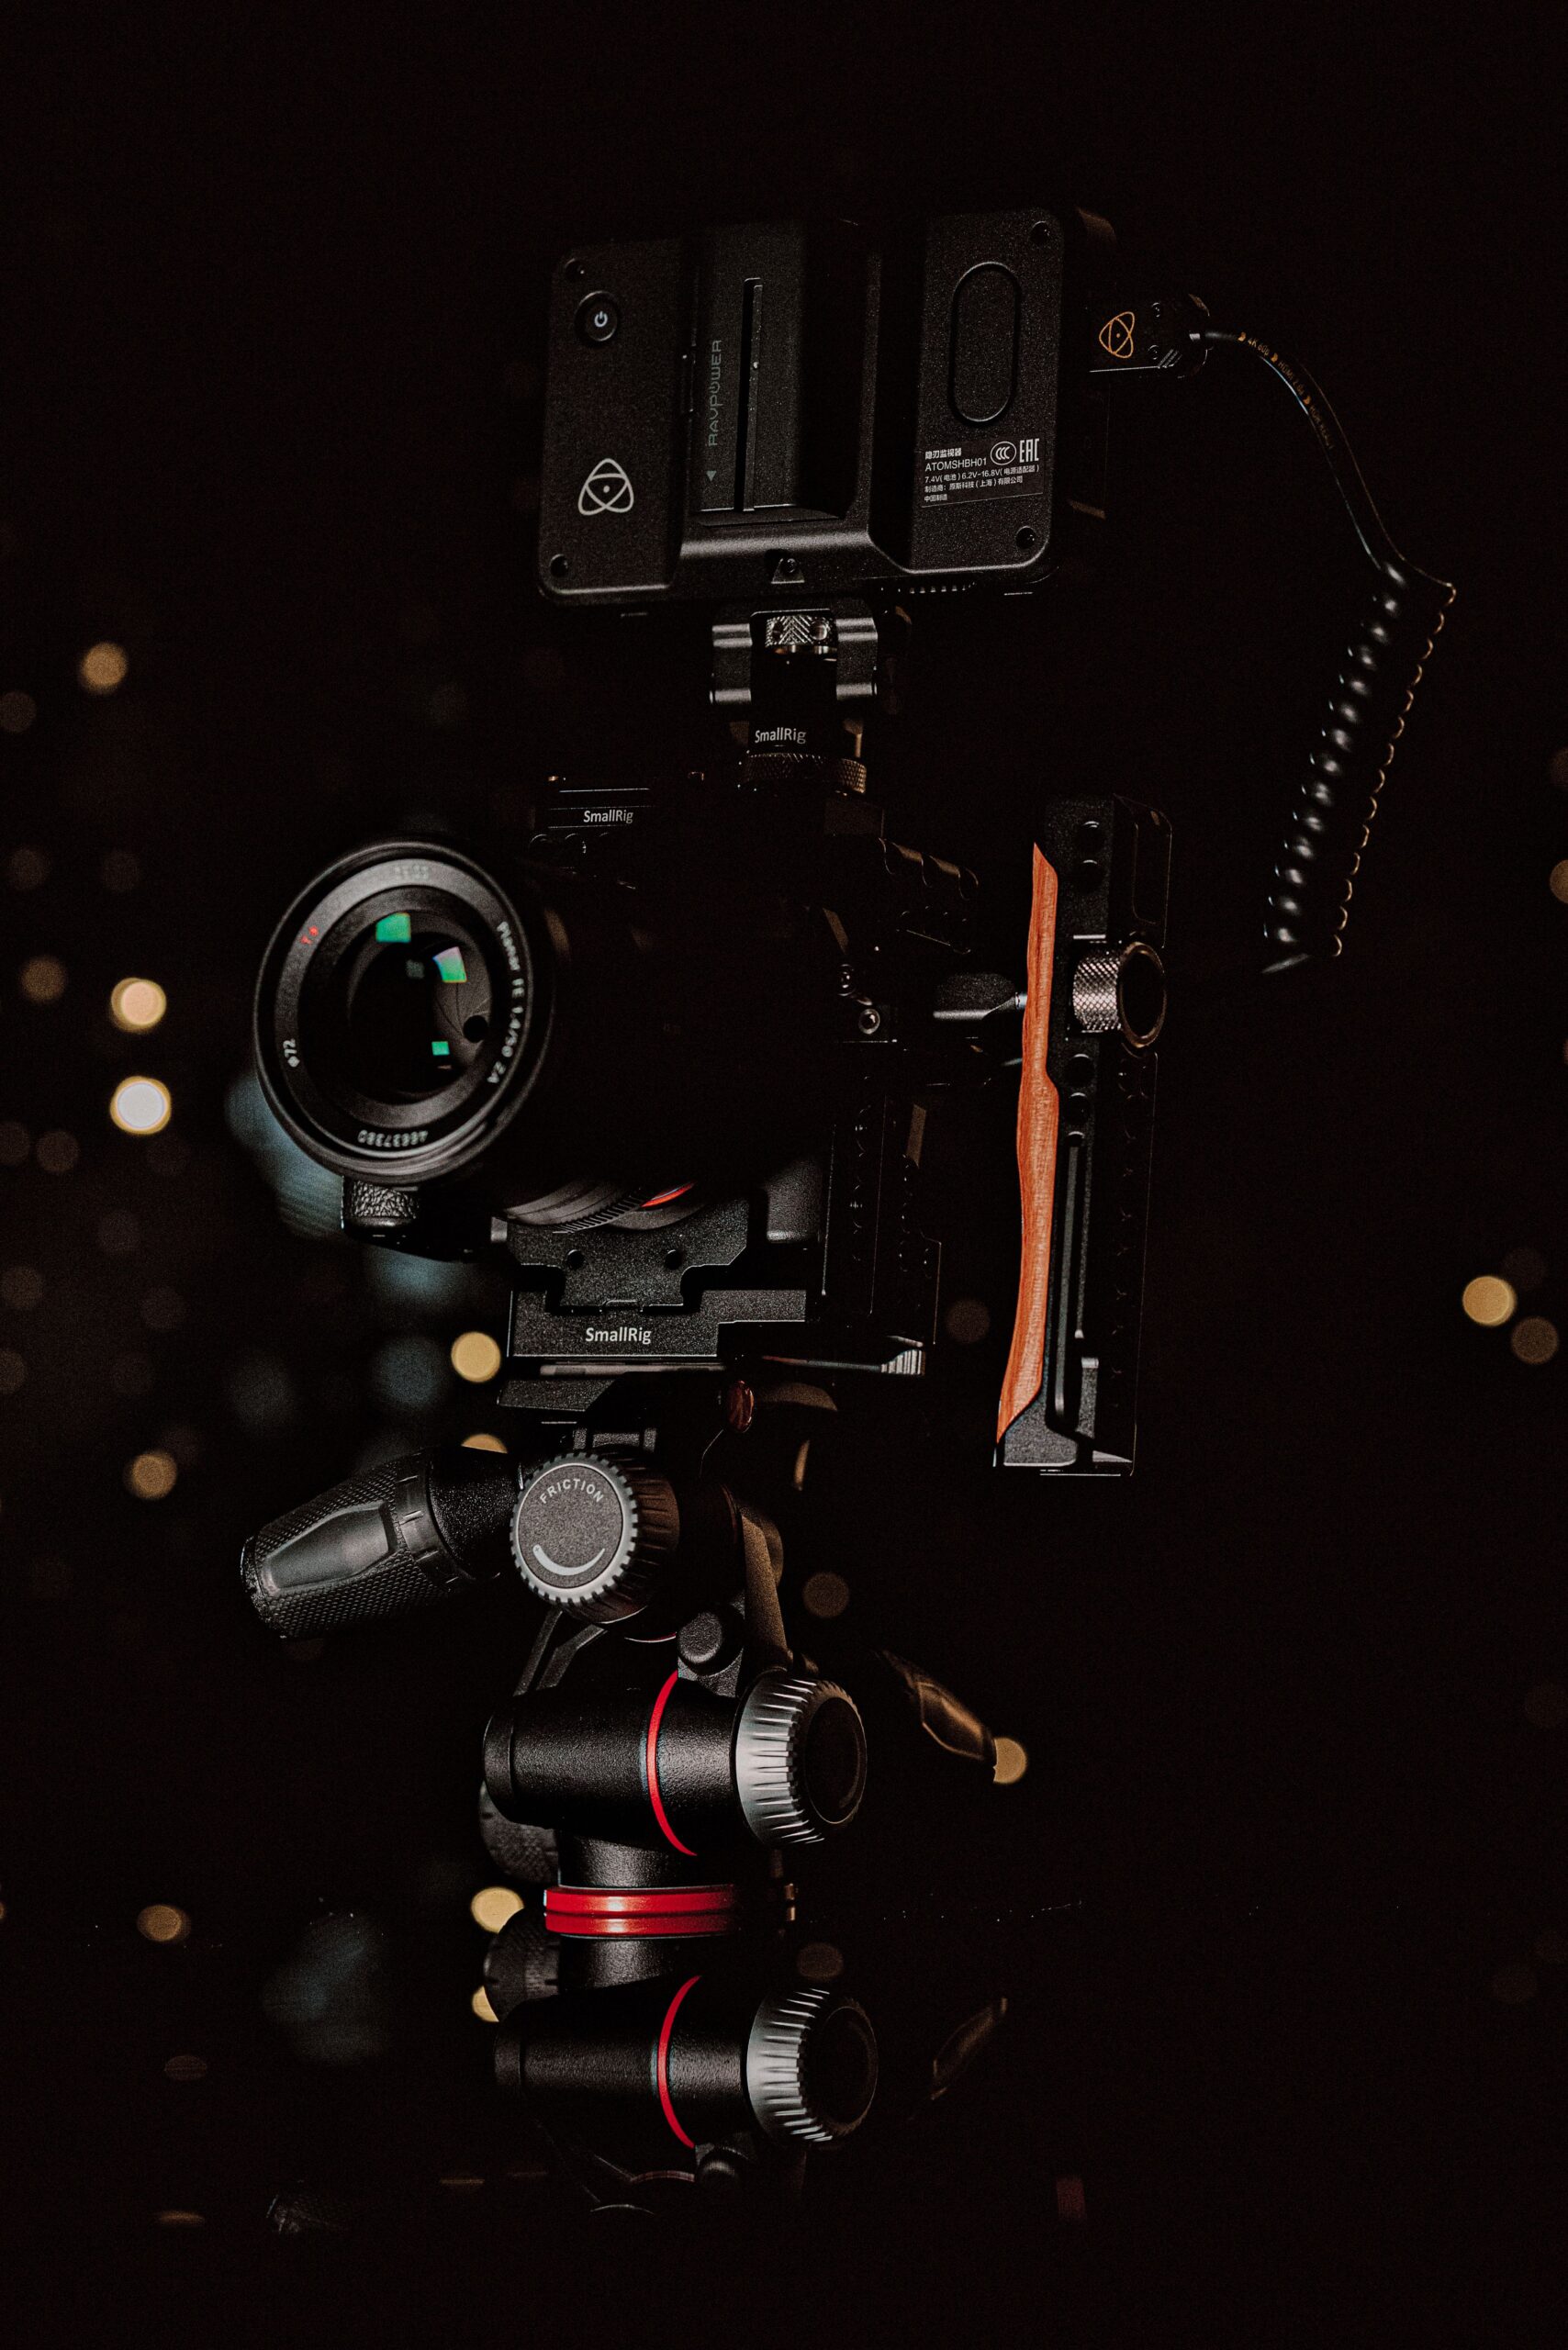
Here’s what I’ve learned after all these years:
The gap between low-budget and high-budget cinematography isn’t really about the equipment. It’s about the thinking.
People who make beautiful images on a budget understand something that gear-obsessed beginners don’t: constraints aren’t obstacles, they’re creative tools. Knowing you can’t rely on expensive lenses forces you to compose more thoughtfully. Not having a lighting rig pushes you to use natural light creatively. A limited setup demands you focus on what actually matters the story, the emotion, the intention behind every single frame.
You don’t need to buy a cinema camera to cook a great meal. You just need to know how to use the kitchen you already have.
Where to Start Tomorrow
If you take nothing else away from this, here’s your action plan:
Set your shutter speed to double your frame rate. This is the single biggest instant improvement you can make.
Use natural light. Find a window, place your subject near it, and bounce light back in for fill.
Get your audio right. A cheap lav mic and a quiet room are all you need.
Think about your frame. Composition matters more than any camera setting.
Practice. Your first attempts won’t be perfect. Mine weren’t. The only way to get better is to shoot, watch, learn, and shoot again.
The tools are in your hands. The techniques are free. The only thing standing between you and cinematic footage is you, your willingness to learn, to practice, and to stop making excuses.
Go make something. And when you watch it back, figure out what you could do better next time. That’s how we all get better.
That’s how you start turning pocket footage into real cinema.
What’s the biggest challenge you’re facing with your filmmaking? Drop it in the comments I’d genuinely love to hear what you’re working on.
