


Let me start by being completely honest with you: I spent way too much money on lighting equipment when I first started making videos. Like, embarrassing amounts. And you know what? Most of it sits in a box in my closet while I use the same three cheap setups over and over again.
So before you drop your hard-earned cash on expensive lights, let me show you what actually works. These are the setups I’ve tested, failed with, and eventually mastered – so you don’t have to go through the same painful learning curve.
Setup 1: The Window Wonder (Free)
What you need: A window and some sheer curtains.
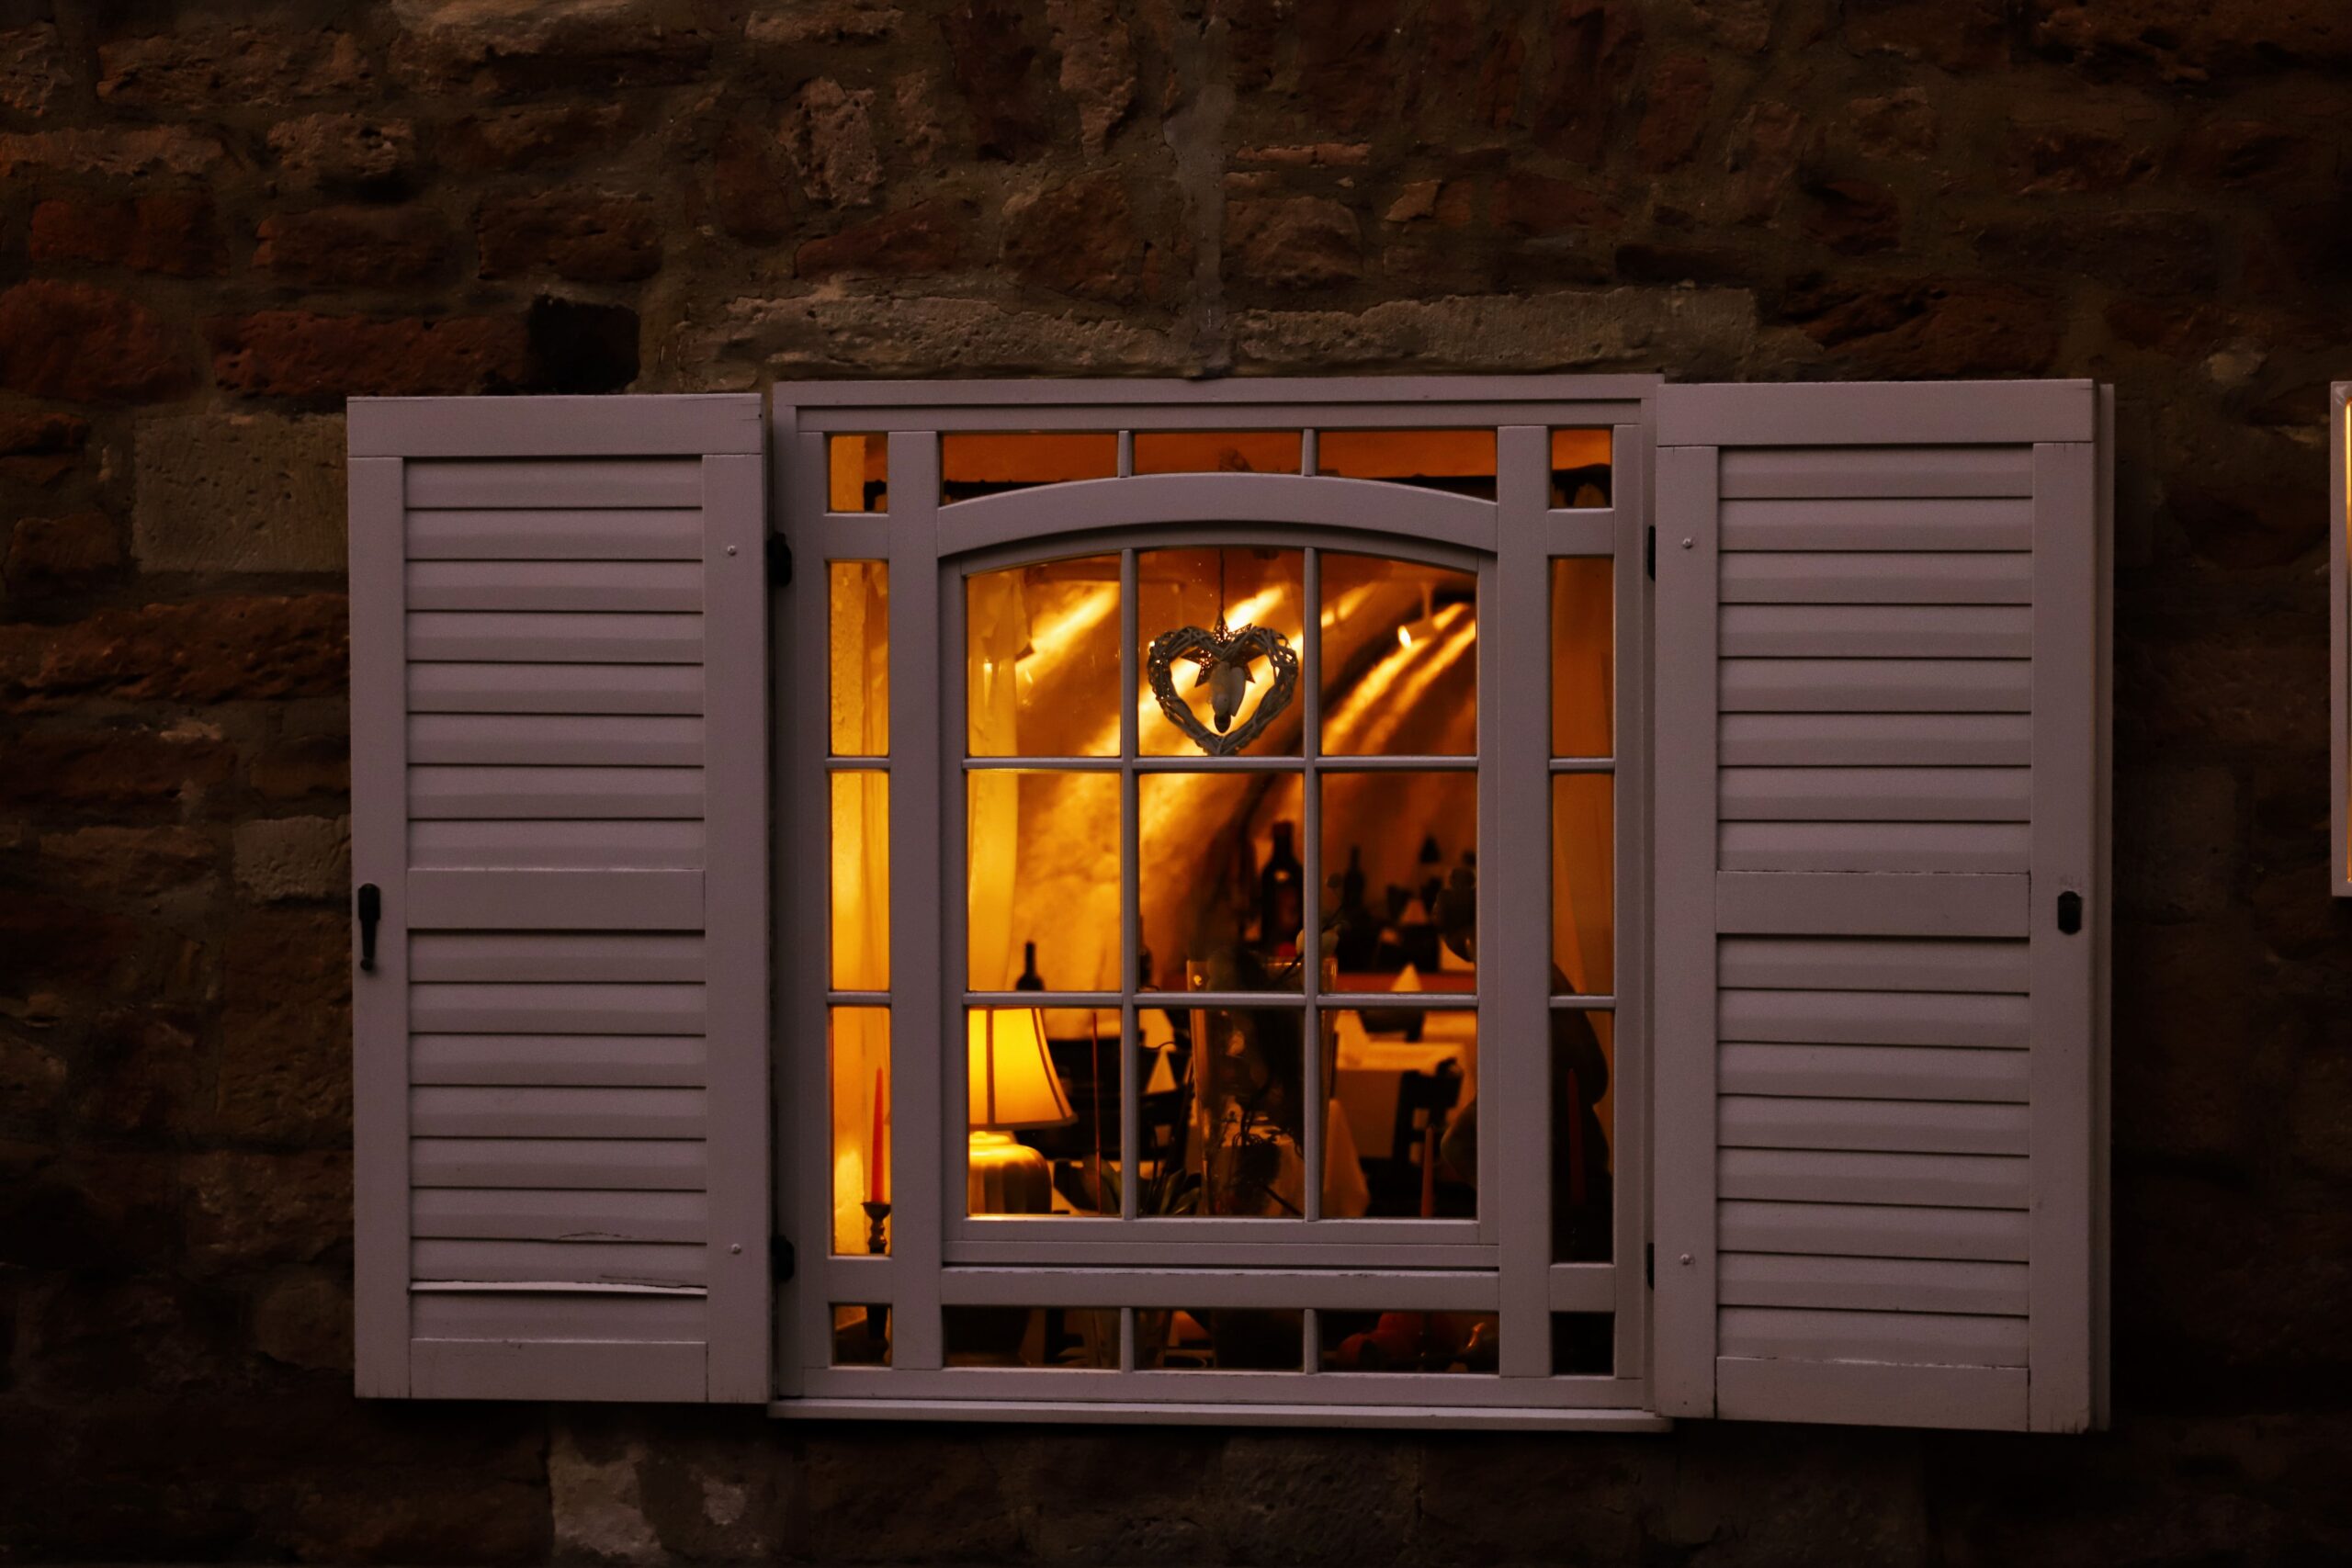
This is the setup I wish I’d started with. Find a window that gets indirect sunlight (direct sun is too harsh and will make you squint like you’re staring into the abyss).
Step by step:
-
Position yourself facing the window at about a 45-degree angle
-
Hang a white sheer curtain over the window (this diffuses the light and makes it soft)
-
Place a white foam board or even a piece of white poster board on the opposite side of your face to bounce light back into the shadows
-
Shoot during “golden hour” (early morning or late afternoon) for the most flattering light
The results? Soft, natural-looking light that makes everyone look good. It’s free, it’s easy, and it’s what I use for 80% of my talking head videos.
Setup 2: The Ring Light Classic ($20-40)
What you need: A basic ring light with a stand.
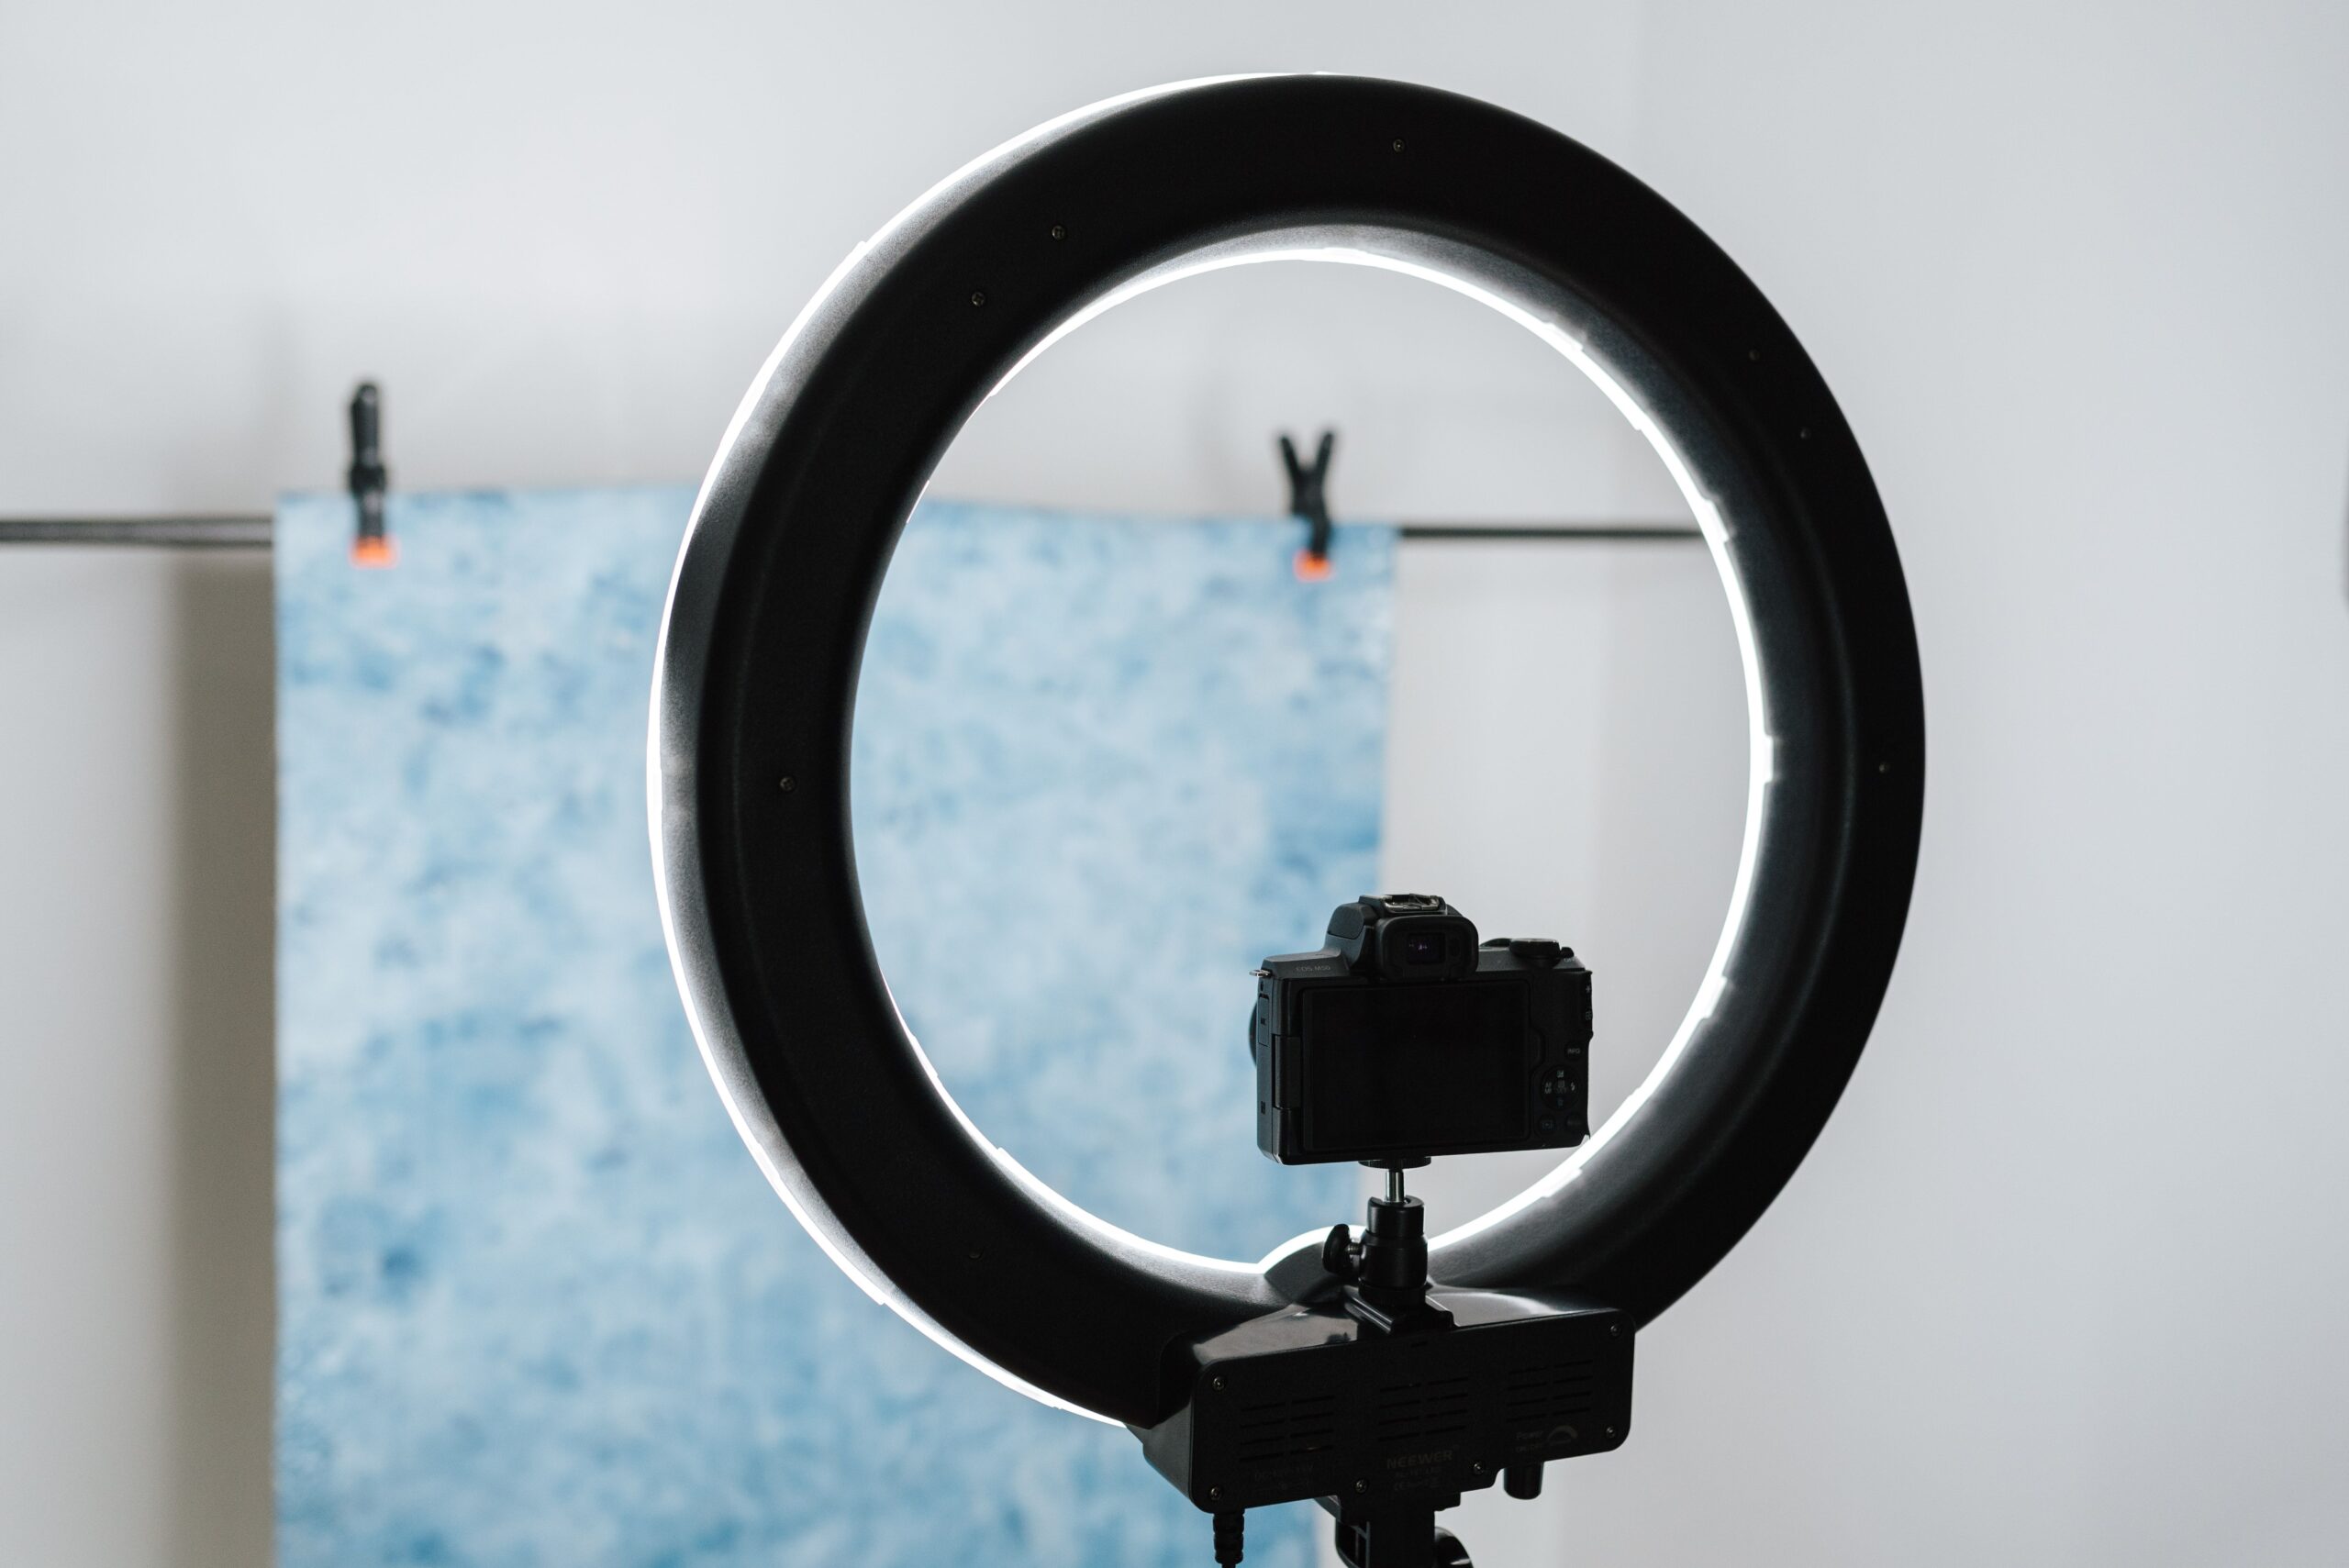
I know, I know – everyone uses ring lights. But there’s a reason for that. They work. The trick is knowing how to position them so you don’t look like every other YouTuber.
Step by step:
-
Set your ring light directly behind your camera (the camera peeks through the center)
-
Set the brightness to about 60% – full blast is way too harsh
-
Adjust the color temperature to around 4500K (that’s the sweet spot between warm and cool)
-
Here’s the pro move: place it slightly above eye level, tilted down at about 15 degrees
-
Add a second light source (even a desk lamp) behind you to create depth
The common mistake? Placing it dead center at eye level. That gives you that creepy “deer in headlights” look. Trust me on the height adjustment – it makes a world of difference.
Setup 3: The DIY Softbox ($15)
What you need: A work lamp from the hardware store, parchment paper, and a clamp.
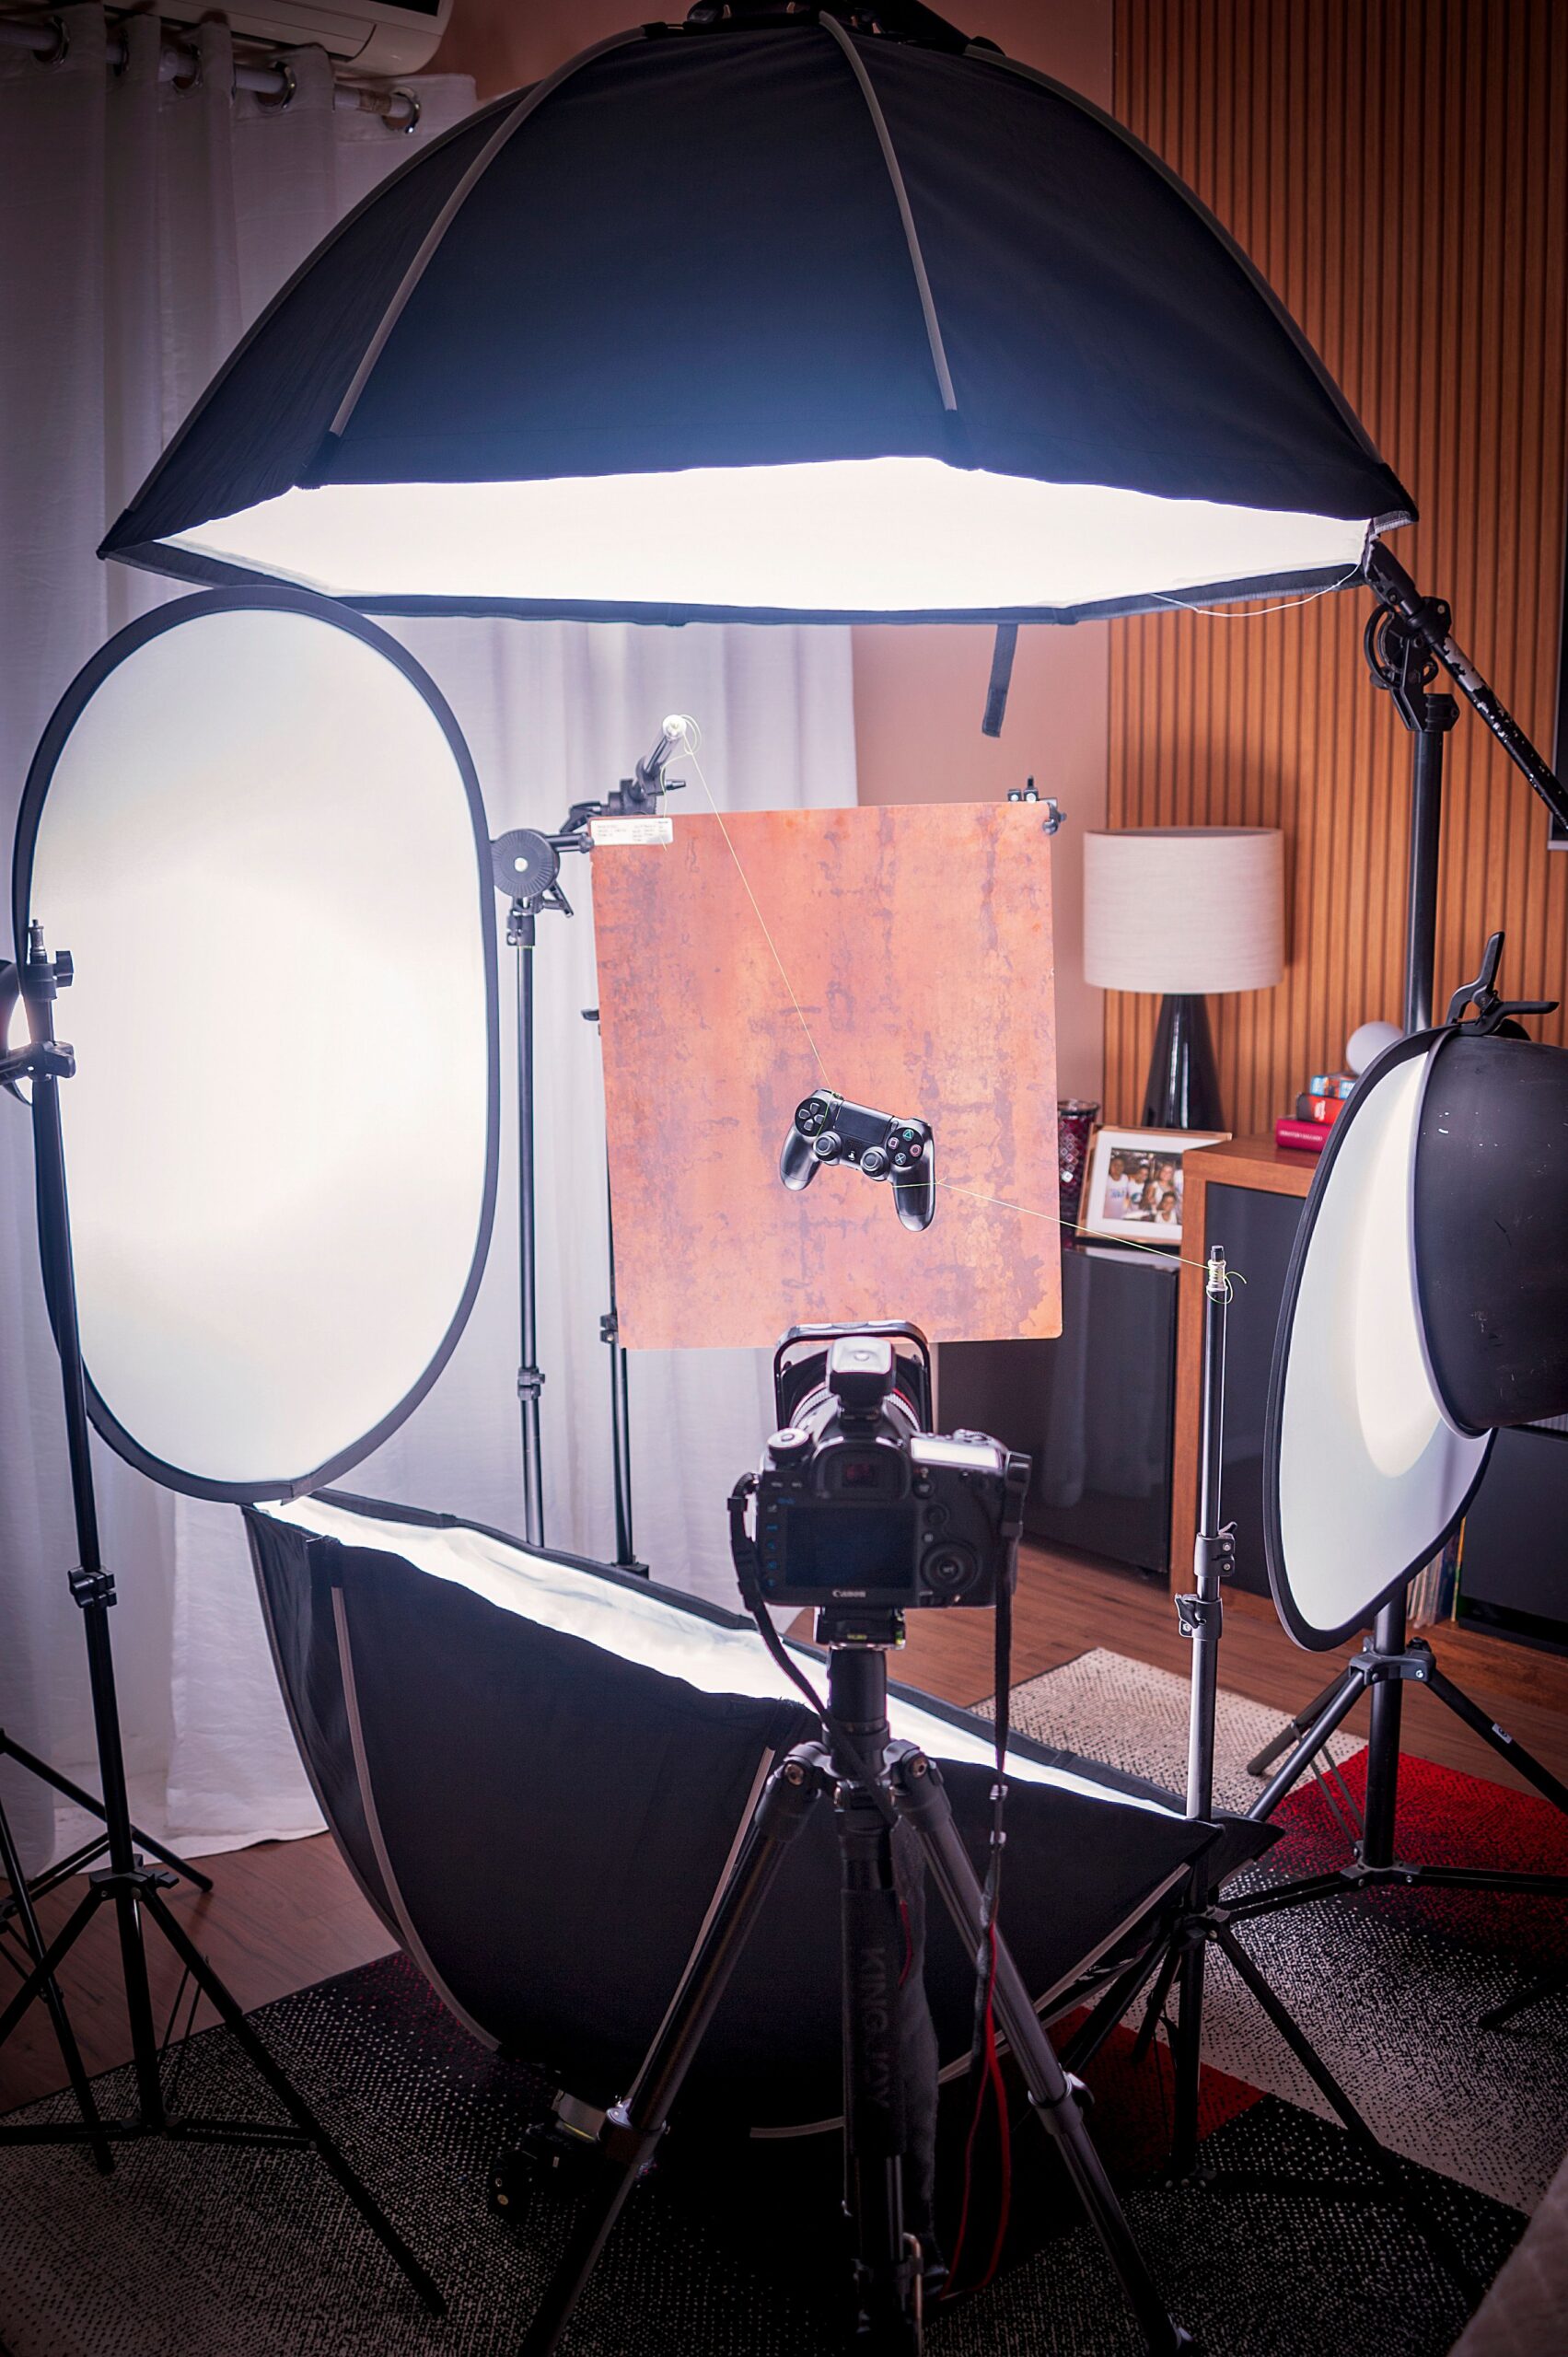
I discovered this when I was broke and desperate, and honestly, I still use it sometimes because it looks that good.
Step by step:
-
Buy a clamp work light (the ones with the silver reflector dish) for about $10
-
Get a bright LED bulb (daylight balanced, around 5000K)
-
Cut a piece of parchment paper – yes, the baking kind – large enough to cover the front of the reflector
-
Clamp it over the front of the light using binder clips or tape
-
Position the light about 3 feet away from you, at a 45-degree angle
The parchment paper acts as a diffuser, turning that harsh work light into something that looks like a professional softbox. Just be careful about heat – LED bulbs are safe, but don’t try this with old-fashioned bulbs.
Setup 4: The Three-Point Lighting Hack ($30)
What you need: Two desk lamps, one floor lamp, and some white fabric.
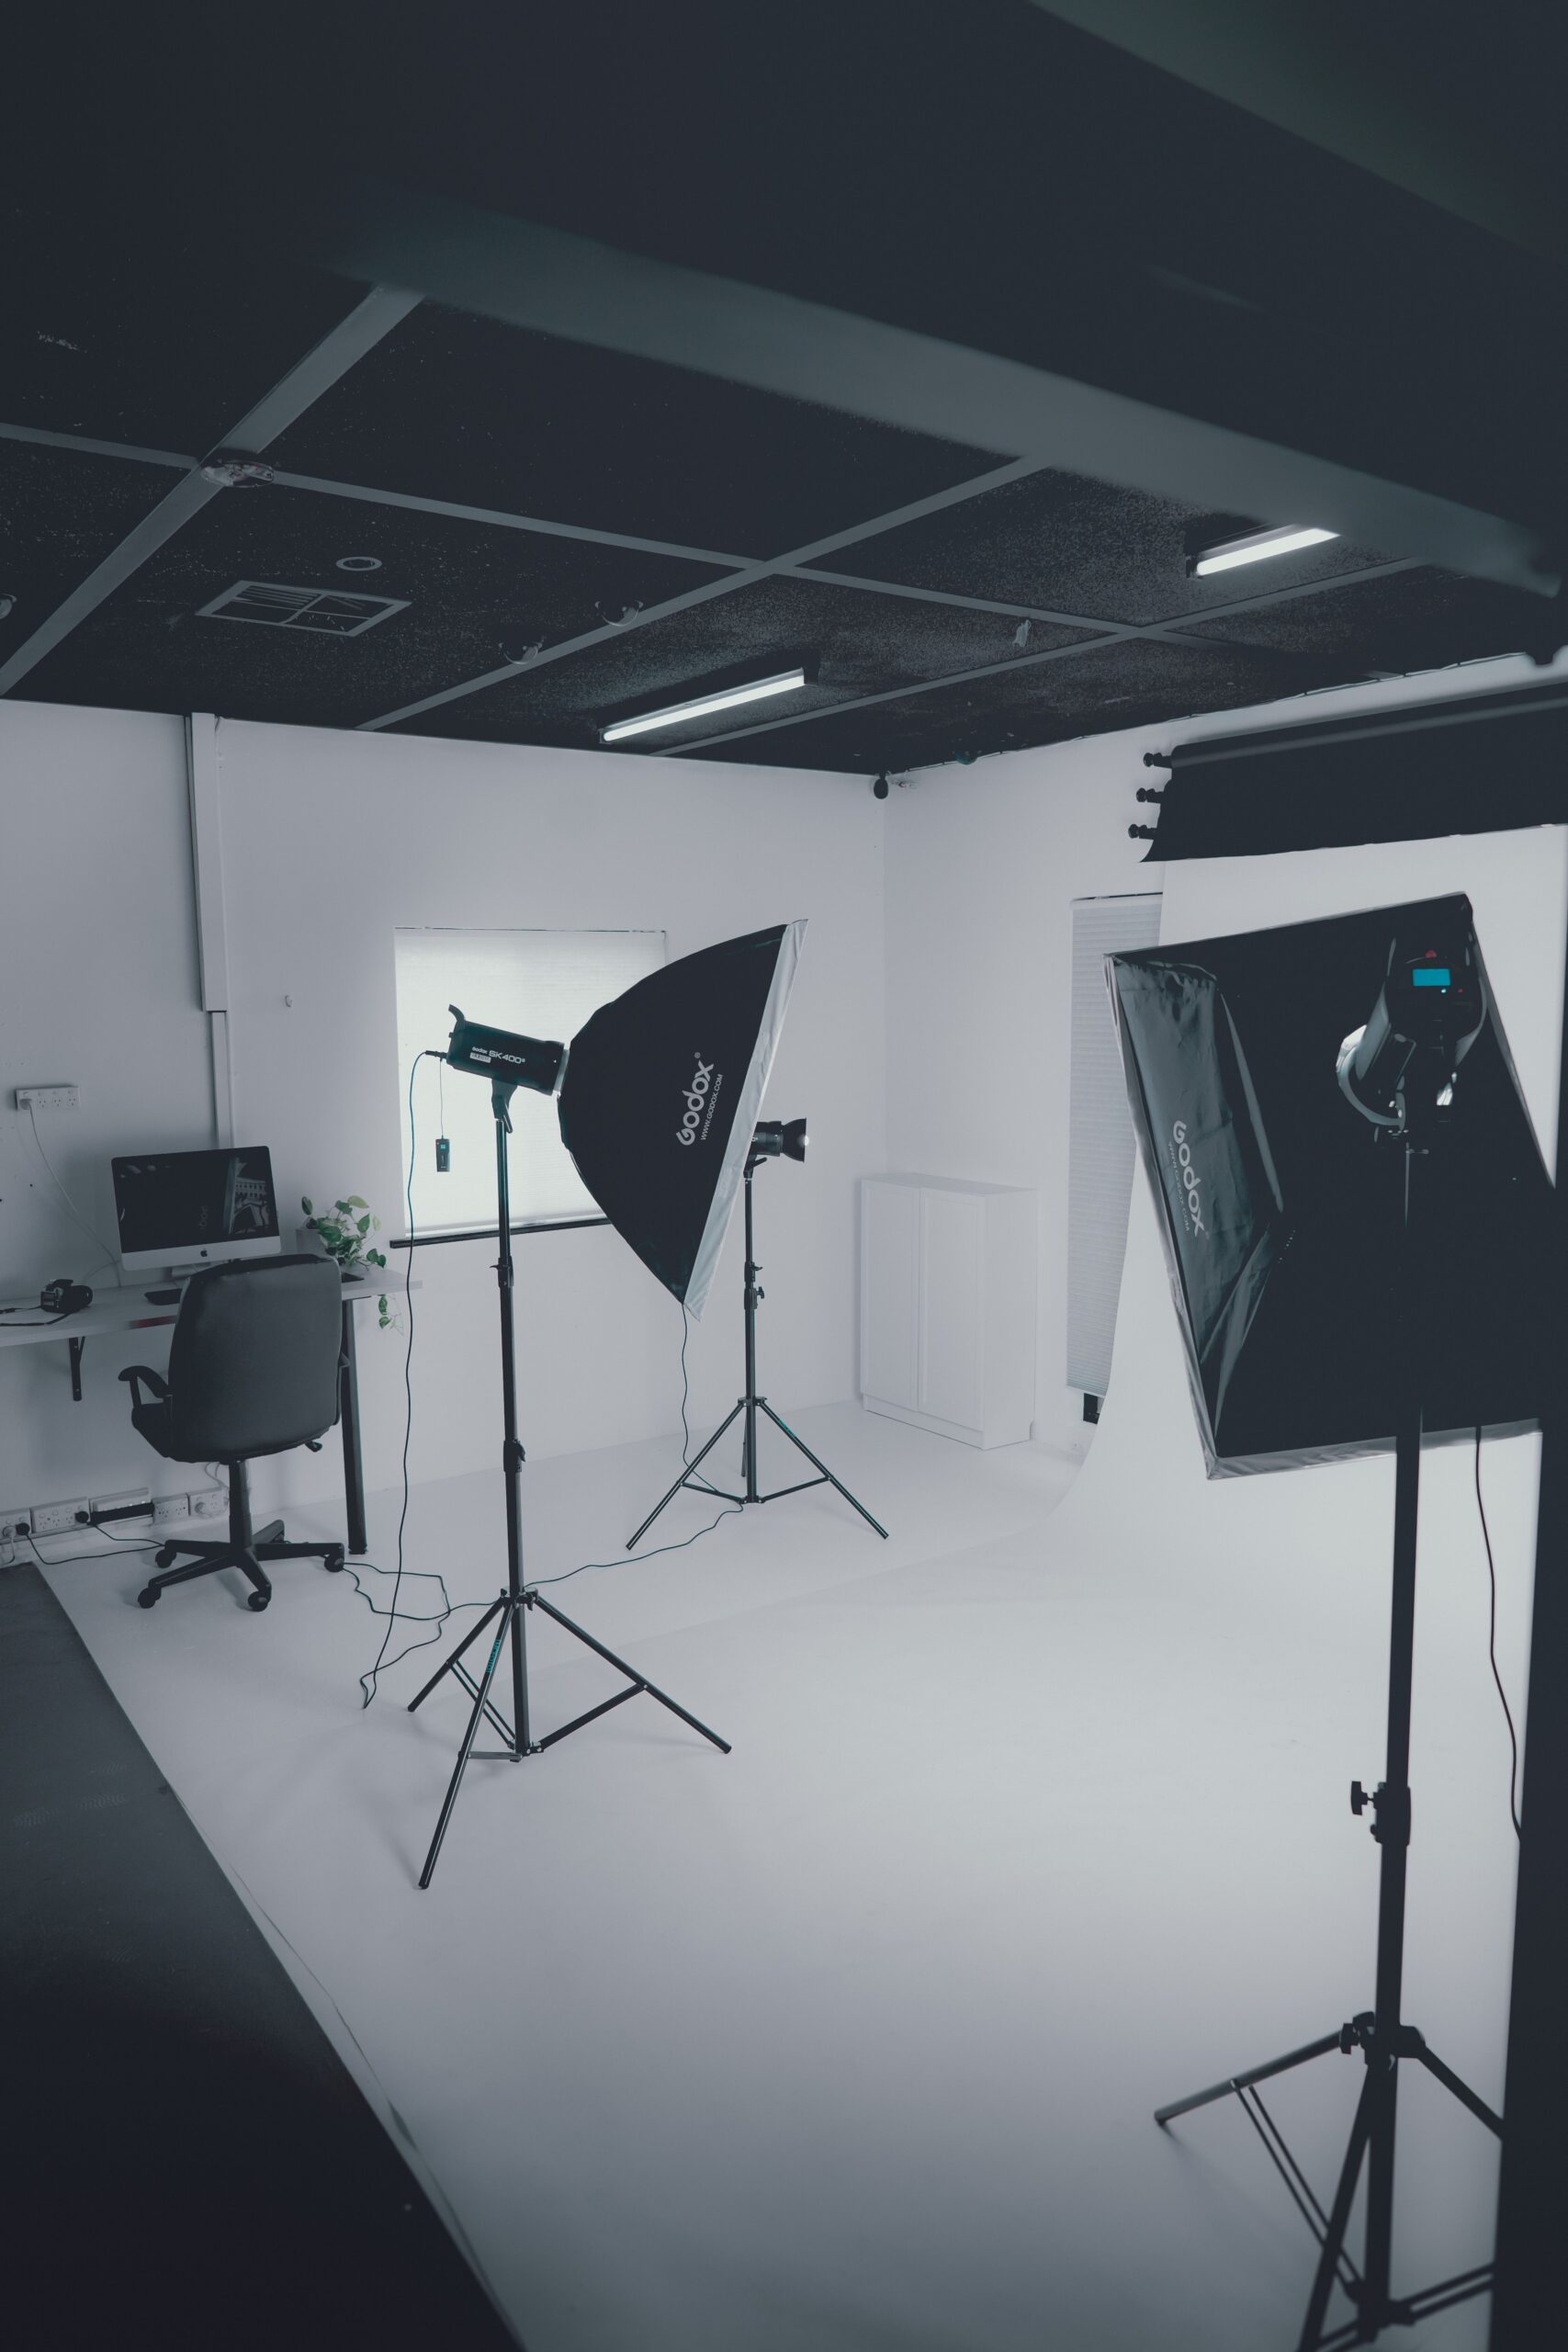
Remember that expensive three-point lighting kit you saw on B&H? Here’s how to replicate it for pocket change.
Step by step:
-
Key light (main light): Place your brightest desk lamp at 45 degrees to one side of your face, slightly above eye level
-
Bounce a piece of white poster board off the opposite side for fill light
-
Back light (hair light): Place the floor lamp behind and slightly above you, aimed at the back of your head/shoulders
-
Cover all lamps with white fabric (an old t-shirt works great) to soften the light
This setup gives you that professional “cinematic” look because you’re separating yourself from the background and creating dimension. It sounds fancy, but it’s literally just three lamps.
Setup 5: The Garbage Bag Diffusion ($5)
What you need: A white plastic garbage bag and a clamp light,
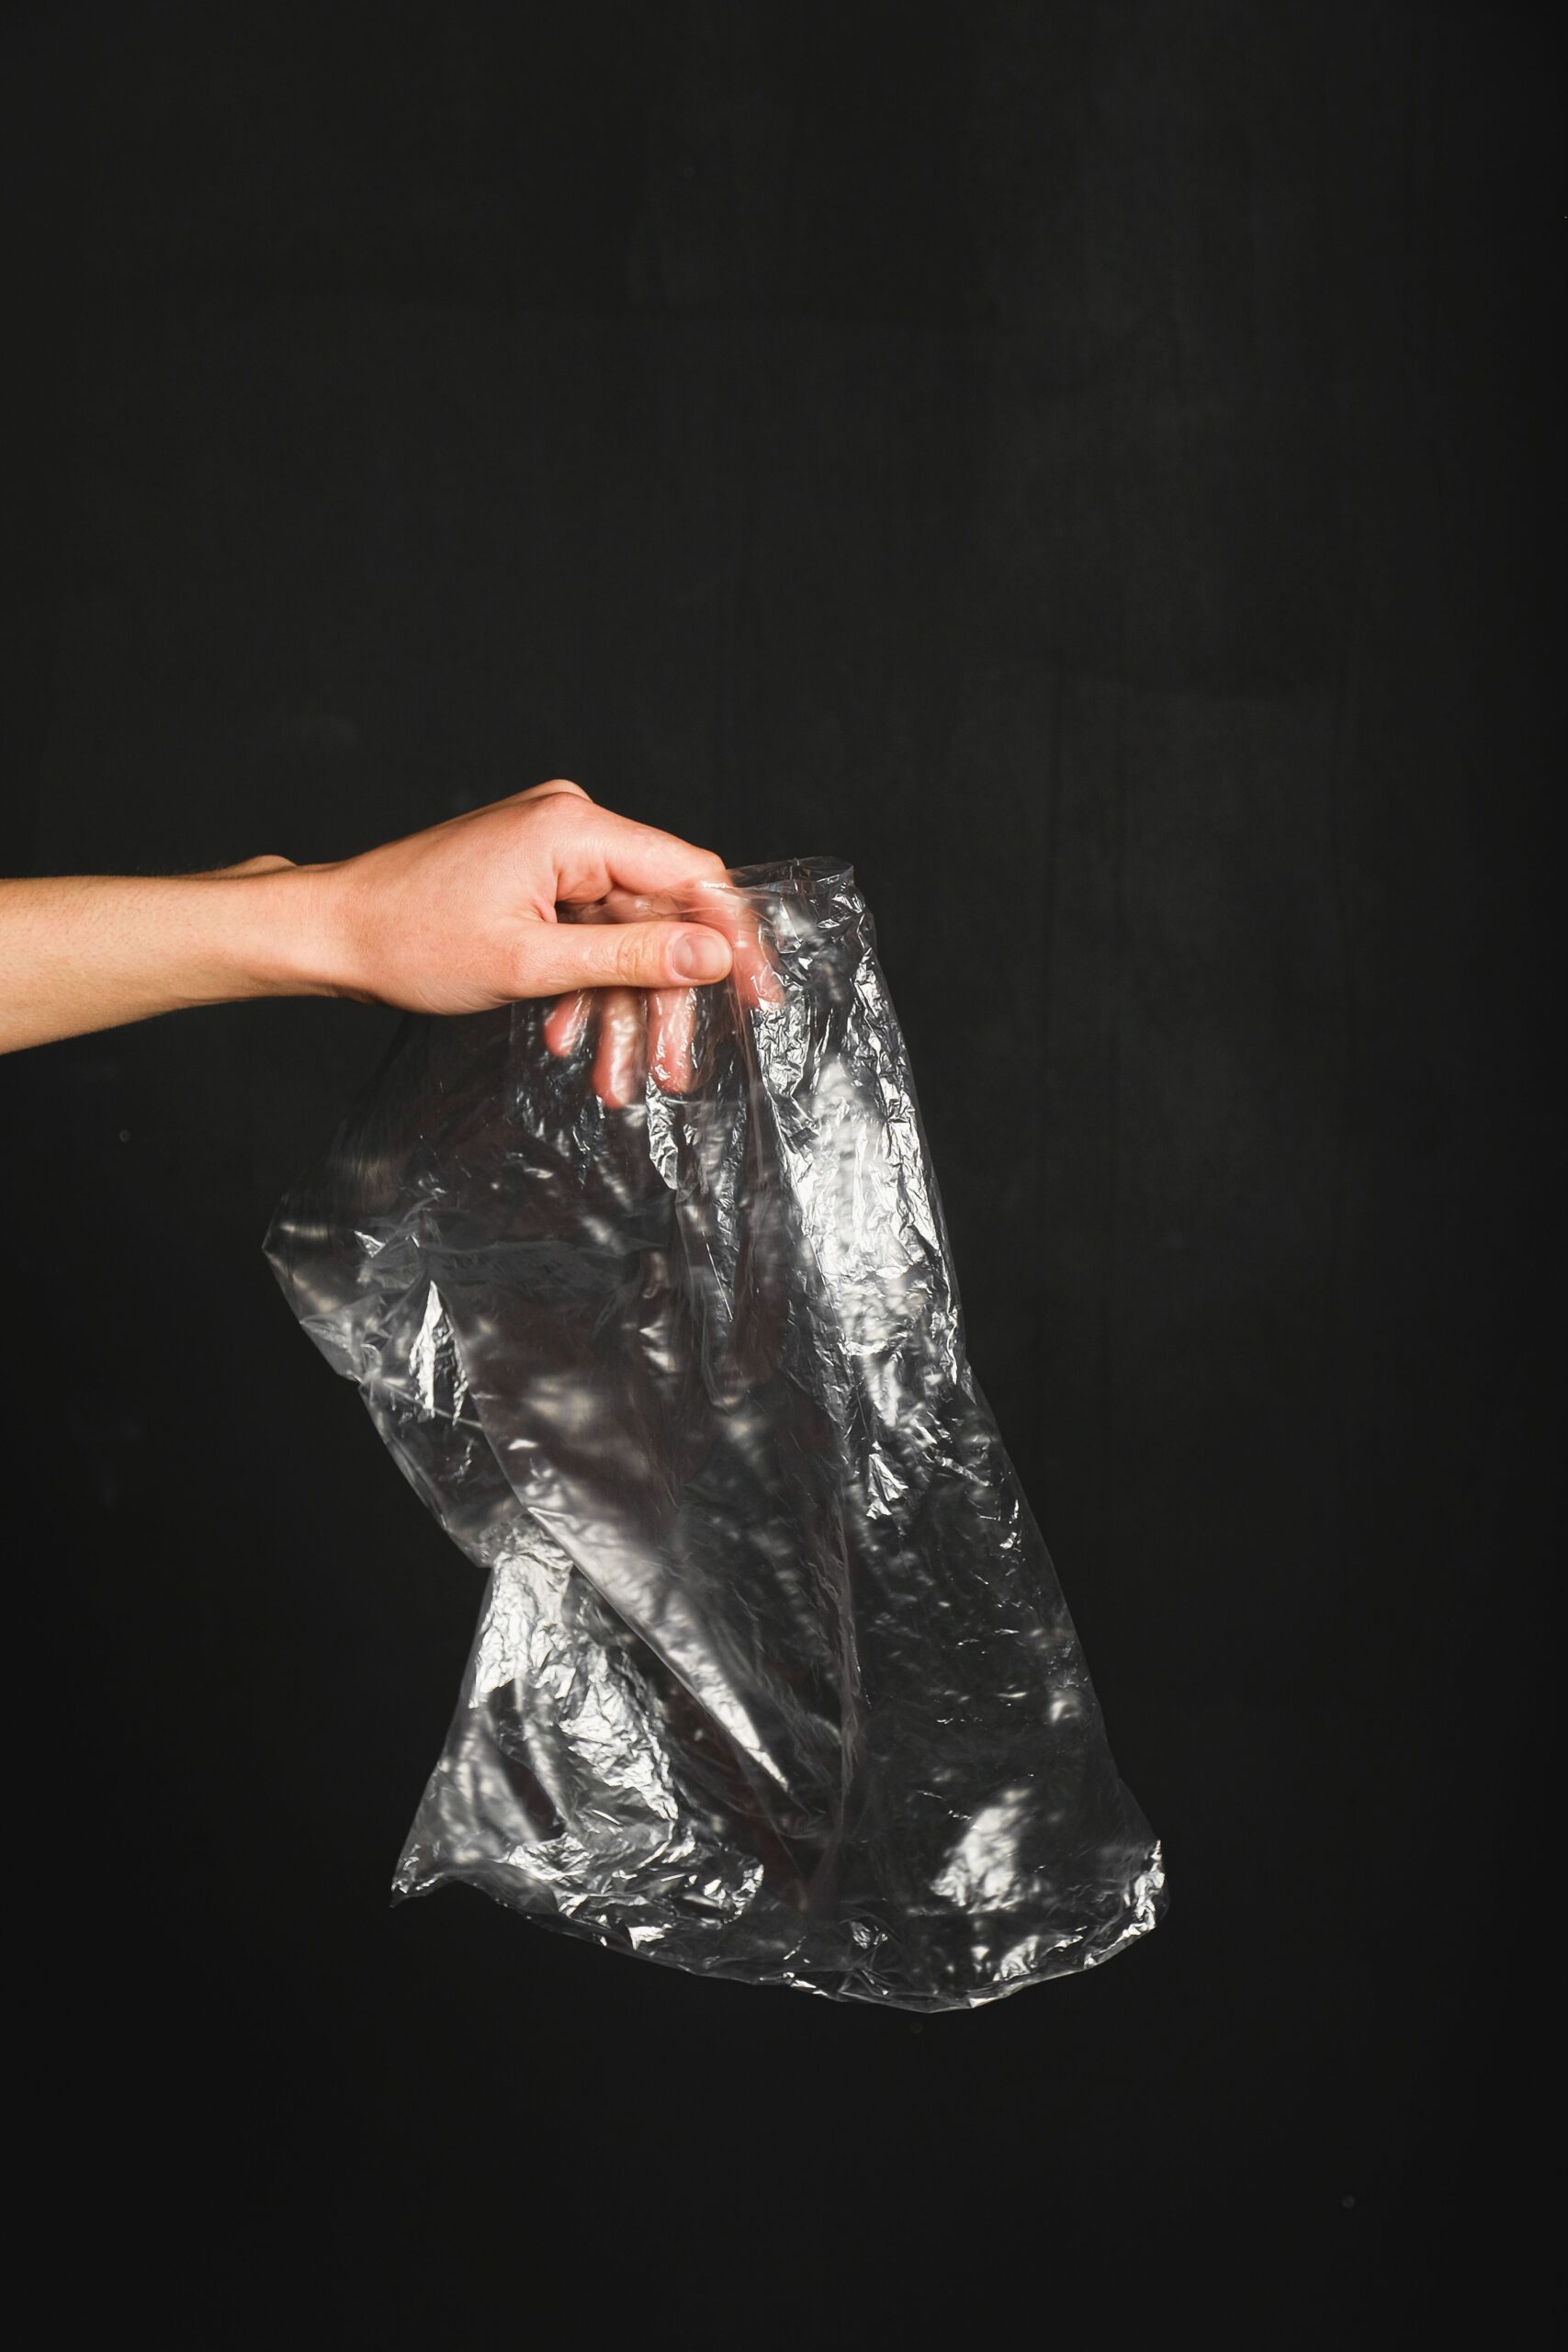
I know this sounds insane, but hear me out. I was desperate on a shoot once and this saved me.
Step by step:
-
Take a new, clean (very important!) white garbage bag
-
Cut it open so it’s one flat piece of plastic
-
Clamp it over your light source – work light, desk lamp, whatever you have
-
Double it up if the light is too harsh
-
Position the light about 4 feet away at a 45-degree angle
The plastic creates a beautiful soft diffusion that’s surprisingly professional-looking. The key is making sure the bag is clean and smooth – wrinkles create weird shadows. And obviously, watch the heat.
Setup 6: The Bounced Sunlight Trick (Free)
What you need: Sunlight and a white bedsheet.
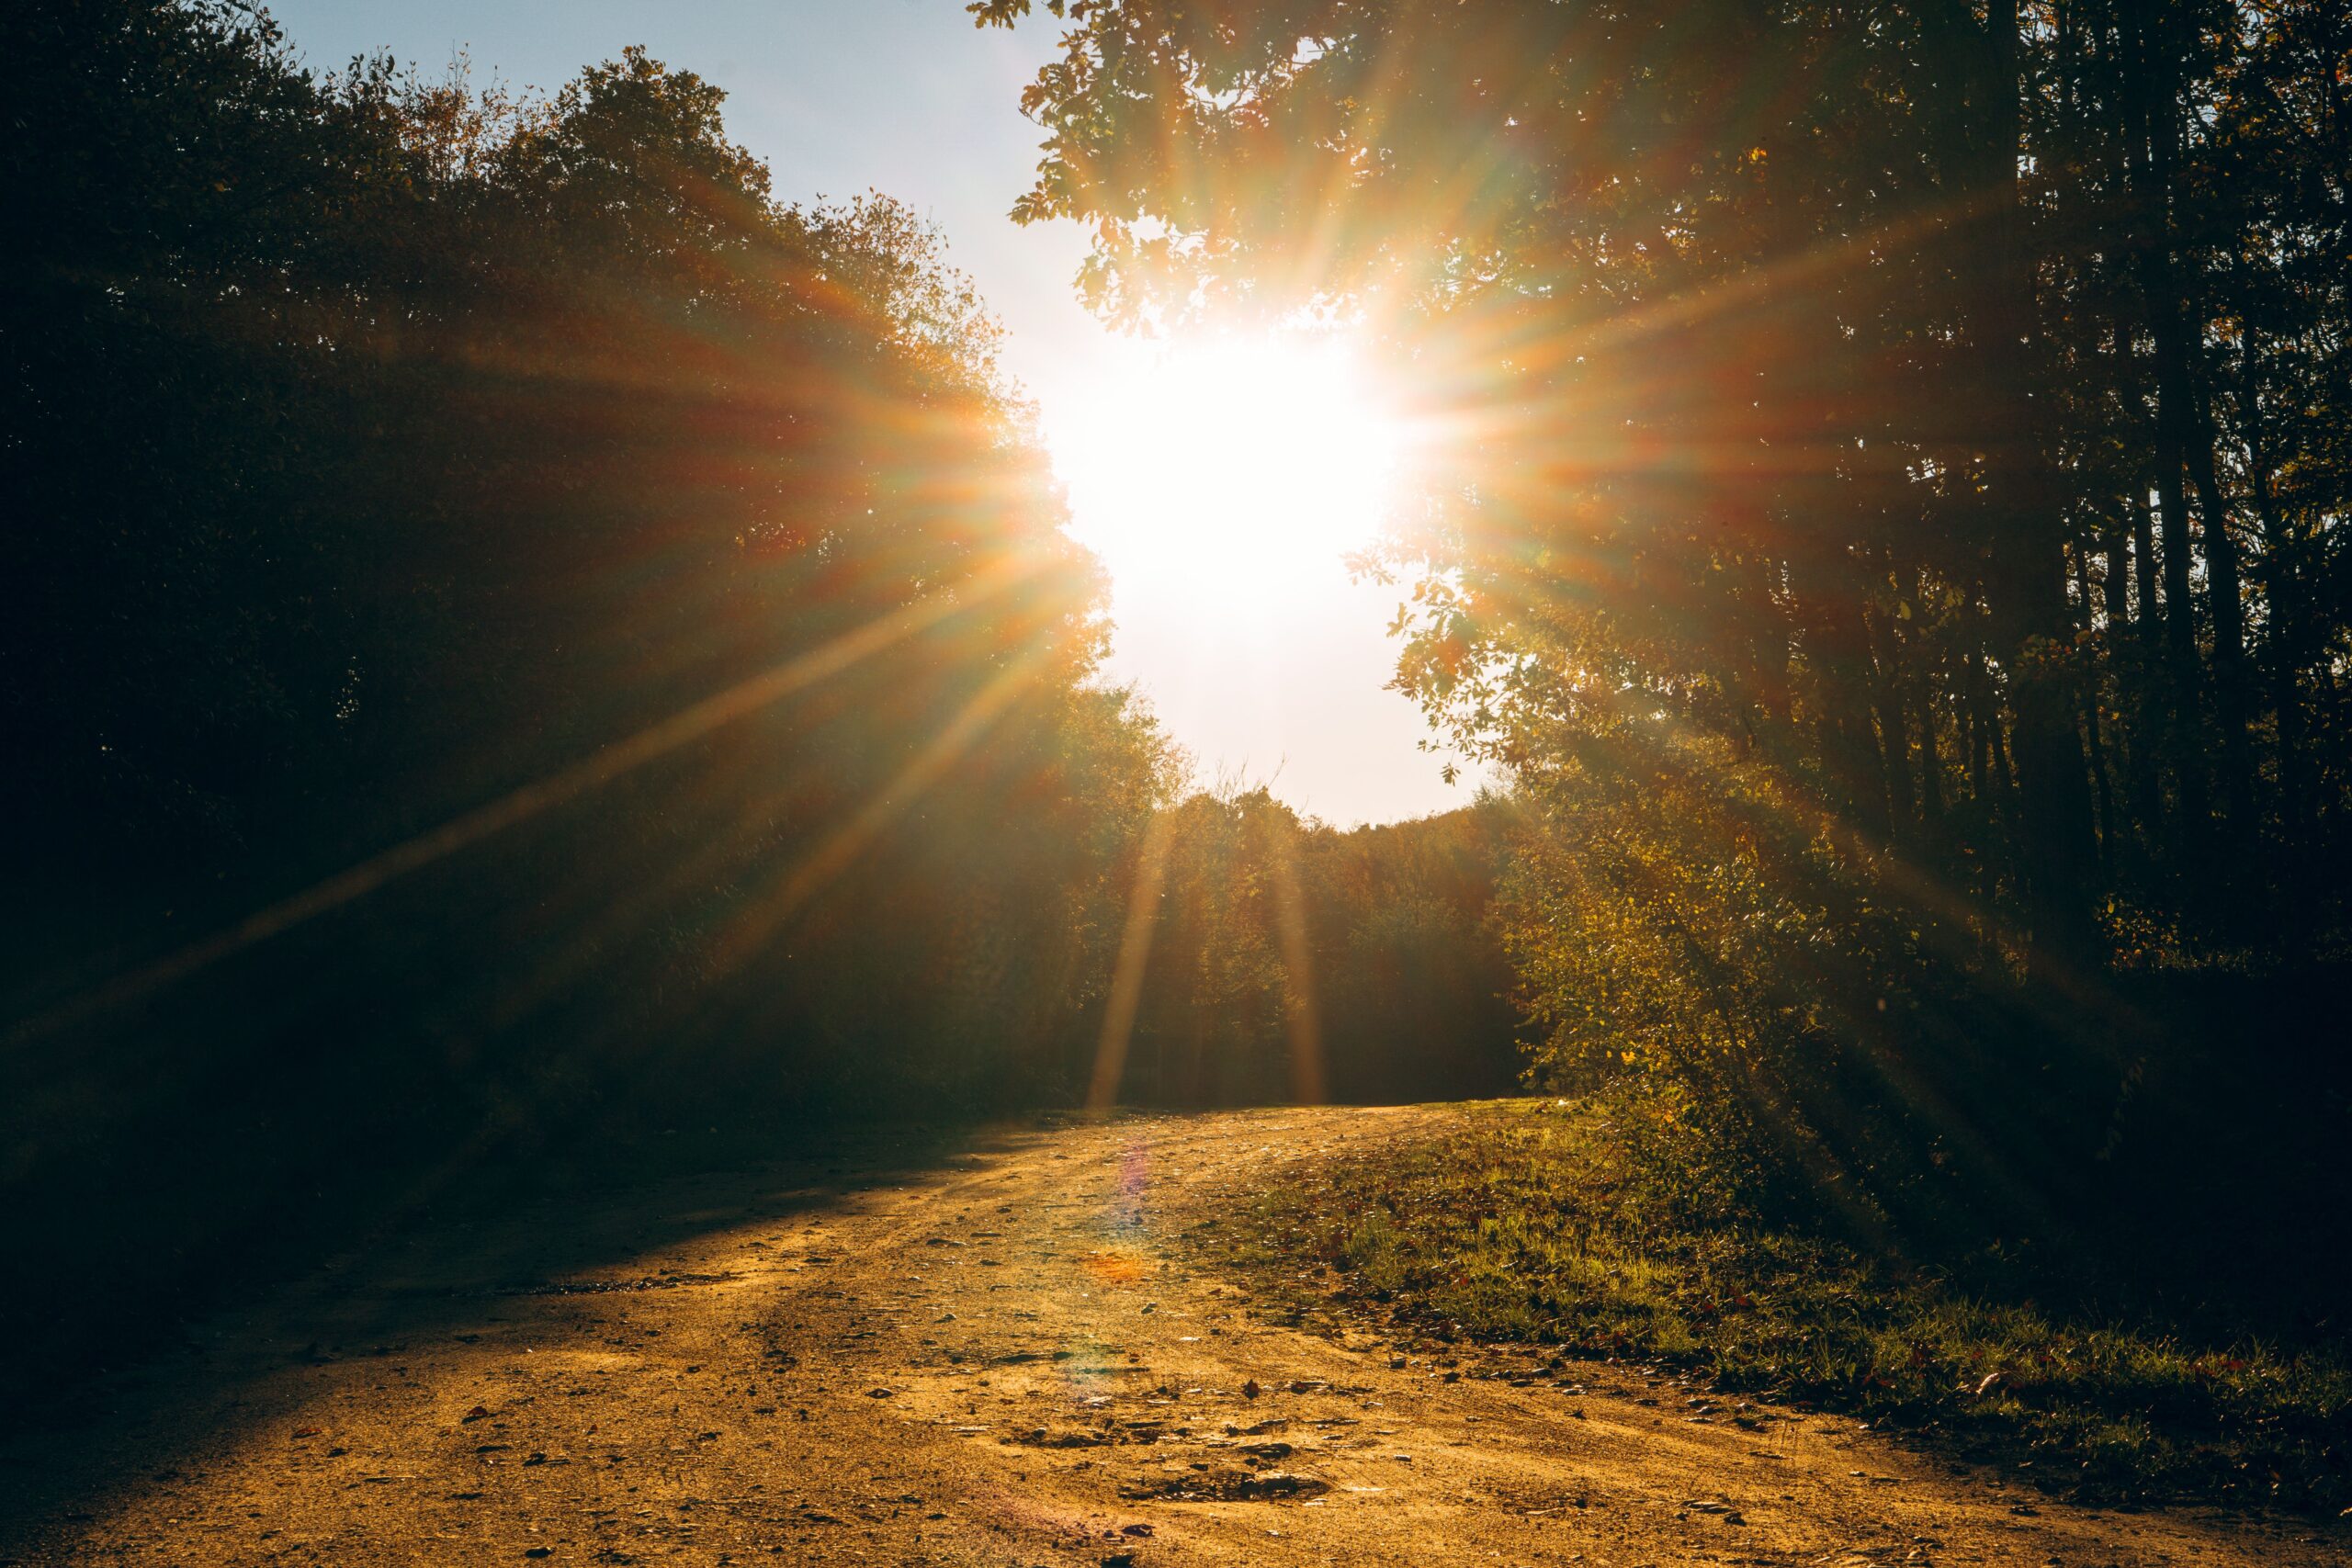
This is my go-to for outdoor shoots when I don’t want to drag gear around.
Step by step:
-
Find a spot in the shade (direct sunlight is your enemy here)
-
Position yourself so you’re facing the open sky
-
Hang a white bedsheet in the sun so it reflects light onto your face
-
Move the sheet around until you find the sweet spot
-
For extra fill, use a white foam board on the shadow side
The result looks like you spent thousands on lighting equipment. It’s soft, it’s flattering, and it’s completely free. The only catch is you need good weather and patience to find the perfect spot.
Setup 7: The Kitchen Light Rig
What you need: Under-cabinet LED lights from the hardware store.
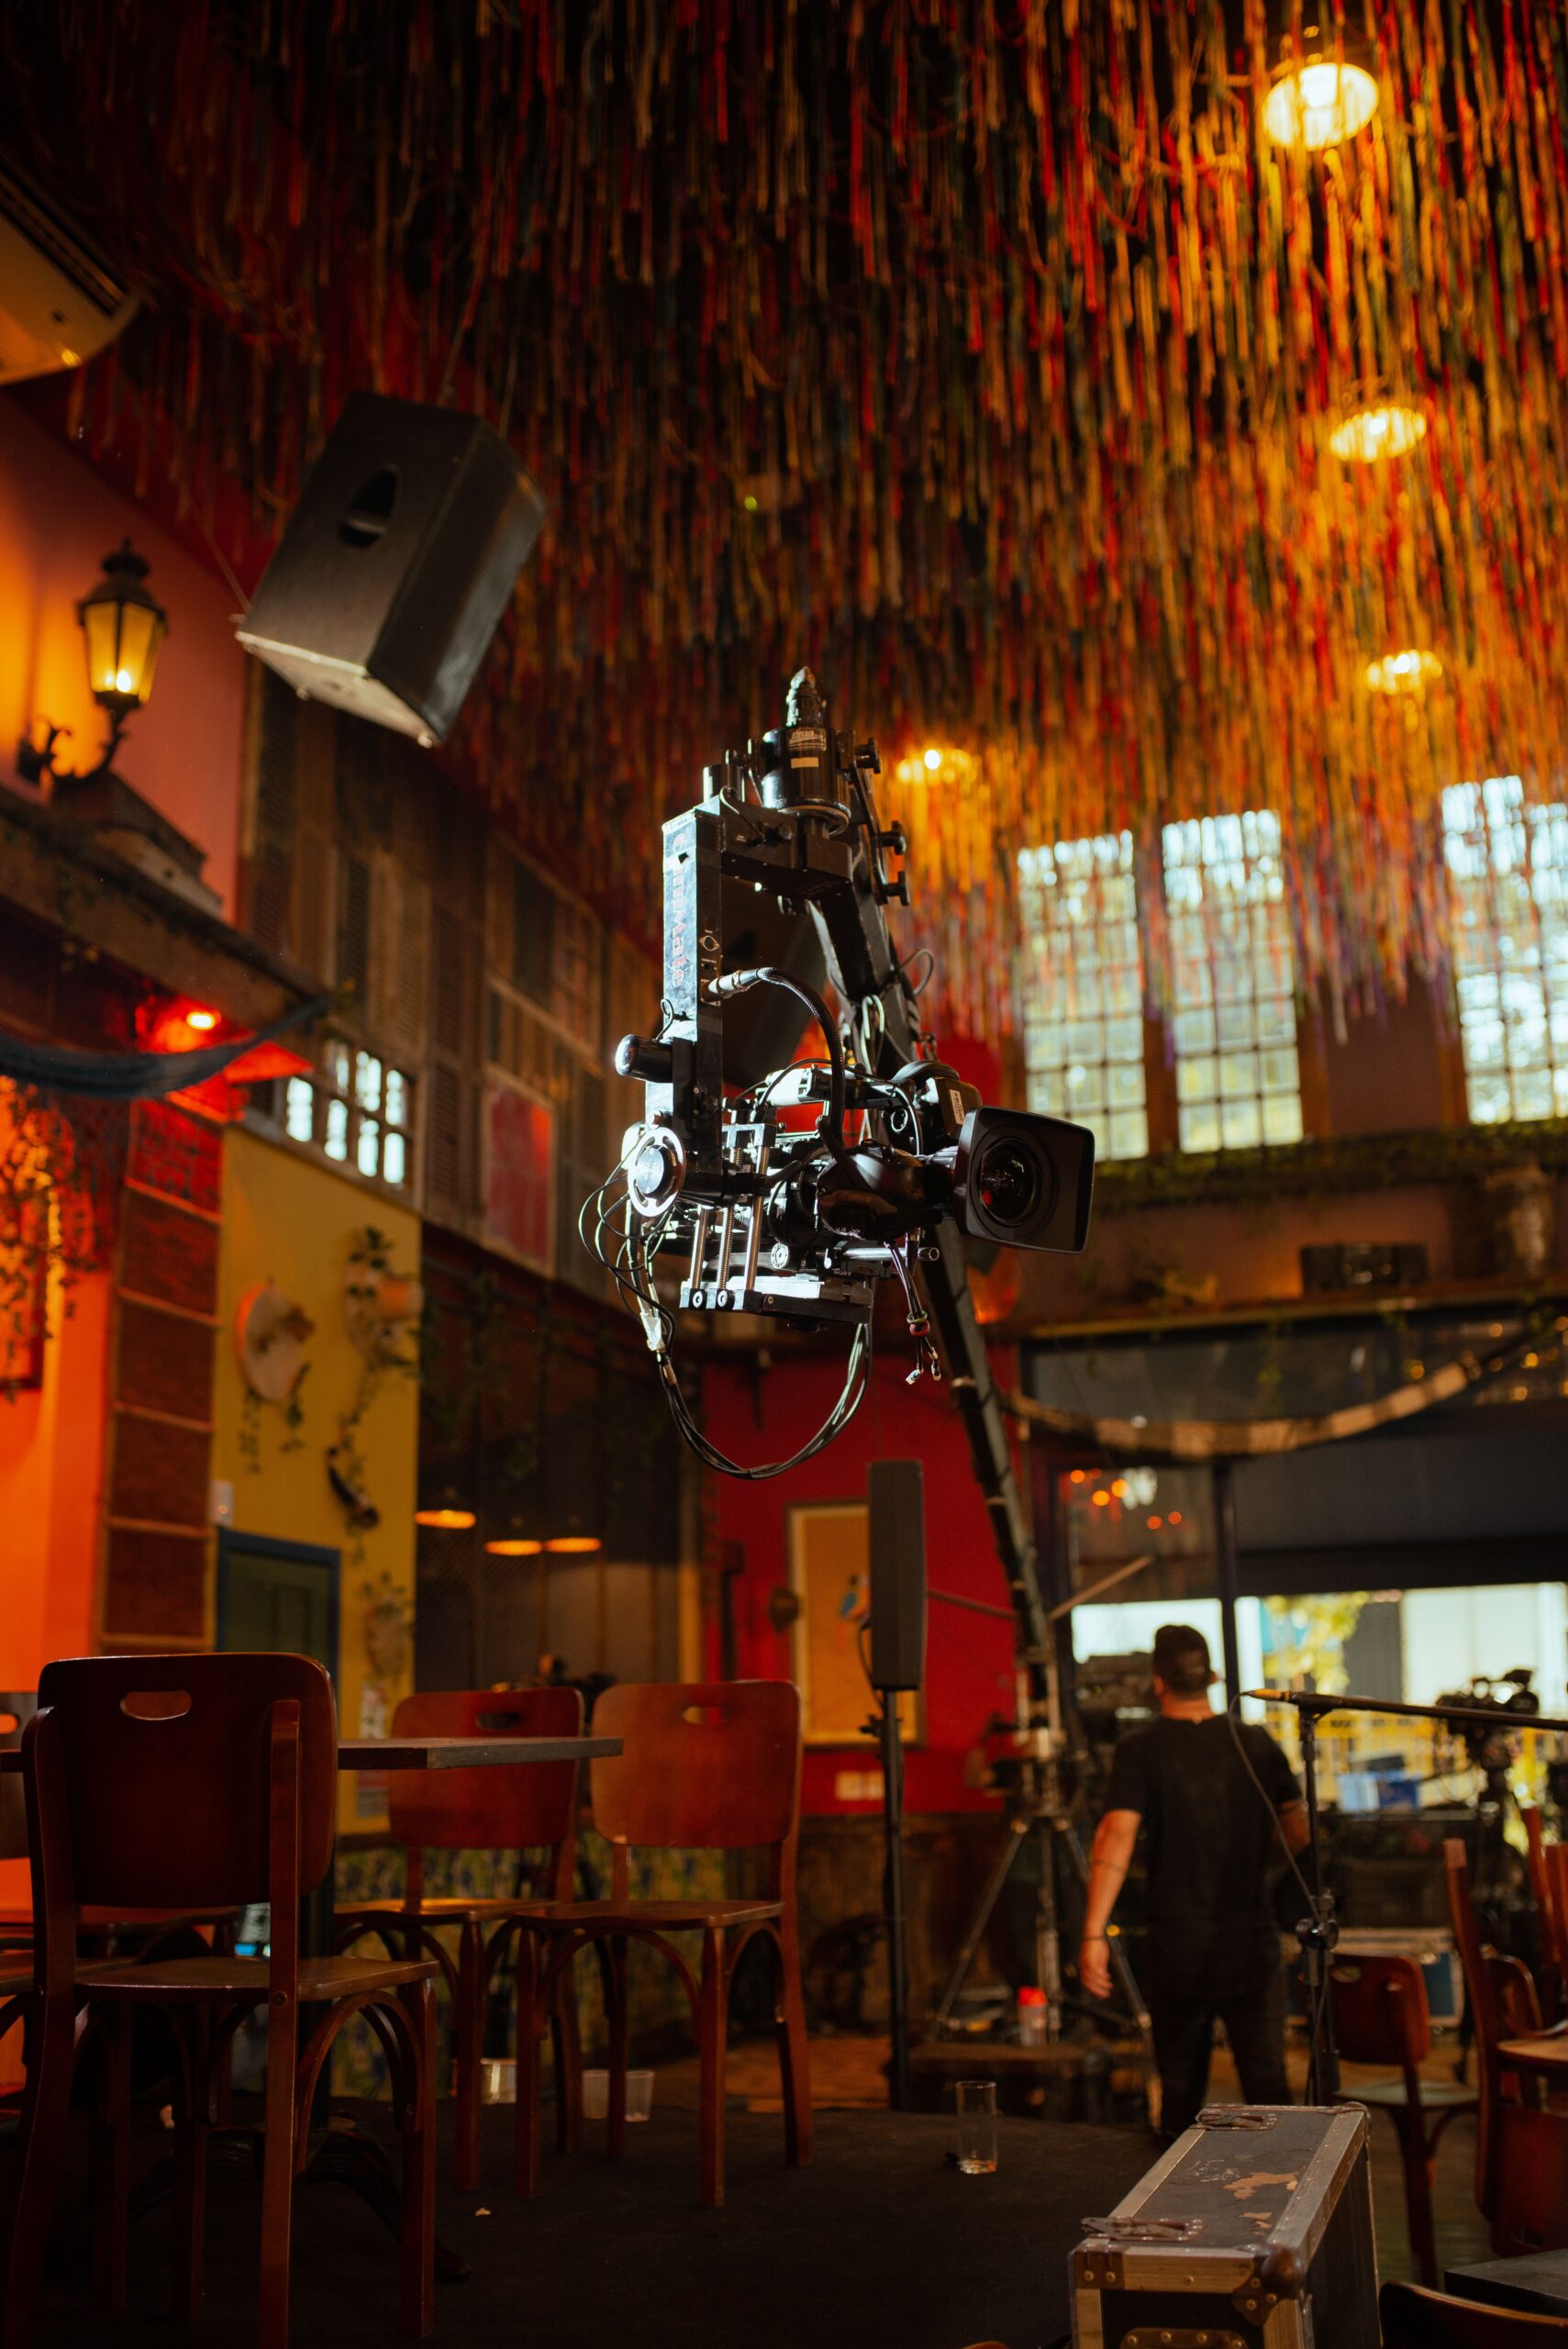
I discovered this when I realized my kitchen had better lighting than my studio. Those strip LED lights you stick under cabinets? They’re amazing for video.
Step by step:
-
Buy a pack of stick-on LED strip lights (daylight balanced)
-
Stick them to a piece of wood or cardboard to create a light panel
-
Mount it above and slightly in front of where you’ll be sitting
-
Use a dimmer switch (they’re cheap) to control brightness
-
Add a second strip on the floor pointing up at the background for separation
The light quality is surprisingly good – even and soft with no hotspots. Plus, you can hide these in plain sight if you’re filming in a shared space.
Setup 8: The Beauty Light
What you need: A shower curtain ring light.
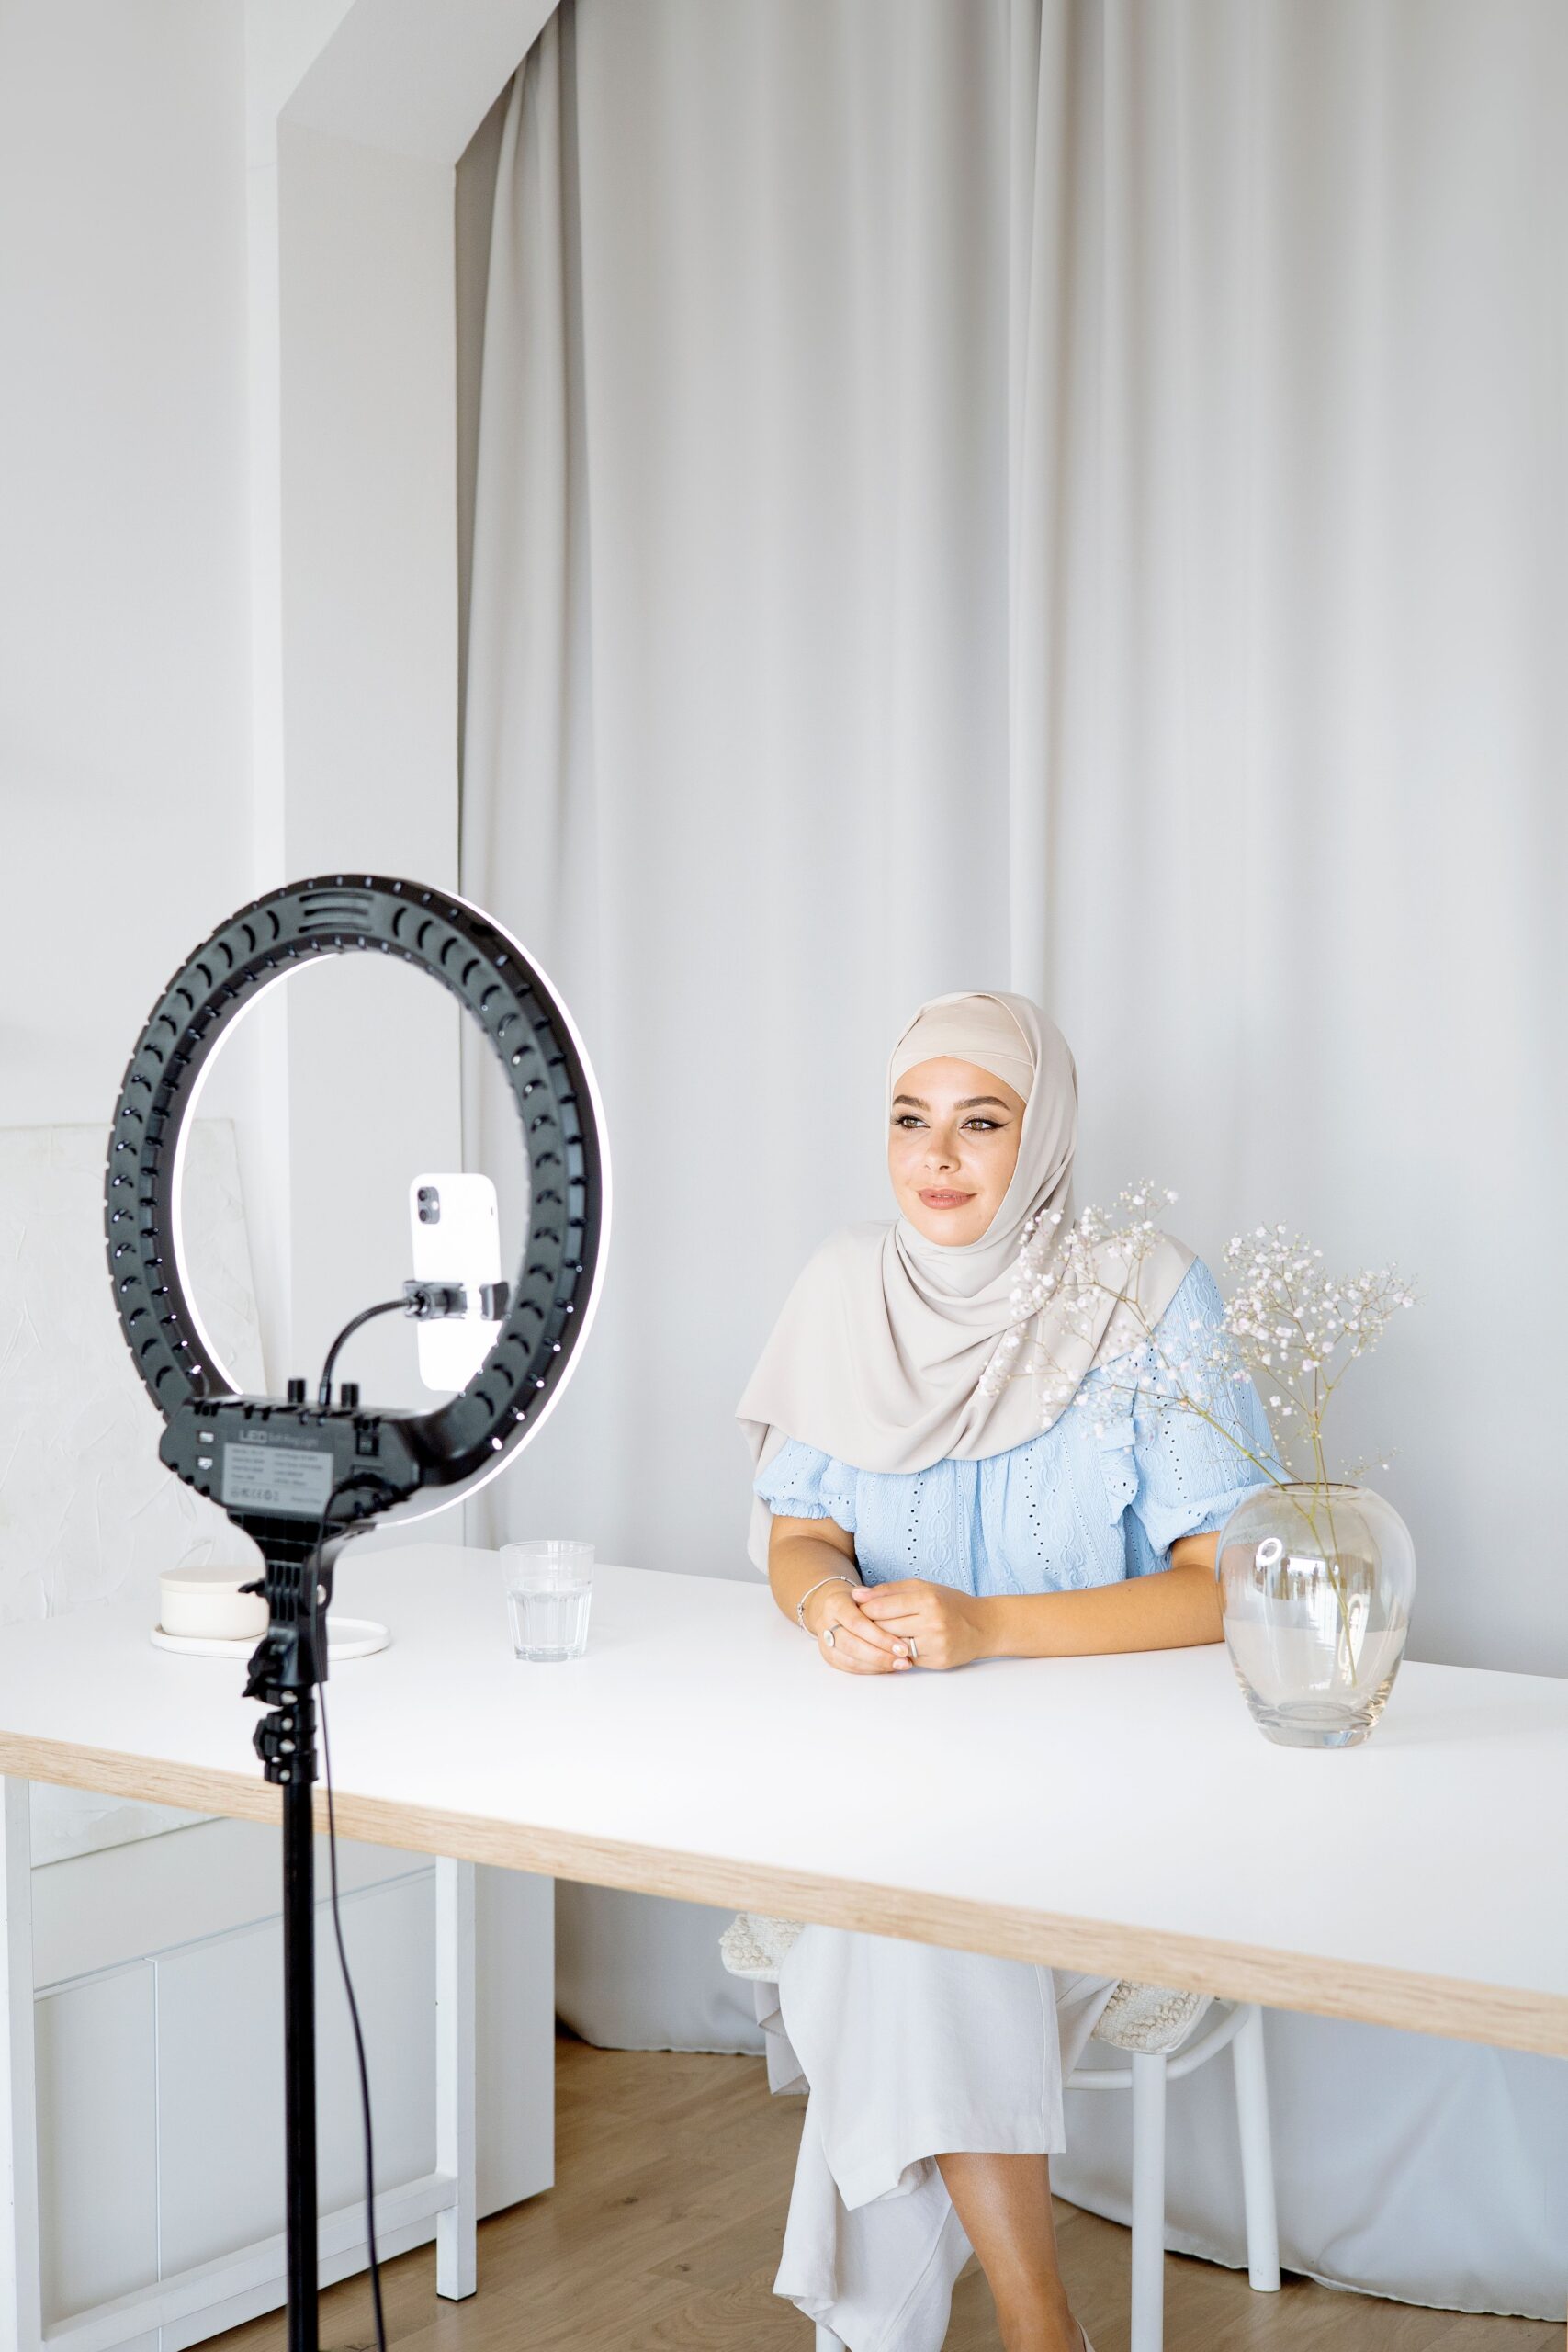
This one’s ridiculous but it works. Those LED rings people put around their shower heads? Yeah, they make great video lights too.
Step by step:
-
Find a battery-operated LED ring light (the kind meant for showers)
-
Mount it on a light stand or tripod (you might need some DIY ingenuity here)
-
Position it directly in front of you, slightly above eye level
-
Turn it on and marvel at how good you look
-
Add a white board underneath to bounce light up into your face
The ring creates a beautiful circular catchlight in your eyes that’s incredibly flattering. Plus, it’s battery operated, so you can film anywhere.
Setup 9: The Wall Bounce Method
What you need: A white wall and a single light source.
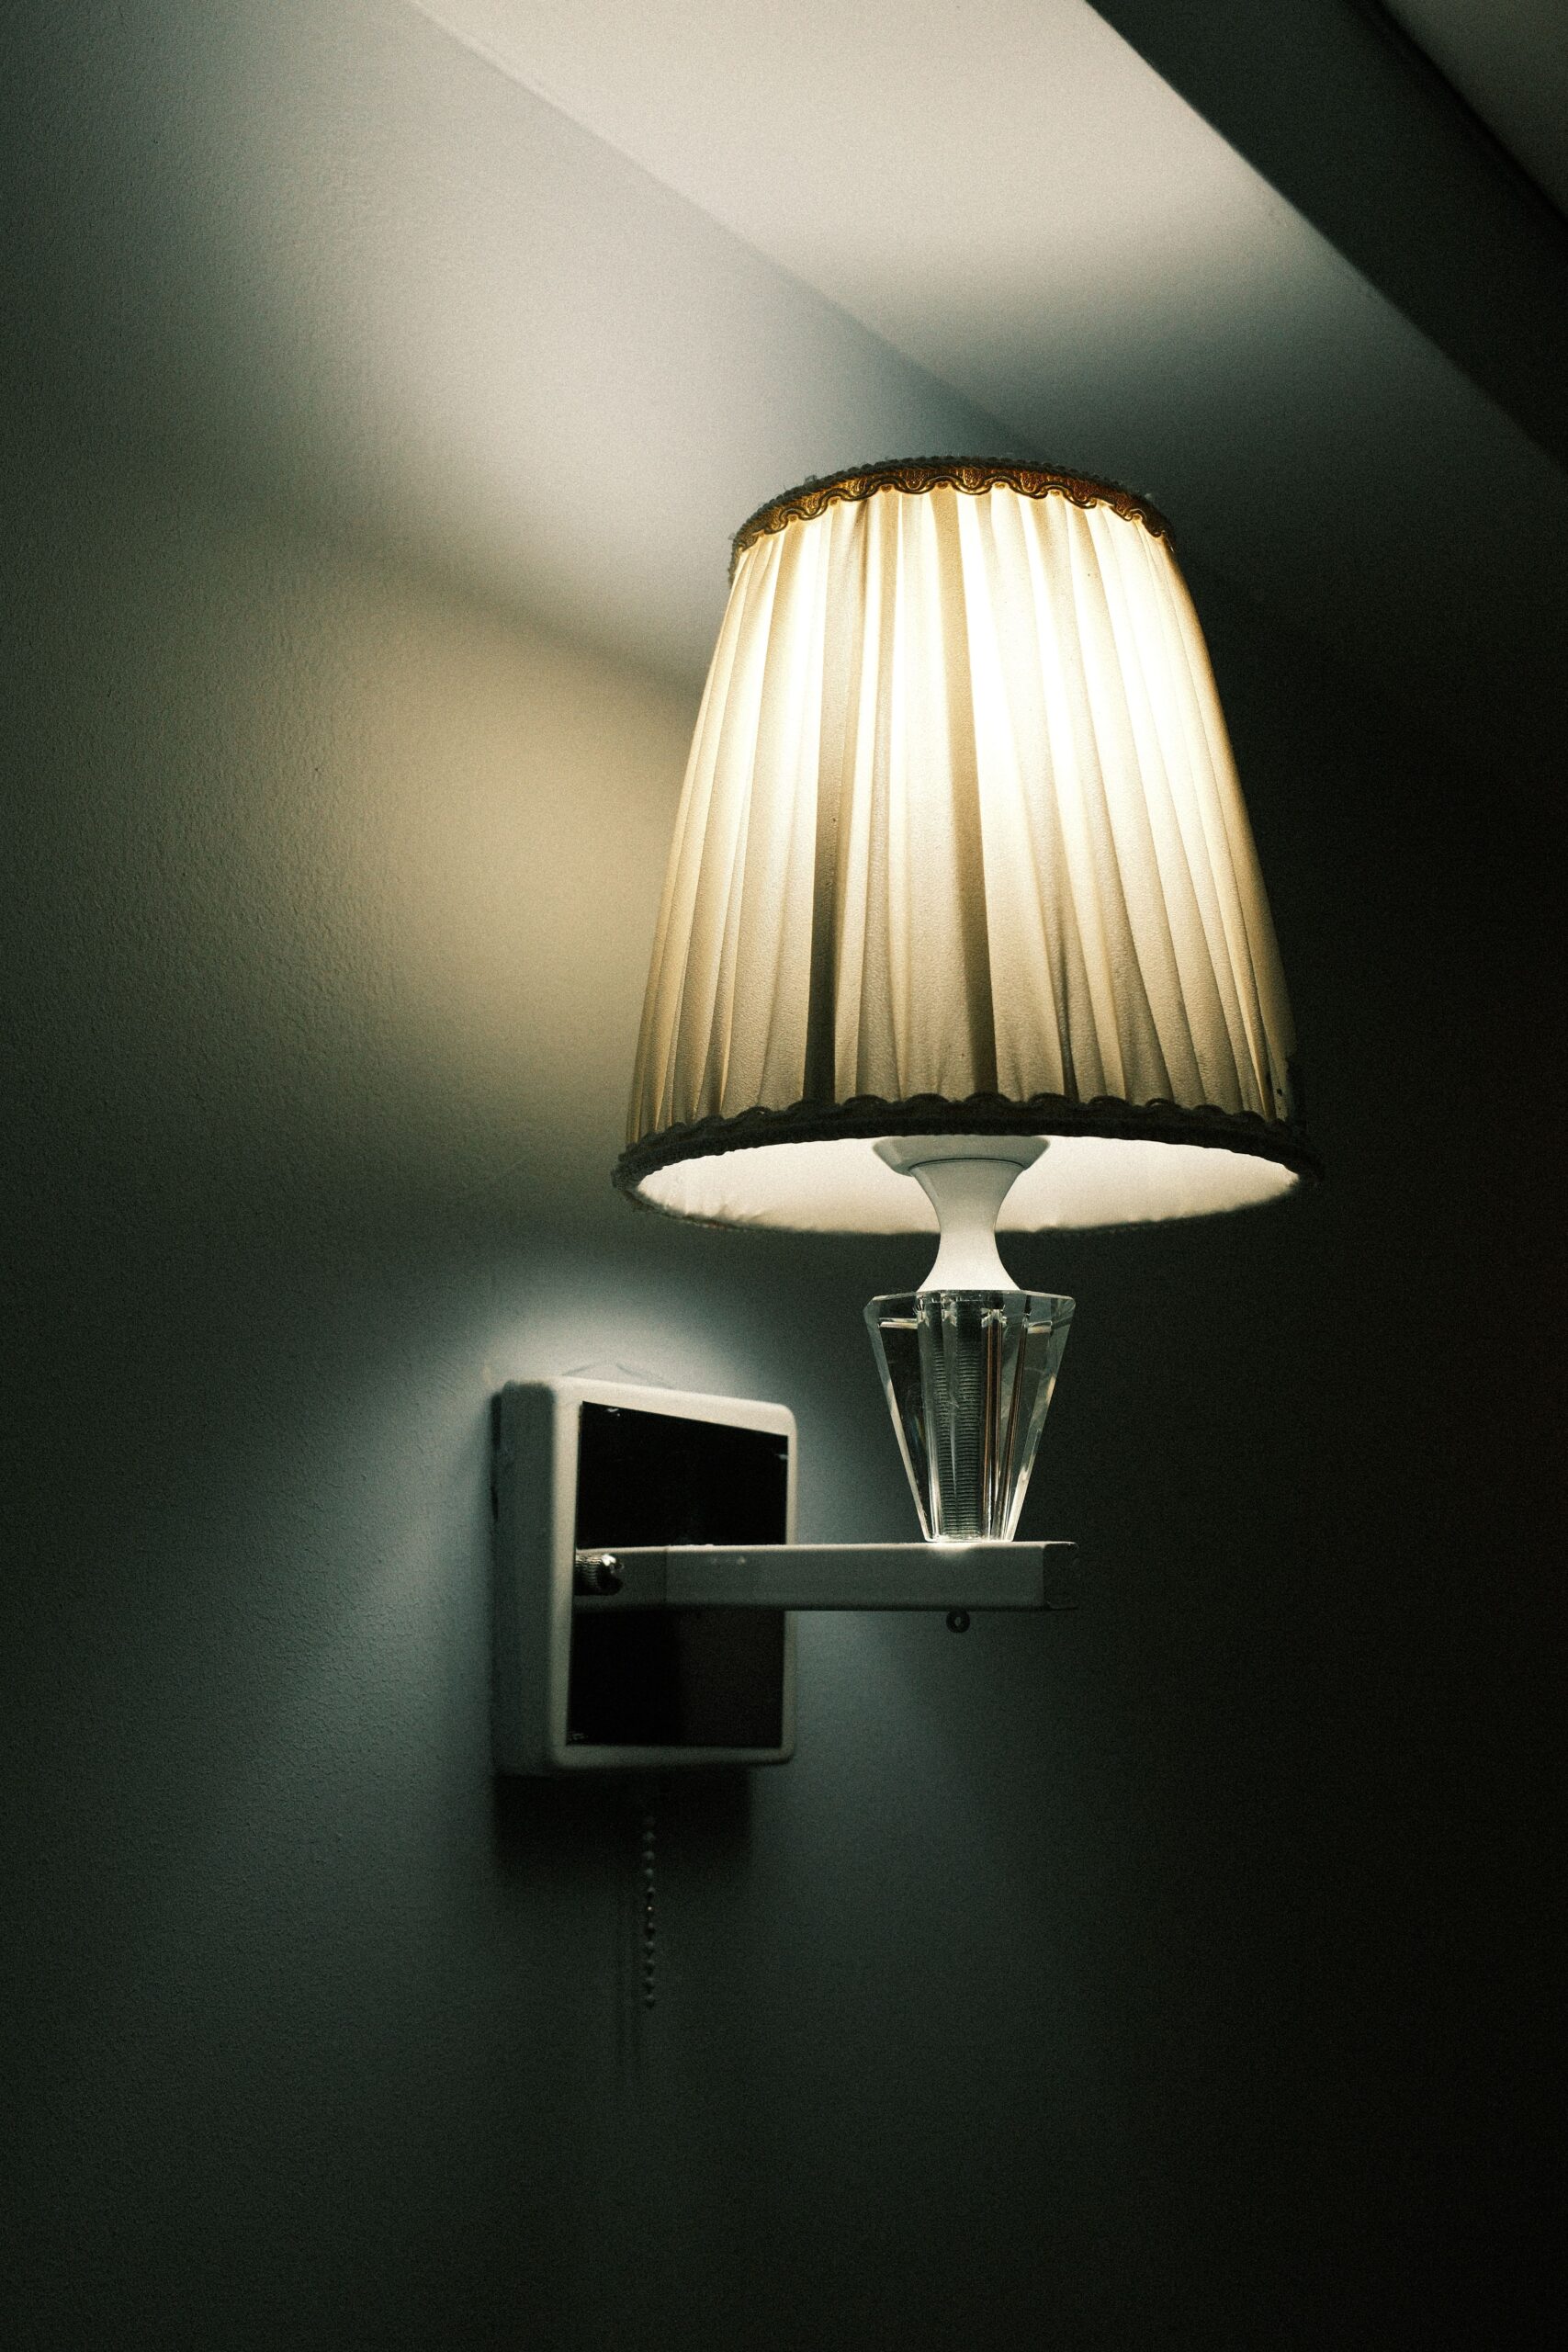
When I have absolutely no gear, this is what I do. And it works surprisingly well.
Step by step:
-
Point your light source (desk lamp, work light, even a flashlight) at a white wall
-
Position yourself so the reflected light hits your face
-
The light should be bouncing at about a 45-degree angle to you
-
Use a reflector (white poster board) on the shadow side
-
Keep the light source about 6 inches from the wall for maximum diffusion
The wall becomes your softbox, and the reflected light is incredibly soft and forgiving. Just make sure the wall is truly white and not off-white or yellow.
Setup 10: The LED Panel Duo ($60 total)
What you need: Two cheap LED panels from Amazon.
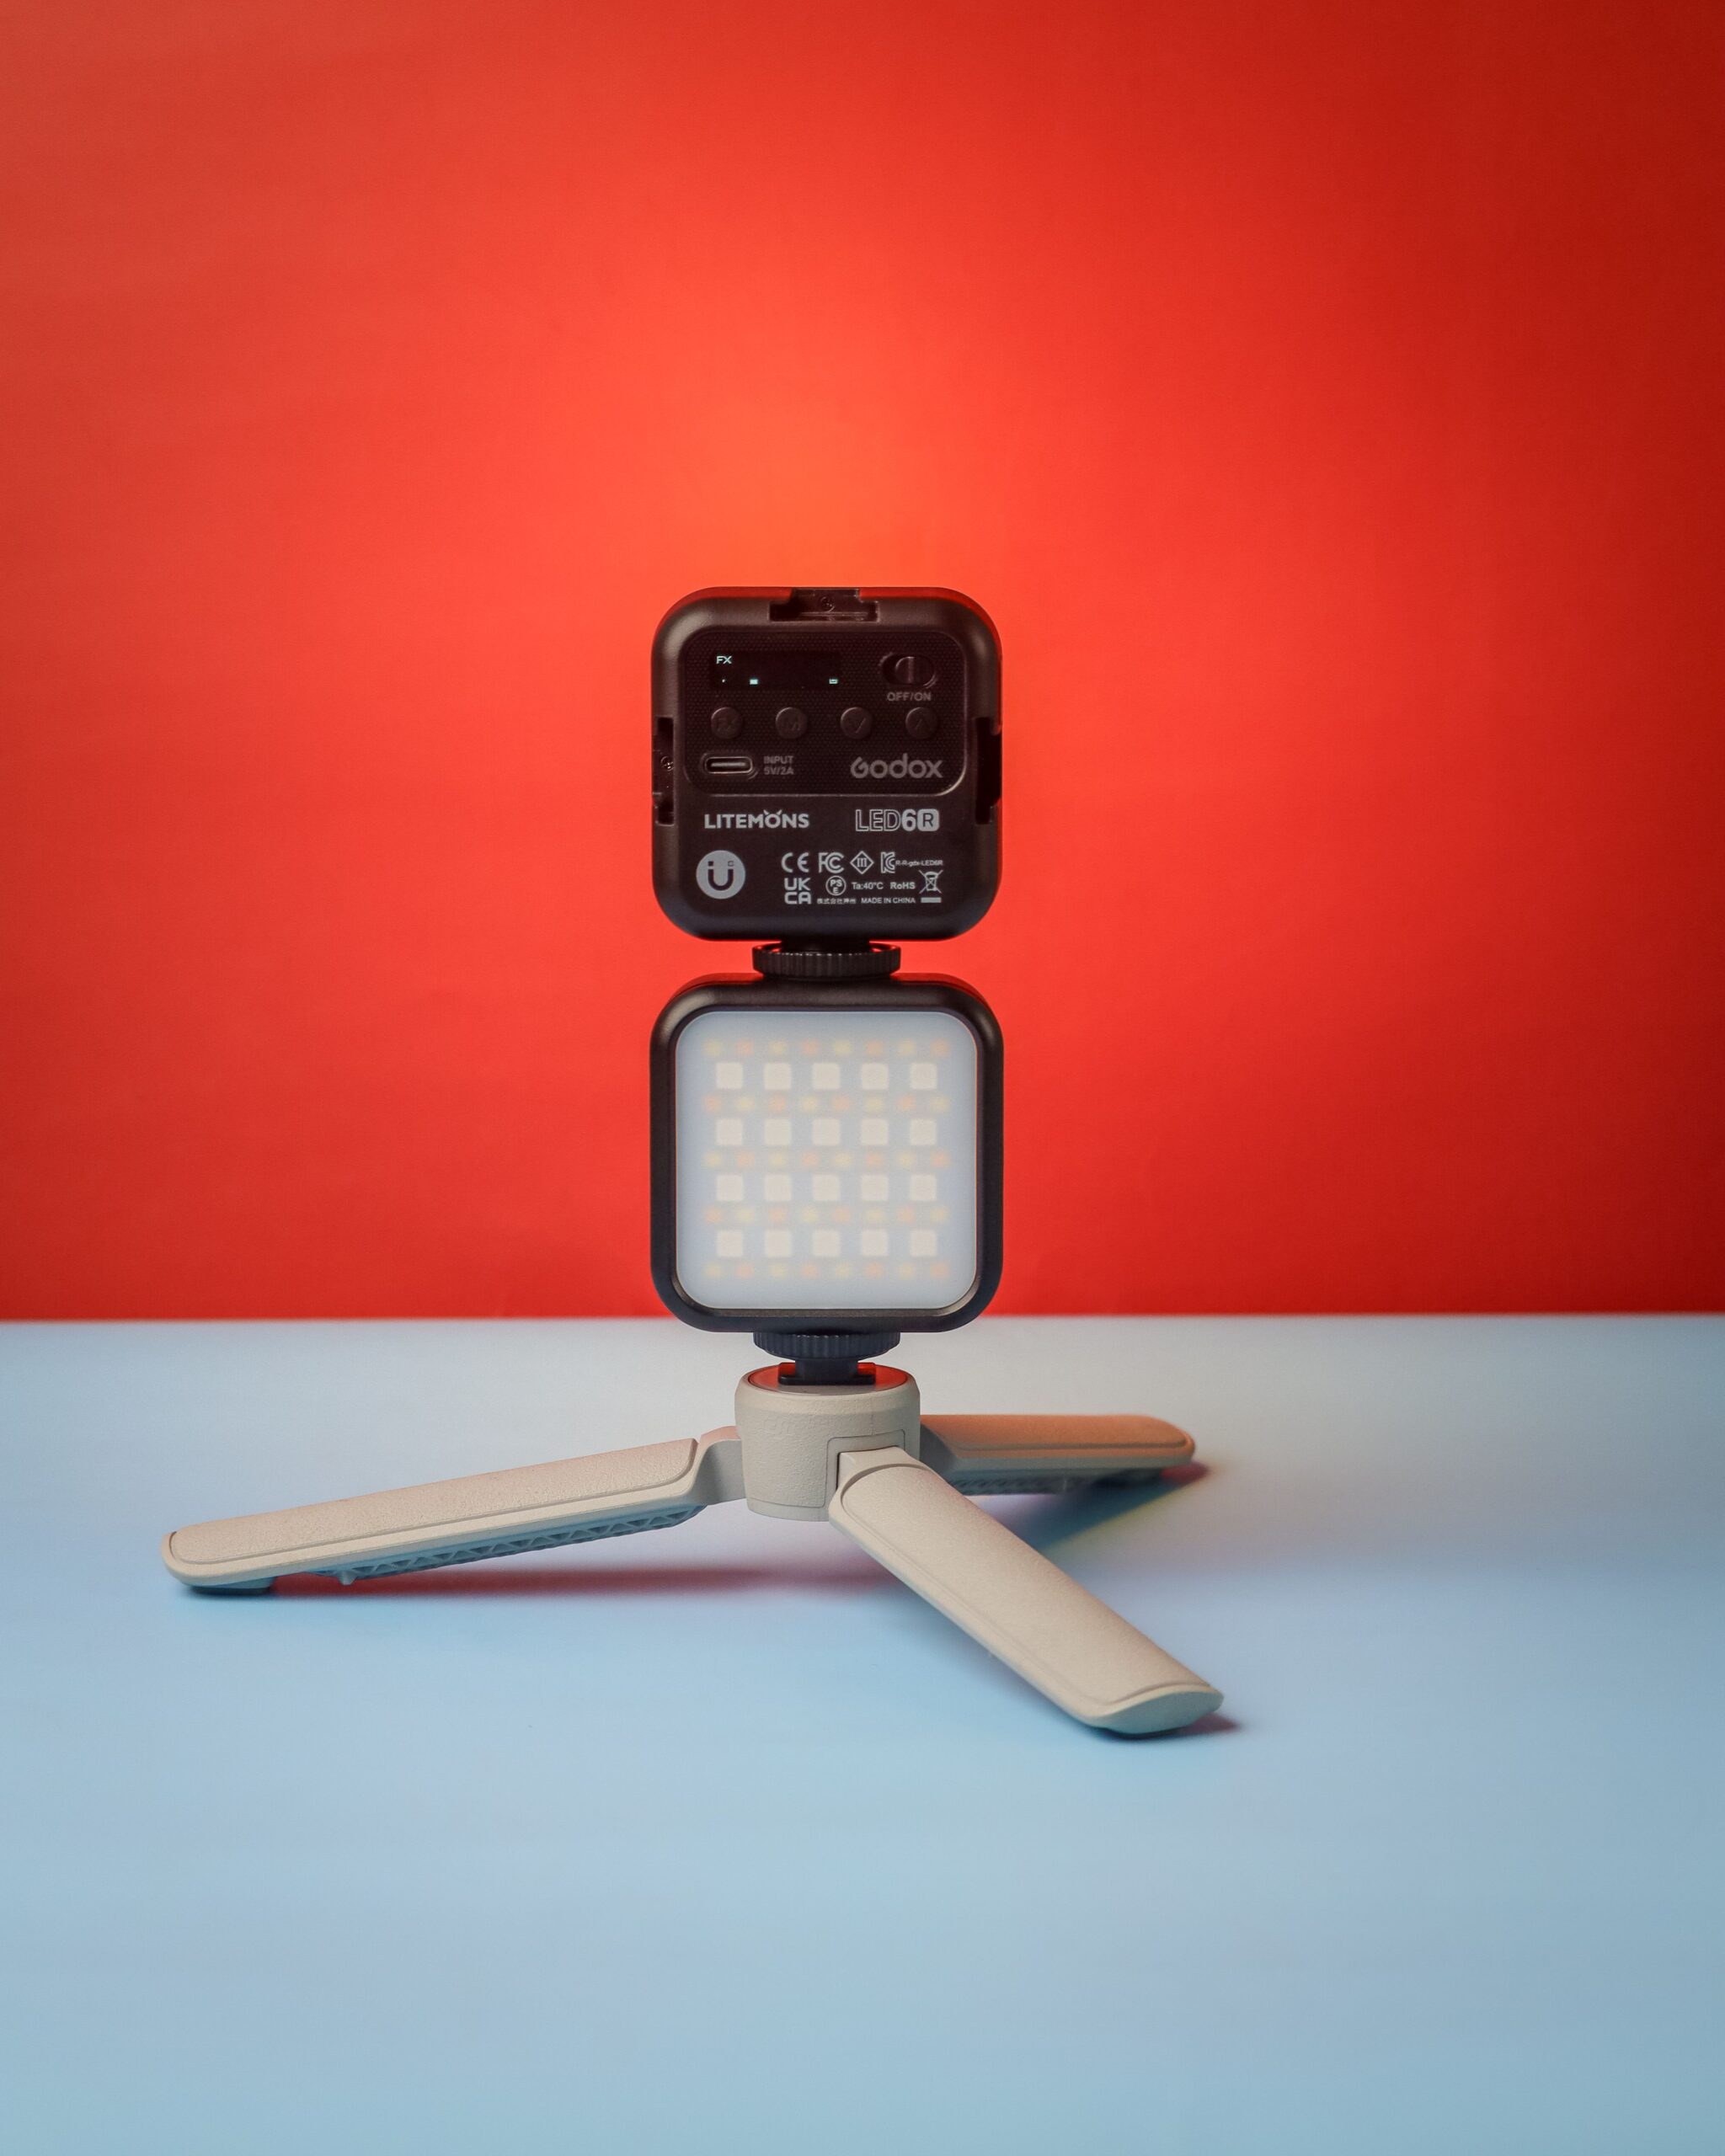
This is the only setup I actually recommend buying dedicated equipment for, because the panels are versatile and relatively cheap.
Step by step:
-
Set one panel at 45 degrees on the left side of your face (key light)
-
Set the second panel on the right but at a much lower brightness (fill light)
-
Place both panels slightly above eye level, angled down
-
Set both to the same color temperature (daylight around 5500K)
-
For background depth, point the right panel slightly toward the backdrop
These panels usually cost $30-40 each on Amazon. They’re not “professional” by any means, but I’ve used them for corporate shoots and no one could tell the difference.
Bonus: My Top 3 Lighting Mistakes (So You Don’t Make Them)
Mistake 1: Too bright, too close
Your light should be powerful enough to illuminate, but gentle enough not to wash you out. Back it up. Always back it up.
Mistake 2: Wrong color temperature
Mixing warm and cool light makes you look like you’re from another planet. Stick to either all warm (around 3200K) or all cool (around 5500K). Don’t mix.
Mistake 3: Forgetting the background
Lighting just your face and leaving the background dark looks amateur. Even a small desk lamp behind you or pointing at the wall behind you creates depth.
The Truth About Professional Lighting
Here’s something no one tells you: professional lighting is mostly about shadows. It’s not about making everything bright; it’s about creating contrast and dimension. All these setups work because they create flattering shadows, not because they’re blindingly bright.
My favorite setup from this list? The window wonder. It’s free, it’s beautiful, and it’s what I use for client work when they want a “natural” look. And they always pay me thinking I used thousands of dollars in equipment.
The real secret? It’s not the gear. It’s learning how light works and being creative with what you have. Save your money for content and storytelling – those matter way more than perfect lighting anyway.
Now go make something great with what you’ve got. And if you mess up? That’s how you learn. I’ve been doing this for years and I still mess up sometimes.
You got this.
