


The Honest Introduction
Let’s get one thing straight right now: you’re not going to turn your smartphone into an ARRI Alexa. And that’s fine. Actually, it’s more than fine it’s liberating.
I’ve spent years obsessing over cinematic visuals, buying gear I didn’t need, and falling for YouTube tutorials that promised million-dollar looks with zero-dollar budgets (spoiler: they were lying). What I’ve learned is that “cinematic” isn’t about the camera. It’s about understanding a few fundamental principles and applying them with whatever you have.
This guide isn’t going to tell you to buy a $2,000 lens or a $500 gimbal. It’s going to tell you the truth: what actually matters, what you can fake, and what you absolutely should spend your limited cash on.
Part 1: The Camera You Already Have is Good Enough
Here’s a hard truth that will save you thousands: the camera in your pocket is better than the one Spielberg used for Jurassic Park.
The iPhone 13/14/15 or any mid-range Android from the last three years can shoot 4K video with decent dynamic range. Your mirrorless camera from 2018? More than capable. The idea that you need a $6,000 camera body to make cinematic content is marketing nonsense designed to separate you from your money.
What to actually do:
-
Shoot in LOG or flat profile if your camera has it. This gives you more flexibility in color grading. If your phone has ProRes or LOG options, use them.
-
Don’t touch digital zoom. Ever. Move the camera closer or crop in post.
-
Shoot at 24fps (or 23.976fps) for that “film look.” This is non-negotiable if you want cinematic motion cadence.
-
Shutter speed rule: Double your frame rate. At 24fps, shoot at 1/48 or 1/50. This gives you that natural motion blur. When you see videos that look like a soap opera, it’s usually because someone shot at 60fps with a fast shutter.
Part 2: Lighting That Doesn’t Break the Bank
Here’s the biggest secret in filmmaking: lighting matters more than camera quality. You can shoot on an Alexa with bad lighting and it’ll look like garbage. You can shoot on a phone with good lighting and it’ll look cinematic.
The Natural Light Hack
Window light is your best friend and it’s free. But not all window light is created equal.
The setup that works:
-
Find a window that doesn’t get direct sunlight (overcast days are gold, actually).
-
Position your subject at a 45-degree angle to the window.
-
Use a white bedsheet or foam board on the opposite side to bounce light back into the shadows.
-
Cost: $0-$15
The Budget Lighting Kit That Actually Works
If you’re going to spend money on anything, spend it on light. But you don’t need Aputure 1200Ds.
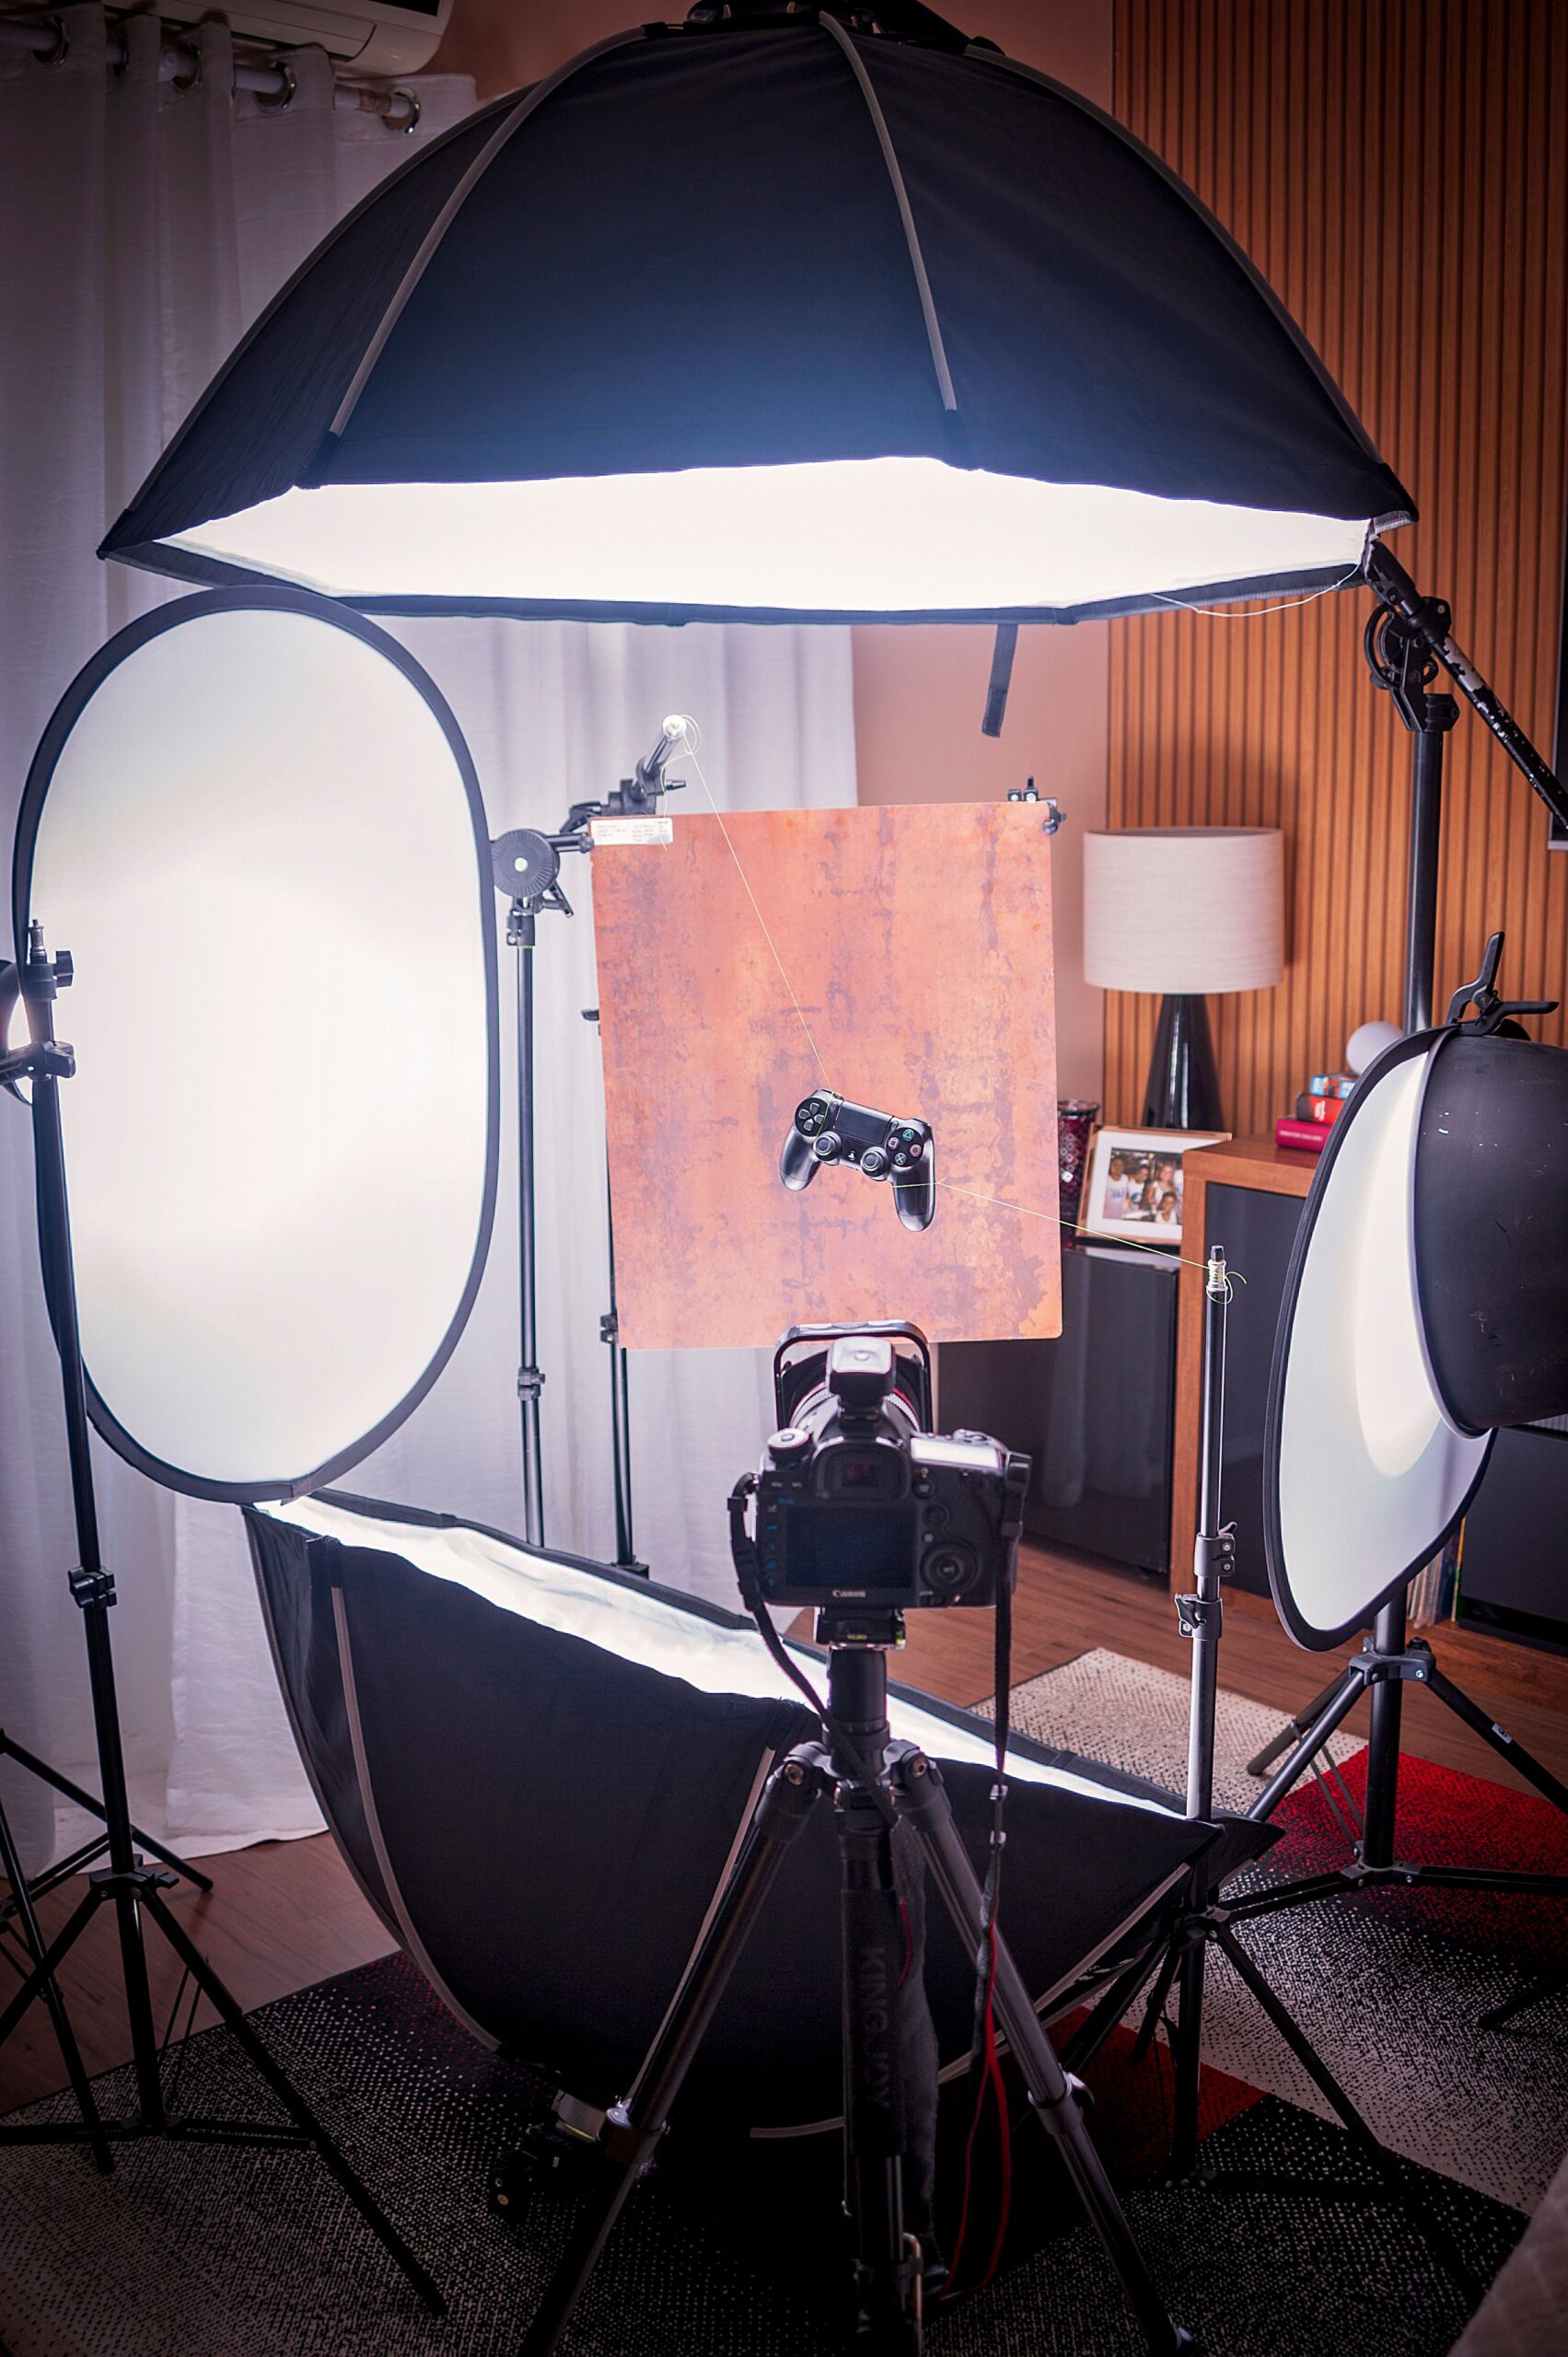
The realistic starter kit ($100-150 total):
-
One LED panel with bi-color capability (Godox, Neewer, or similar – around $60-80)
-
One 5-in-1 reflector (about $25) – this is arguably more useful than your light
-
Some clamp lights from the hardware store ($10 each) with daylight bulbs
-
Tungsten practical bulbs for lamps in the frame ($15 for a pack)
The key lighting techniques that actually work:
Three-point lighting isn’t just for Hollywood. It’s the foundation.
-
Key light: Your main light, placed at 45 degrees to your subject
-
Fill light: Softer light on the opposite side (your reflector works great here)
-
Backlight: Light behind your subject to separate them from the background (even a desk lamp works)
But here’s the reality: you don’t always need all three. Sometimes a single key light with a bounce is all you need. Sometimes you just need to move a lamp. The magic isn’t in the gear; it’s in understanding where to put it.
The $5 Negative Fill Trick
Darken shadows by putting a black piece of foam board or cardboard on the opposite side of your key light. This adds contrast, and contrast = cinematic. Cost: $5 at any craft store.
Part 3: Lenses and the DIY Approach
Here’s where people lose their minds and their money. The “bokeh” obsession is real, and lens manufacturers know it.
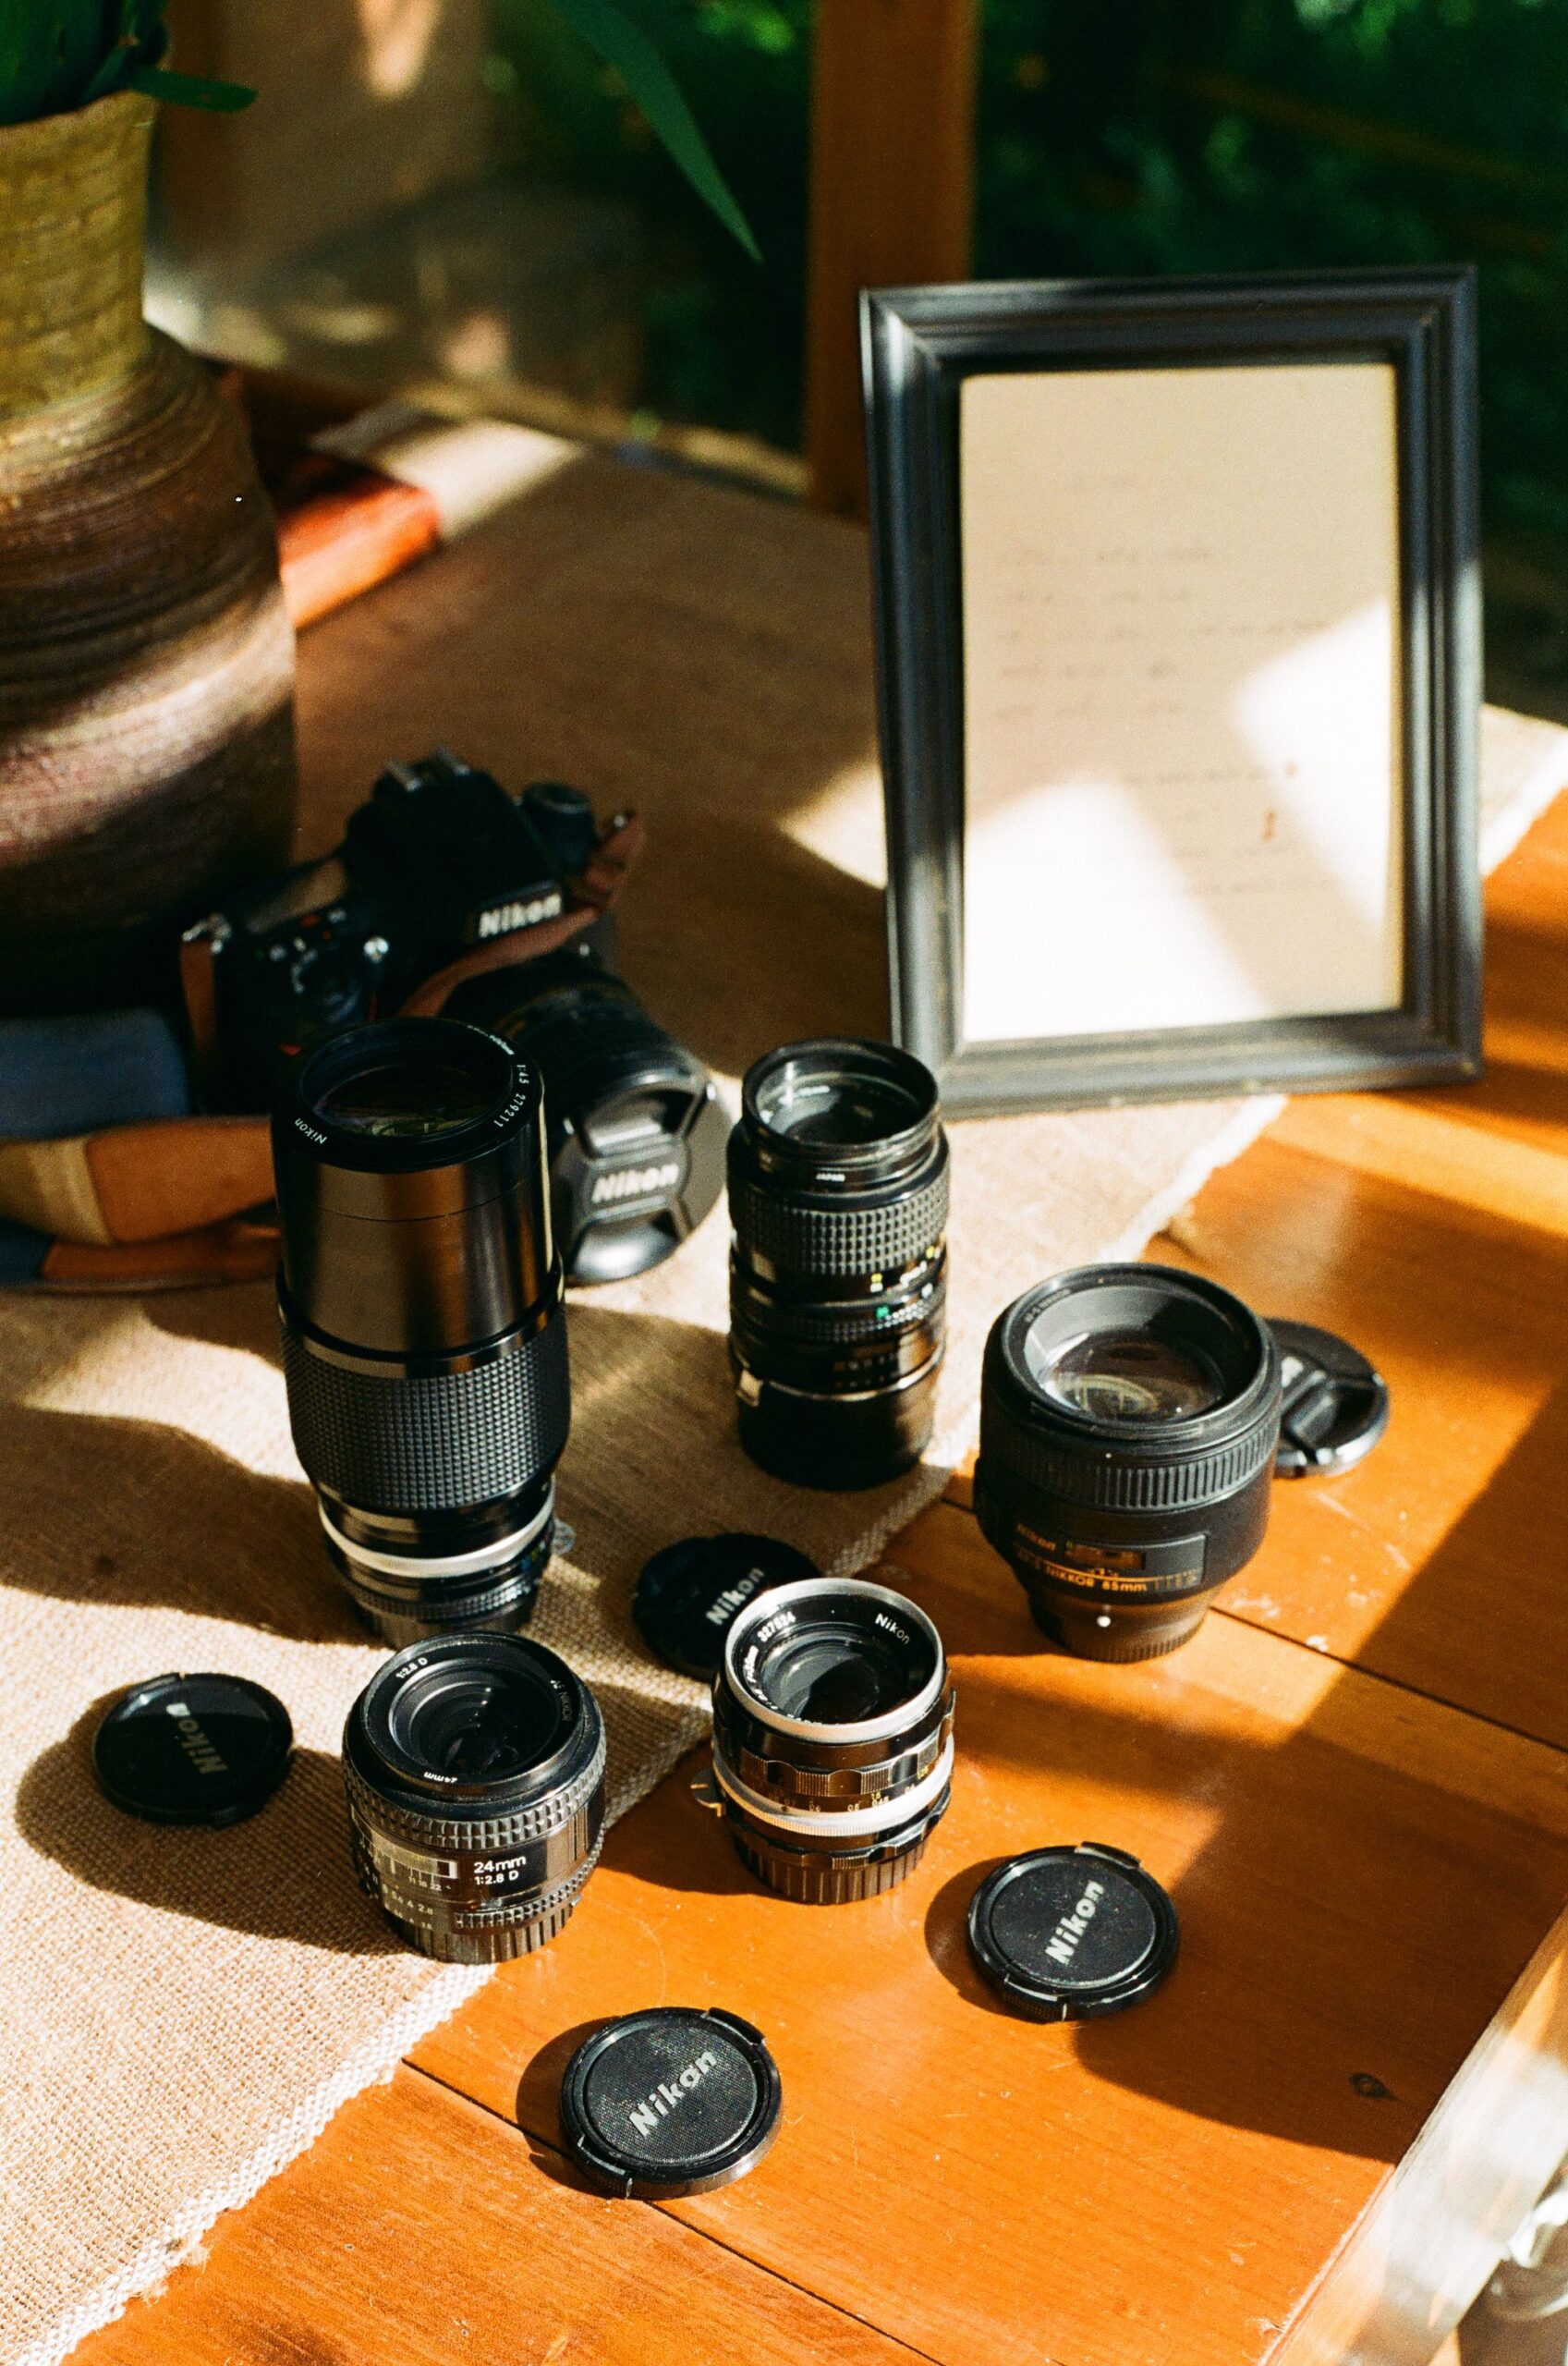
The Truth About Lenses
For cinematic video, you want:
-
Fast aperture (f/1.8 or f/2.8 ideally)
-
Prime lenses (fixed focal length, no zoom) often give you better quality for the price
-
Manual focus capabilities (AF is great, but not always reliable in video)
But here’s the thing: you can fake the shallow depth of field look with longer focal lengths. An 85mm lens at f/4 will give you more background blur than a 24mm at f/1.8.
Budget Lens Recommendations
-
For Canon: The nifty fifty (50mm f/1.8) at about $125 is a lifesaver
-
For Sony: The 50mm f/1.8 or the 35mm f/1.8 (around $200)
-
For Micro Four Thirds: The 25mm f/1.7 (about $150)
-
Vintage lenses: Adapt old manual lenses from the 70s and 80s. An old Super-Takumar 50mm f/1.4 costs $50-80 on eBay and has character that modern lenses can’t replicate. Yes, you’ll need an adapter ($15). Yes, it’s worth it.
The Phone Filmmaker’s Lens Hack
If you’re shooting on a phone, those clip-on lenses are a mixed bag. The only one that’s actually worth it is a wide-angle adapter from a reputable brand like Moment or Sandmarc. The cheap ones add distortion and softness.
Better use of your money: Use your phone’s native telephoto lens if it has one. On iPhones, that’s the 2x or 3x lens. Walk backwards until your subject is framed properly. You’ll get better compression and more natural looking perspective.
Part 4: Camera Movement Without a Gimbal
Gimbals are great. They’re also expensive, heavy, and you’ll spend more time balancing them than actually shooting. Here’s how to get smooth, cinematic movement without one.
The “Camera is a Tripod” Movement
The most cinematic camera movement is often no movement at all. Static shots with careful composition are underrated. Watch any Christopher Nolan film – half the shots are locked off.
DIY Stabilization That Actually Works
-
The strap trick: Put your camera strap around your neck, hold the camera out in front, and use the tension as a stabilizer. It’s not perfect, but it works.
-
The scarf technique: Drape a scarf or towel over your hand holding the camera for smoother pans.
-
The body as tripod: Lean against walls, doorframes, or furniture. Use your body as a human tripod.
Movement Techniques That Don’t Require Gear
The Slow Pan: Film at 60fps, then slow down to 24fps. Pan slowly – painfully slowly – and the result will look buttery smooth.
The Handheld Look (intentional): Sometimes the indie film look requires handheld. The trick is to not try to be smooth. Embrace the organic, slightly shaky feel. But only for emotional, intense scenes.
The Rack Focus: Change focus from one subject to another within the same shot. This creates cinematic depth. Practice pulling focus manually – it’s a skill that looks professional and costs nothing.
When to Actually Buy a Gimbal
If you do any of these consistently, consider a gimbal:
-
Following moving subjects (walking person, car, animal)
-
Running scenes
-
Real estate walkthroughs
-
Event coverage
The DJI Ronin-SC or the Zhiyun Weebill-S are good used options at $200-300. But honestly, for most narrative work, you don’t need one.
Part 5: The Post-Production Magic
This is where the magic really happens. You can shoot on a potato and still get cinematic footage if your color grading game is strong.
Free Software That’s Actually Good
DaVinci Resolve is free and it’s the industry standard for color grading. The free version does everything you need. The fact that this software is free is absurd. Use it.
The Color Grading Workflow That Actually Works
-
Correct first, grade second: Fix white balance, exposure, and contrast before you start playing with LUTs.
-
The S-curve: Add contrast to your image by creating an S-curve in your color tools. This crushes blacks (not too much!) and lifts highlights.
-
The “teal and orange” myth: Everyone talks about this. It works. It’s not the only look. Try more creative palettes – desaturated greens, warm golds, cool blues. Match the mood of your story.
LUTs: The Honest Truth
Most LUTs are garbage. They’re quick fixes that look like quick fixes. The ones that work are subtle.
What to do instead:
-
Create your own base LUT by grading one shot and saving the settings
-
Use free cinematic LUTs like the Phantom LUTs (or similar) and apply them at 30-50% opacity
-
Always adjust the contrast after applying a LUT
The Audio Secret
Here’s the thing no one tells you: bad audio kills the cinematic experience faster than bad video.
-
The Rode VideoMic Go ($100) is a solid starter
-
The Deity V-Mic D3 Pro ($150) is even better
-
The secret weapon: A lavalier mic plugged into your phone’s headphone jack (with a TRRS to TRS adapter) costs $30 and sounds fantastic
Audio isn’t about the gear, it’s about placement. Get the mic close to your subject. The closer the mic, the better the sound. This is more important than any microphone brand.
Part 6: Composition Rules That Actually Look Cinematic
These aren’t rules, they’re guidelines. Break them intentionally.
The Rule of Thirds (And When to Ignore It)
Place your subject on one of the intersecting lines. But here’s the secret: center framing can be incredibly powerful for emotional moments. Think about where you want the viewer’s eyes to go.
Leading Lines and Depth
Use lines in your frame (roads, windows, shadows) to draw the viewer’s eye. Create depth by having foreground, midground, and background elements. This makes your image feel three-dimensional.
The 180-Degree Rule
Don’t cross the line. Unless you want to intentionally disorient the viewer. The 180-degree rule is simple: keep the camera on one side of an imaginary line between two subjects when cutting between them. Break this rule, and you’ll confuse your audience.
Negative Space
Sometimes what you don’t show is more powerful than what you do. Empty spaces create tension, highlight isolation, or emphasize beauty. Use them.
Part 7: The “Budget” Gear That’s Actually Worth It
Don’t buy:
-
Expensive ND filters (the $30 ones work fine)
-
Expensive tripods (the $80 one works fine for most applications)
-
Camera cages (unless you’re doing a lot of gimbal work)
-
External monitors (your camera screen is fine, trust me)
Do buy:
-
A decent tripod with a fluid head (Manfrotto or Benro in the $150-200 range)
-
A variable ND filter (you need this for shooting in daylight with shallow depth of field)
-
A reflector (seriously, this is the most underrated piece of gear)
-
Audio gear (capture clean audio is worth every penny)
Part 8: The Final Truth
Here’s what no YouTube video will tell you: story matters more than anything.
You can have perfect lighting, a $5,000 lens, a top-tier camera, and professional color grading, but if your story is boring, none of it matters.
The most cinematic footage I’ve ever shot was on an iPhone 12 in a dimly lit room with a single lamp. Why? Because the story was compelling, the emotion was real, and everything else supported that.
Your Action Plan:
Week 1-2:
-
Shoot with what you have, focus on composition and lighting
-
Master the natural light setups
-
Learn DaVinci Resolve basics
Week 3-4:
-
Practice color grading your footage
-
Experiment with the DIY stabilization techniques
-
Shoot in different locations and lighting conditions
Week 5-6:
-
Invest in a $50-100 light
-
Add a reflector
-
Start building a visual style
Week 7-8:
-
Create your first short film using everything you’ve learned
-
Focus on story first, visuals second
-
Release it, get feedback, and repeat
finally.
Making cinematic videos on a budget isn’t about the gear. It’s about understanding light, movement, composition, and story. The equipment you have right now is capable of producing footage that would have been impossible for even Hollywood a decade ago.
The difference between you and a professional isn’t the camera. It’s the knowledge of how to use what you have, the patience to light scenes properly, and the discipline to focus on story.
So stop obsessing over gear. Start obsessing over light. Start obsessing over composition. Start obsessing over story.
That’s how you make cinematic videos on any budget. That’s the real secret.
Now go shoot something.
